April 14th, 2014
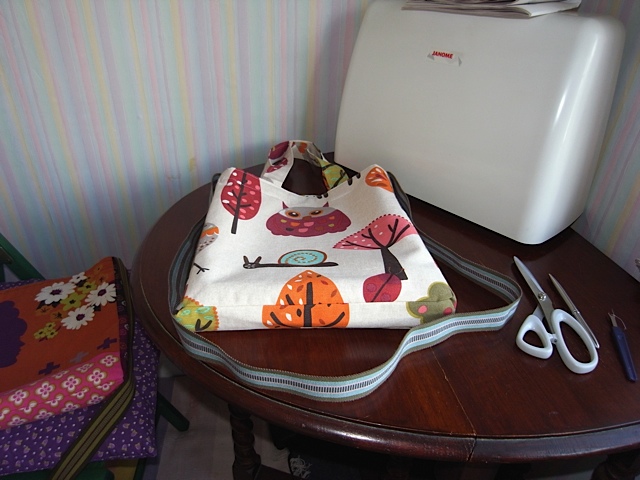
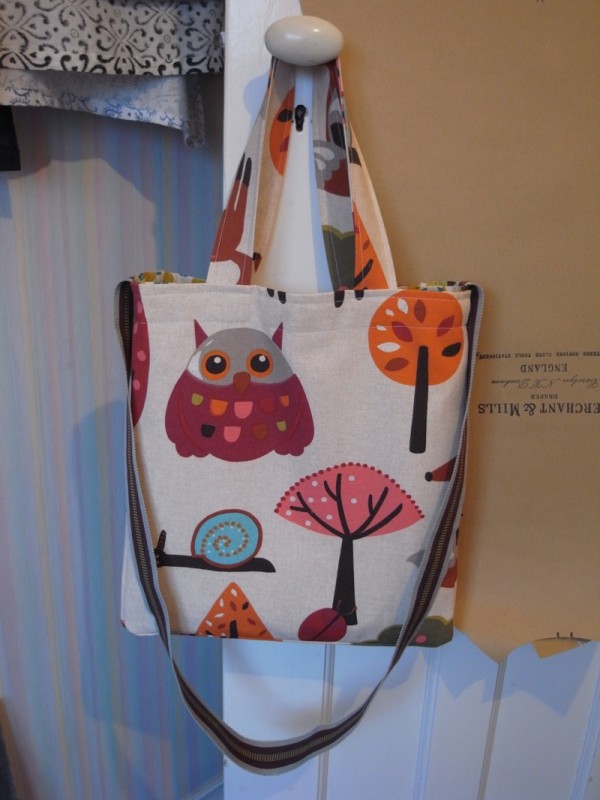
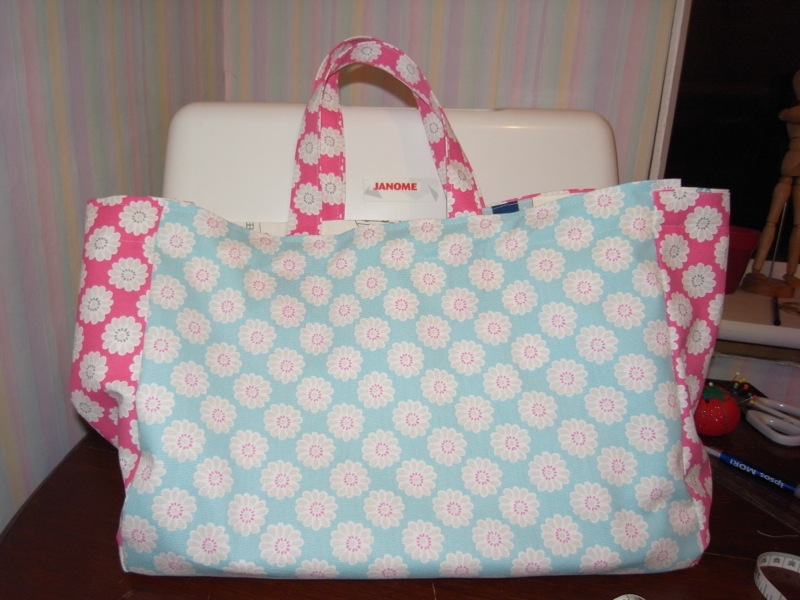
Amanda loved my woodland creatures bag and wanted one for herself. I’m trying never to make two bags exactly the same, so although very similar they are not the same. For one thing the finishing is better on the second! See if you can spot the differences…….
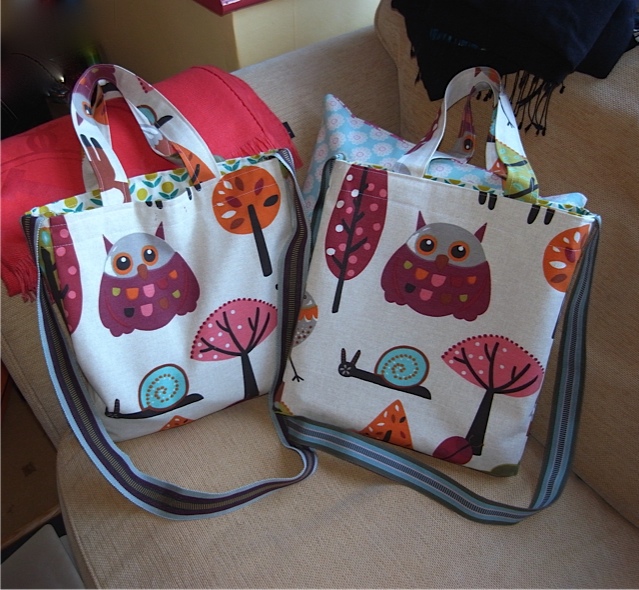
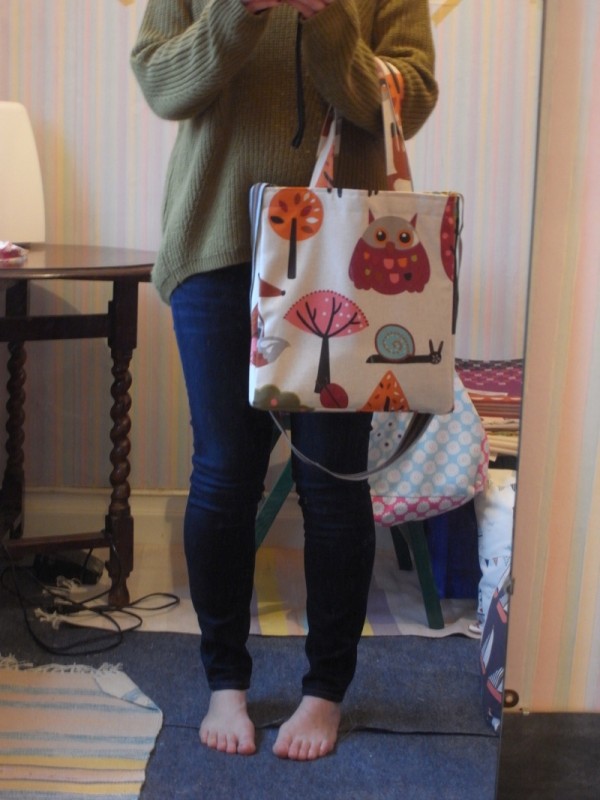
Almost the same but not quite.
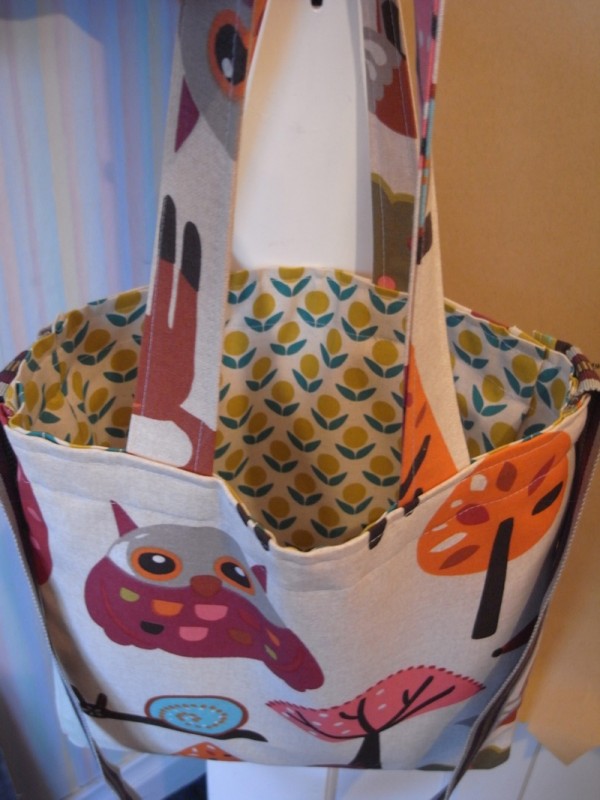
Lovely neat finishing.
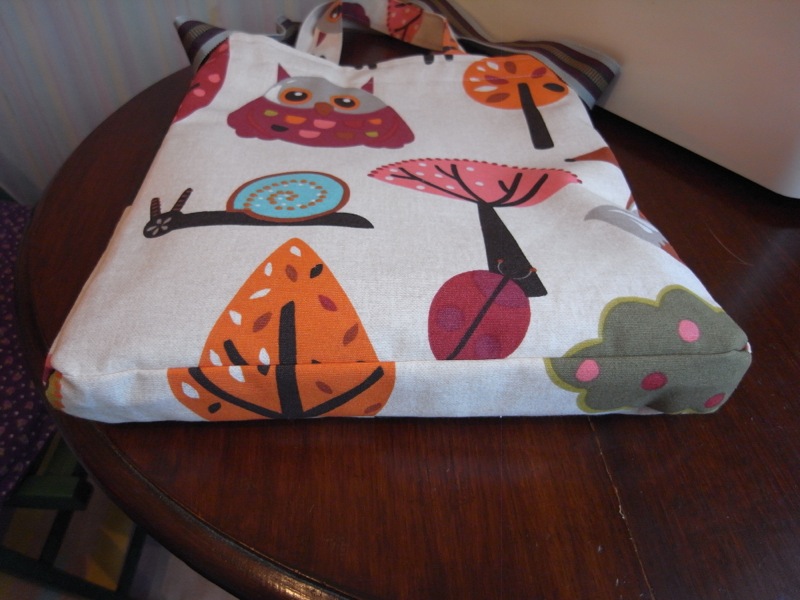
Quite happy with pattern match up on the base.
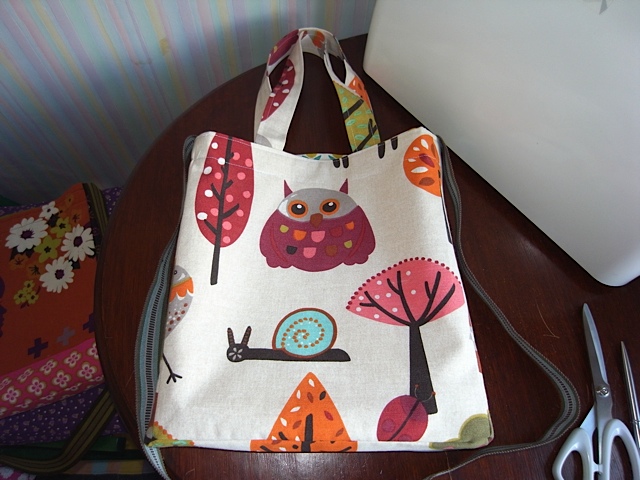
Lovely owl.
April 13th, 2014
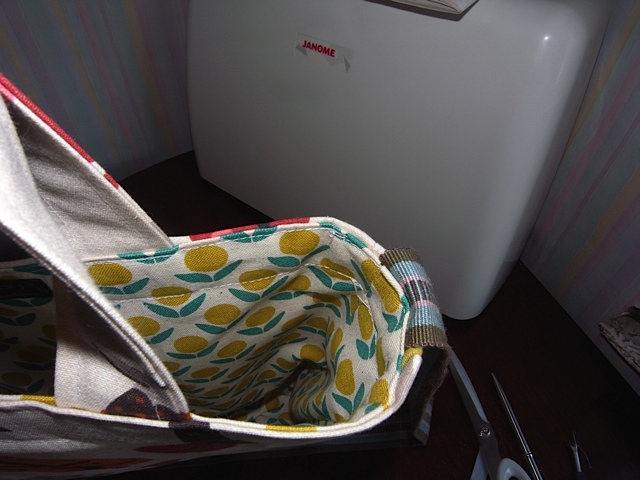
Another work colleague asked me for a knitting bag. And as she was happy to pay for it I was happy to make it. Now because she was paying for it I felt the need for the finishing to be better than it has been in the past, but I couldn’t quite work out how to get my top corners to sit better. For some reason they always look messy and this wasn’t acceptable to me. After scratching my head and racking my brains for quite a while I discussed it with the husband and he came up with a solution so simple, it had been staring me in the face all along, but I just couldn’t see it. I needed to iron the corner edges and fold the top over so that all the top edges were aligned. Don’t know if I’ve explained that very well, sorry. Now if I’d gone to classes I would’ve probably been taught that but as I’m self taught I learn these things along the way. Every time I make something I learn something new.
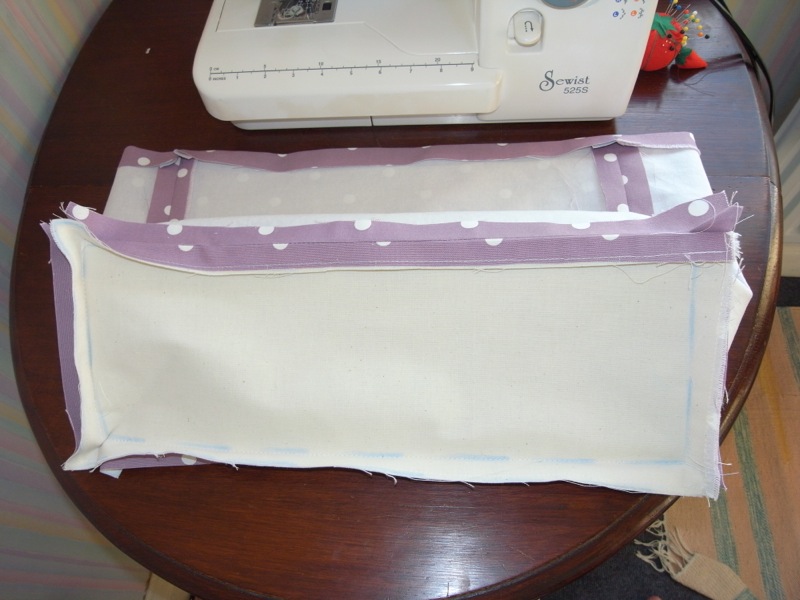
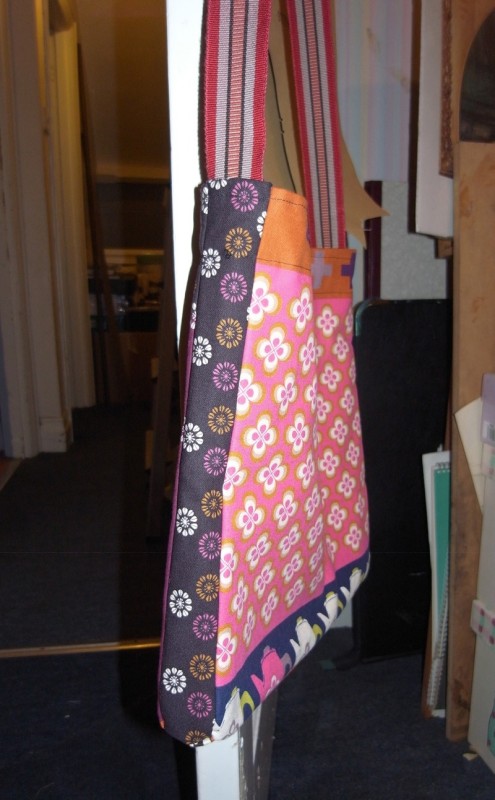
ironed edges
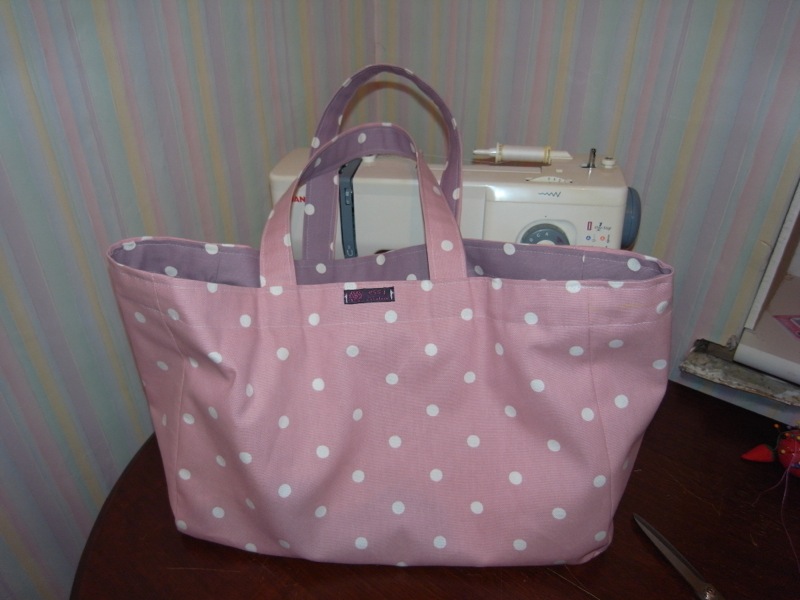
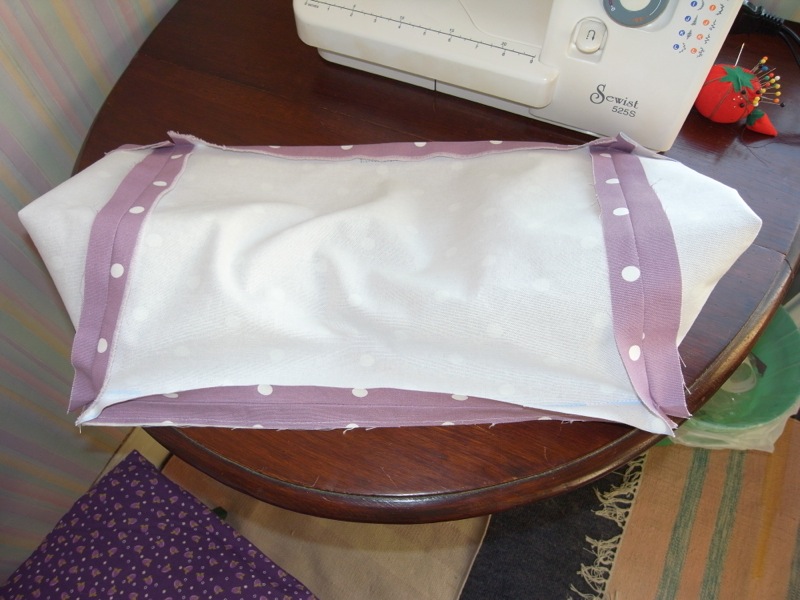
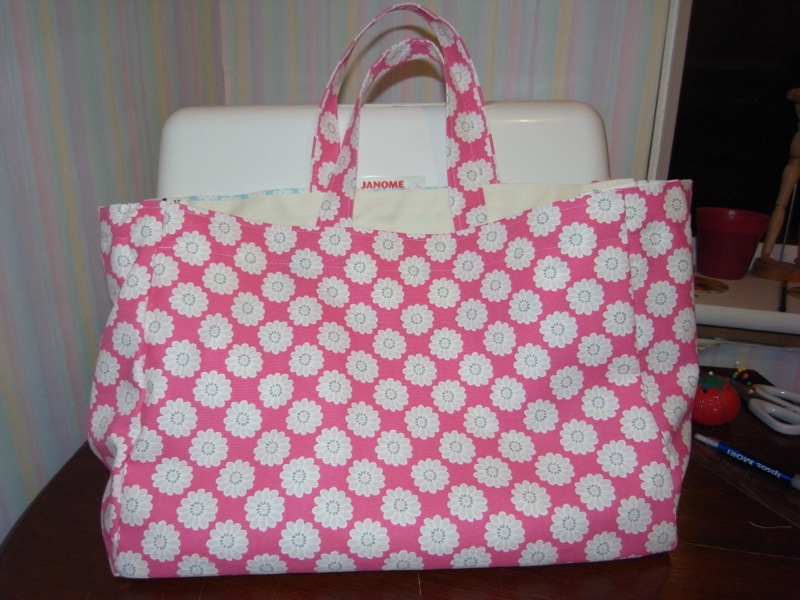
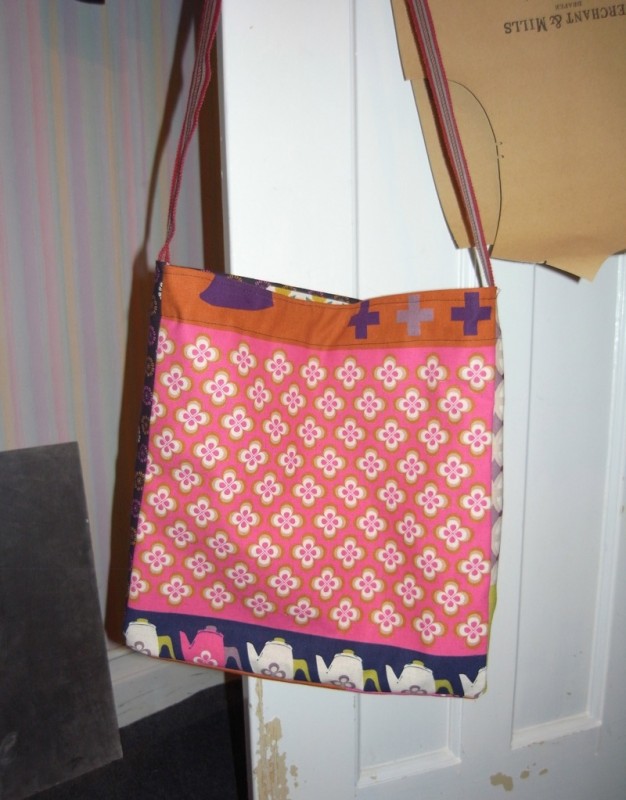
pink side
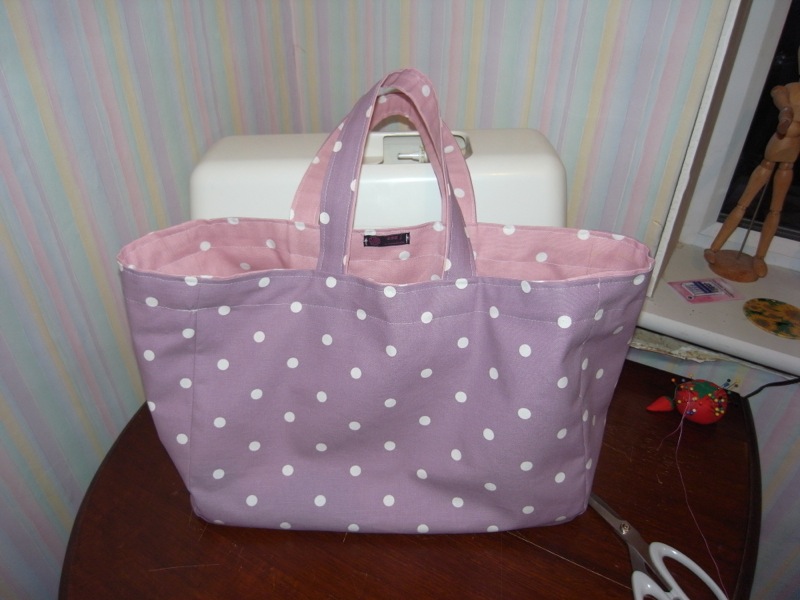
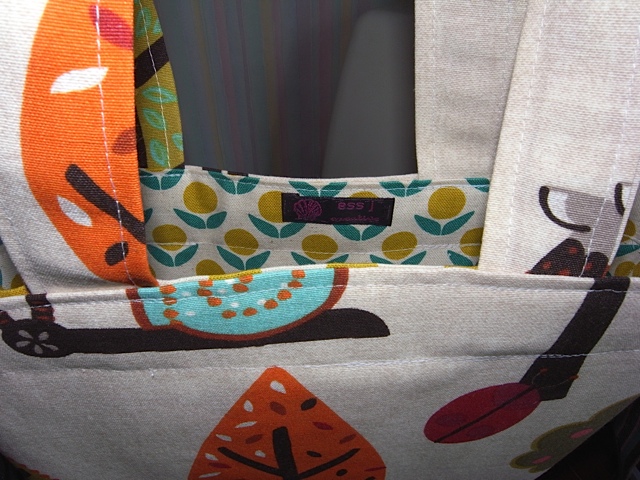
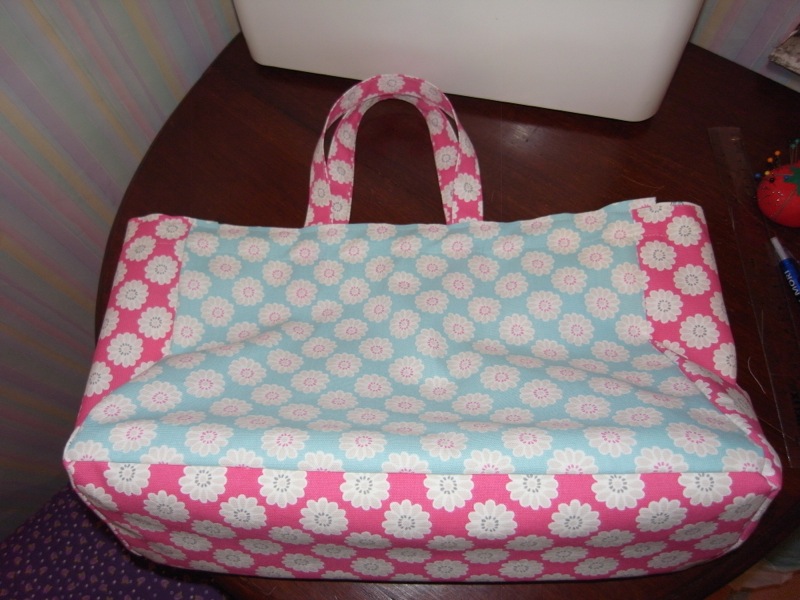
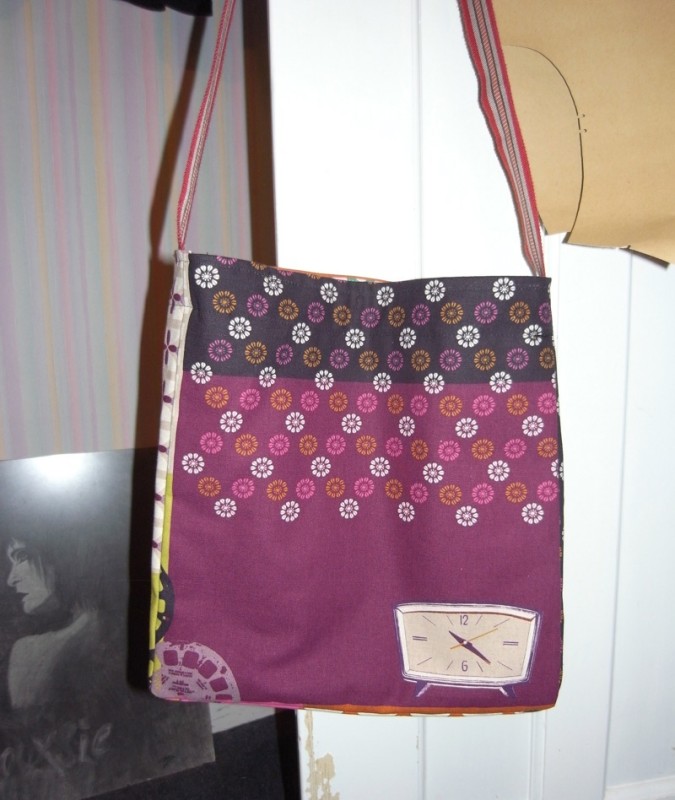
Mauve side (reversible). Put a label in but not perfected this yet, quite tricky.
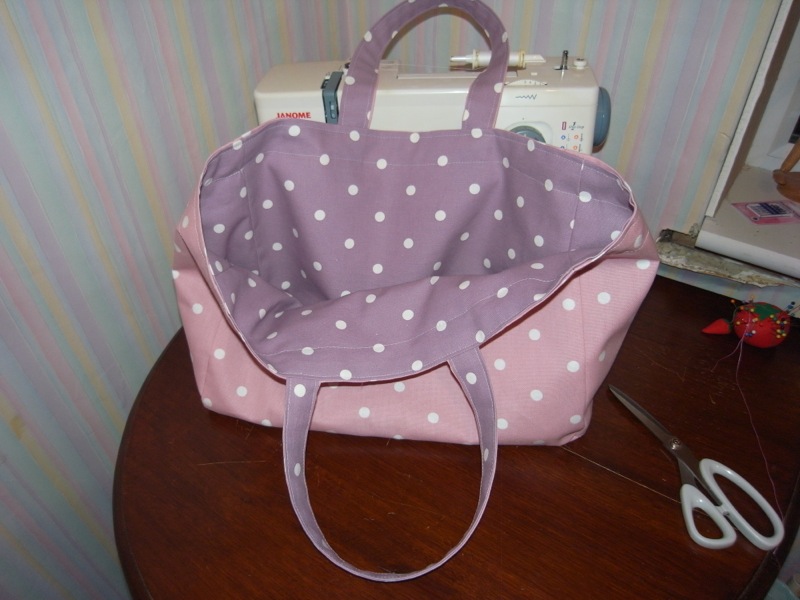
I love how well the colours go together.
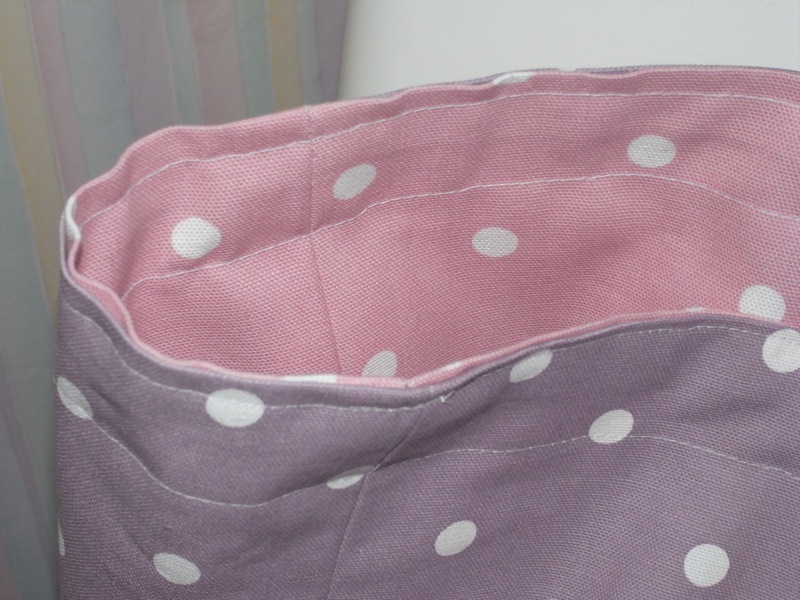
lovely corners!

another lovely corner.

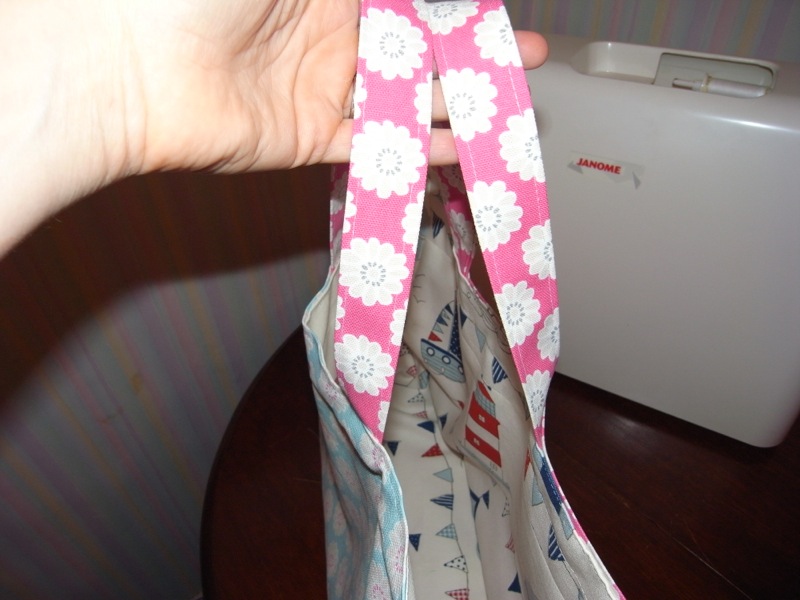
handles not bad either!
April 13th, 2014
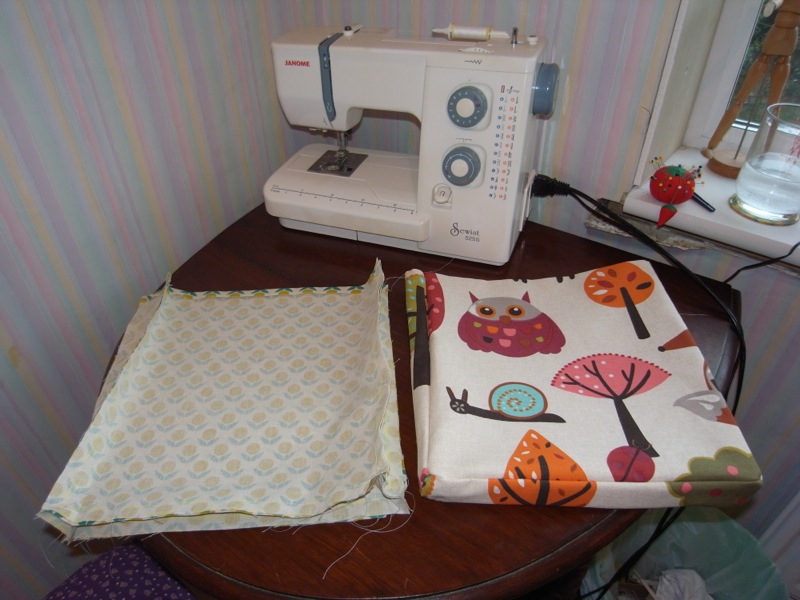
Now, I am in no way going to do a ” how to post”, but I am going to try and show the stages of making a bag and the process I go through.
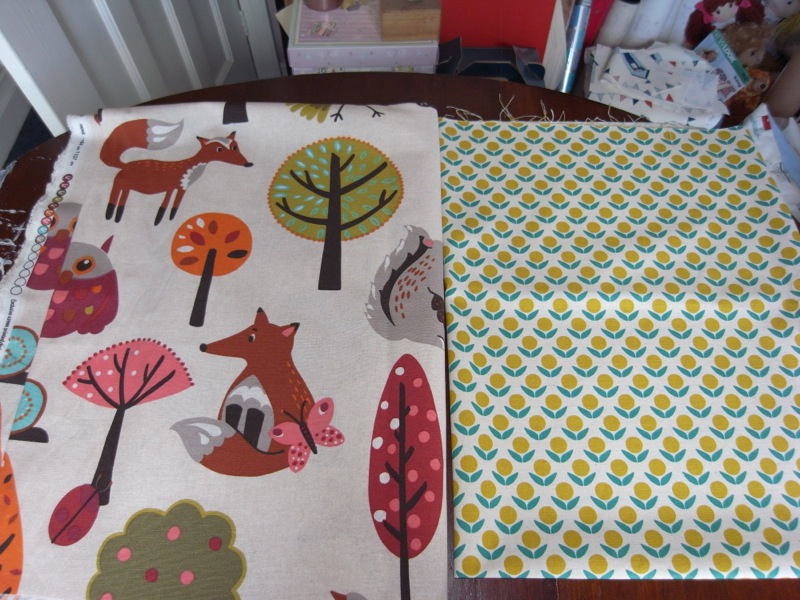
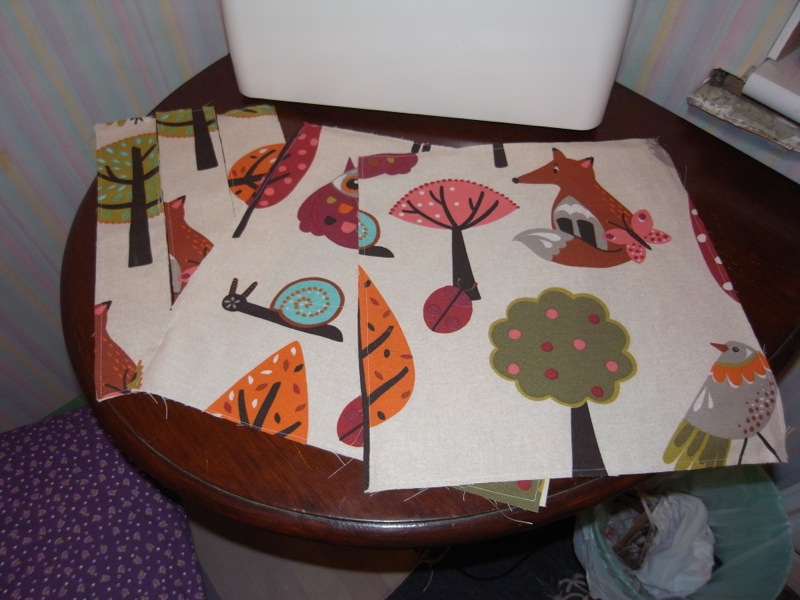
I choose the fabric I’m going to work with. I love the woodland creatures fabric, I picked it up for twenty four pounds a meter, quite pricey, but it is almost two and a half meters wide!
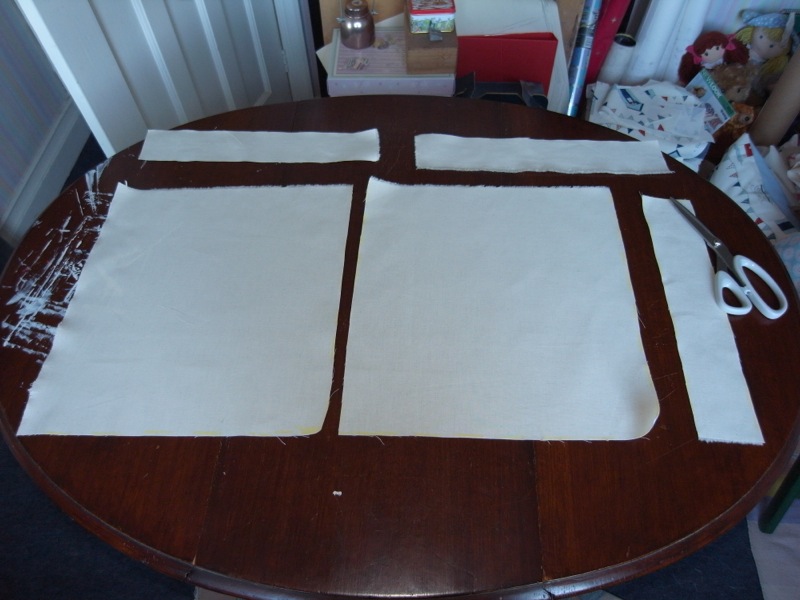
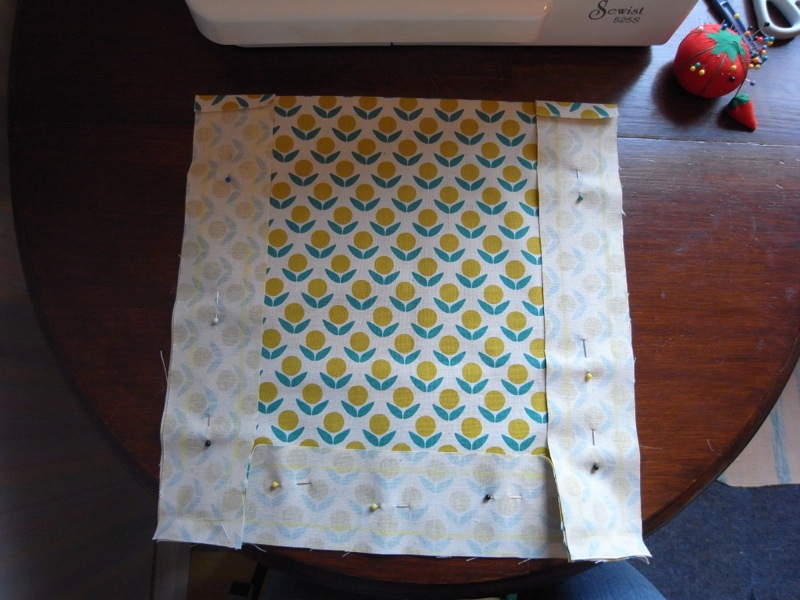
then I measure out and cut the calico I use to line the outer fabric.
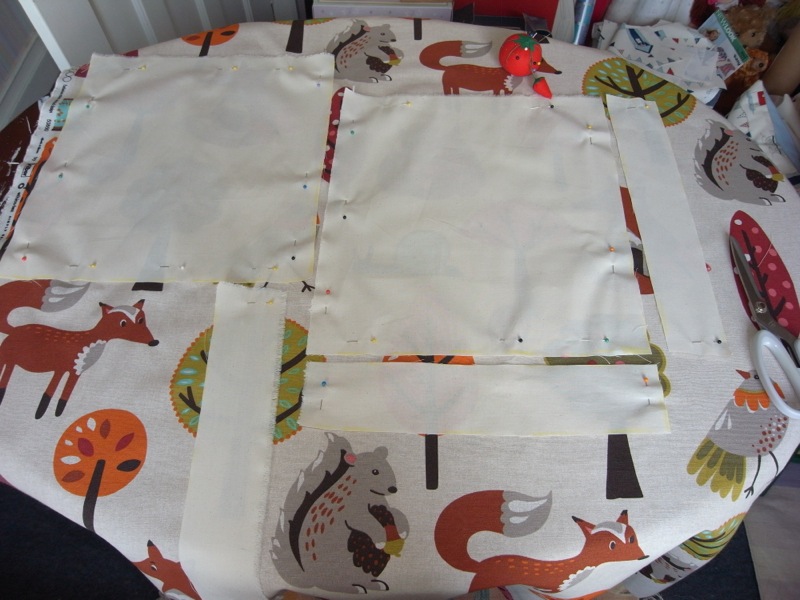
I then plan where I want my pattern pieces and lay the calico on the fabric to use as a template. I pin the calico to the fabric and cut out
You’ll see I’ve tried to match the pattern pieces as best I can, to get continuity.
I then sew the calico to the back of the fabric, it makes the fabric a bit sturdier i feel.
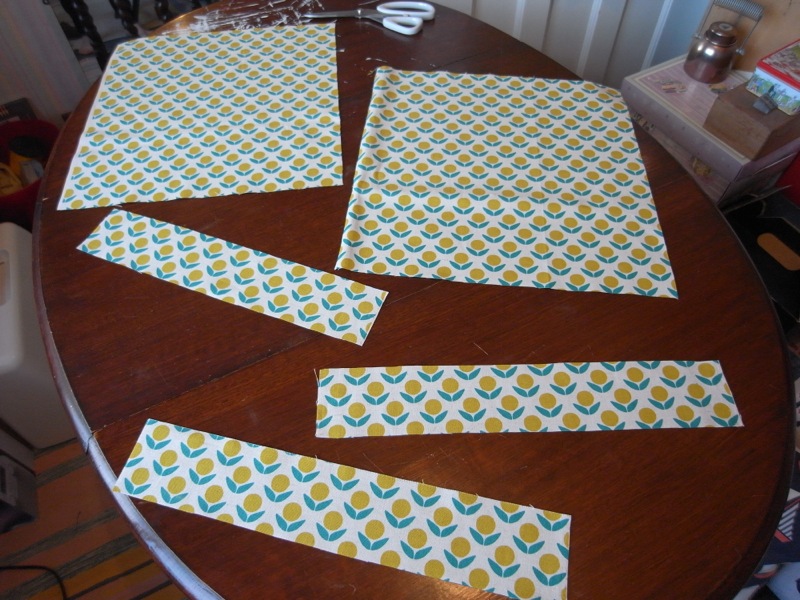
these are the pieces for the lining, I don’t use the calico on the lining.
After marking out the seam allowance I can now start putting the bag together. I attach the sides to the base.
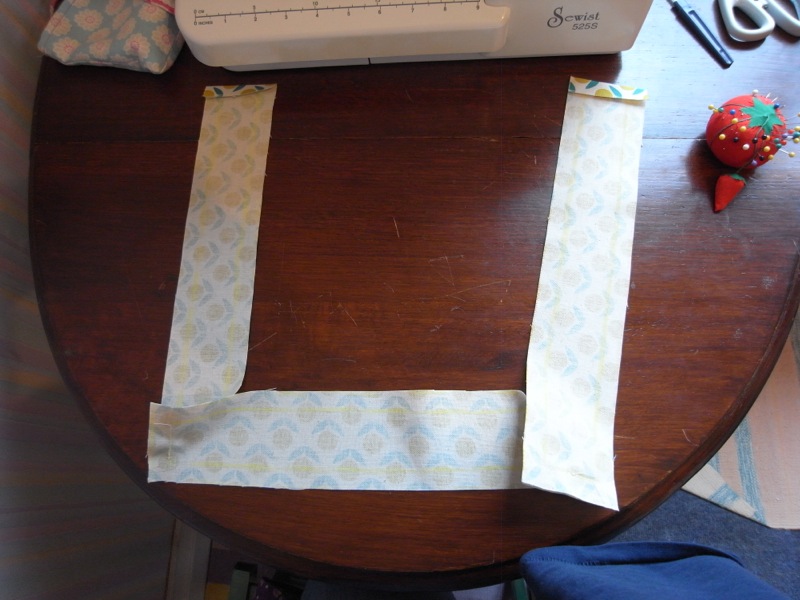
another view of the attached sides and base.
pin one of the front or back panels to the base and sides….
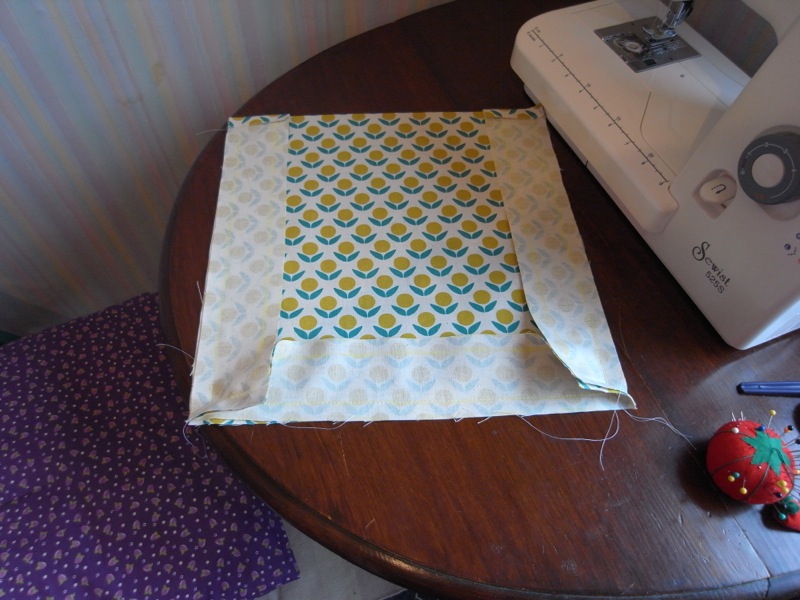
then sew.
starting to get an idea of shape now.
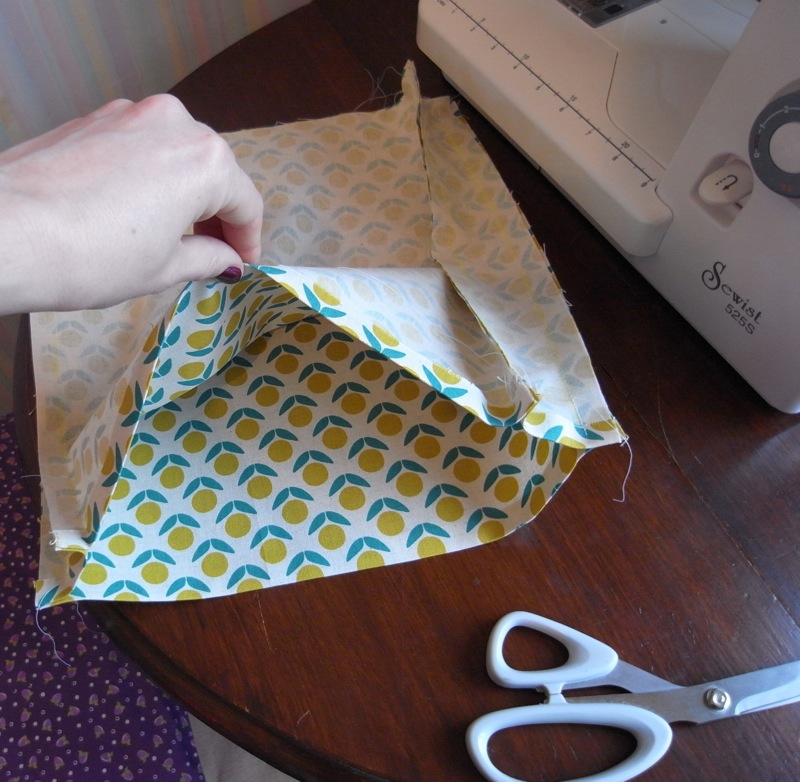
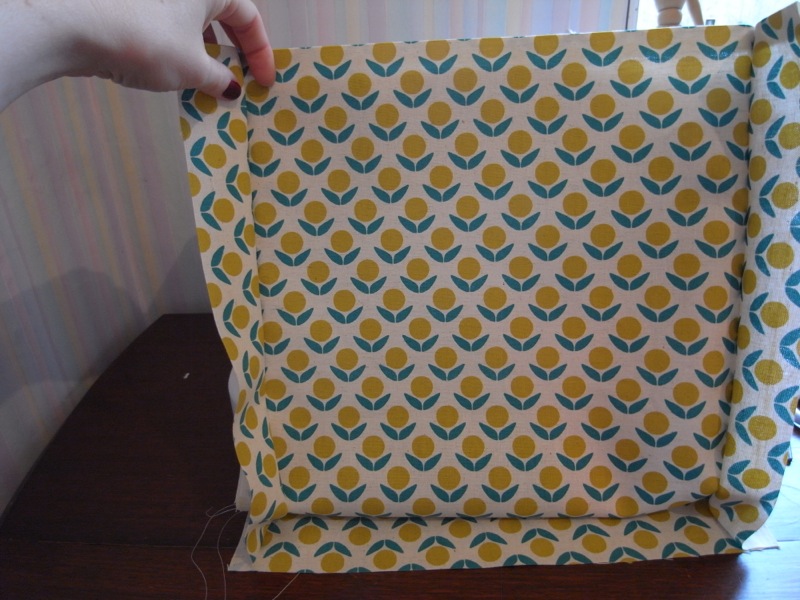
pin the other panel to the base & sides and sew that, now we have the lining
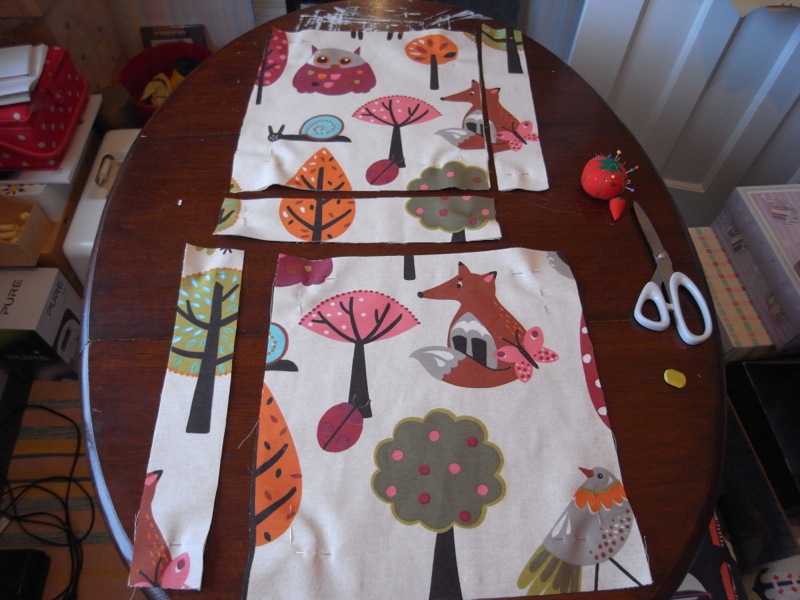
Do the same with the outer bag, trying carefully to match the pattern pieces.
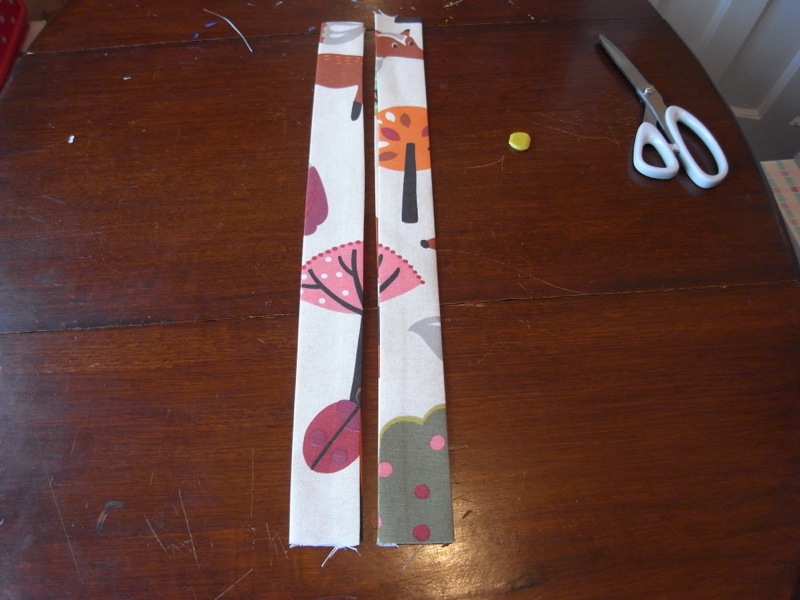
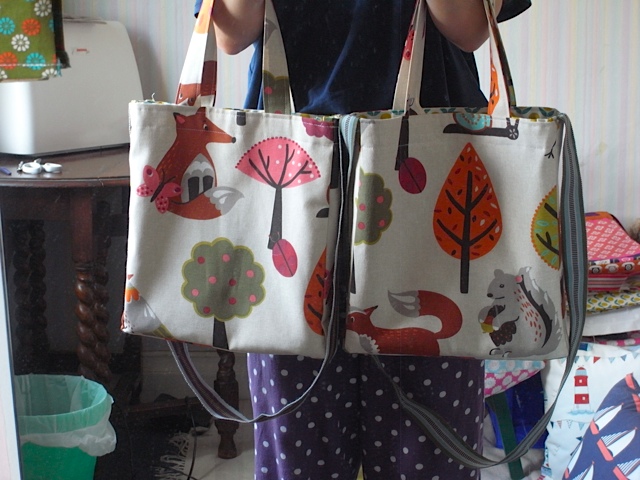
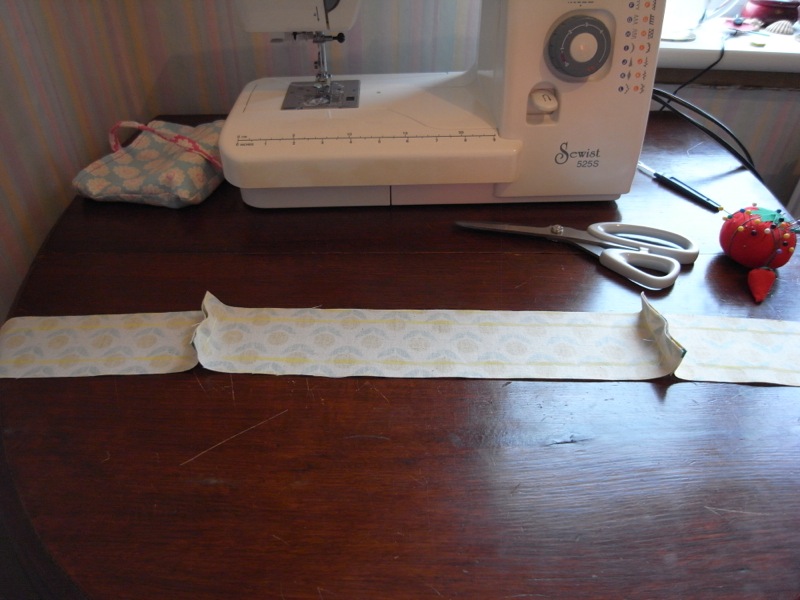
this is going to be a messenger bag, but with added handles for versatility. I’m making these. Once I’ve made the straps its time to put the lining into the outer bag attach with pins. Then add the messenger strap, pin in place and add the handles, pin in place. sew carefully around the top of the bag about two inches from the top and again about a quarter of an inch from the top. and ta da! It’s done.
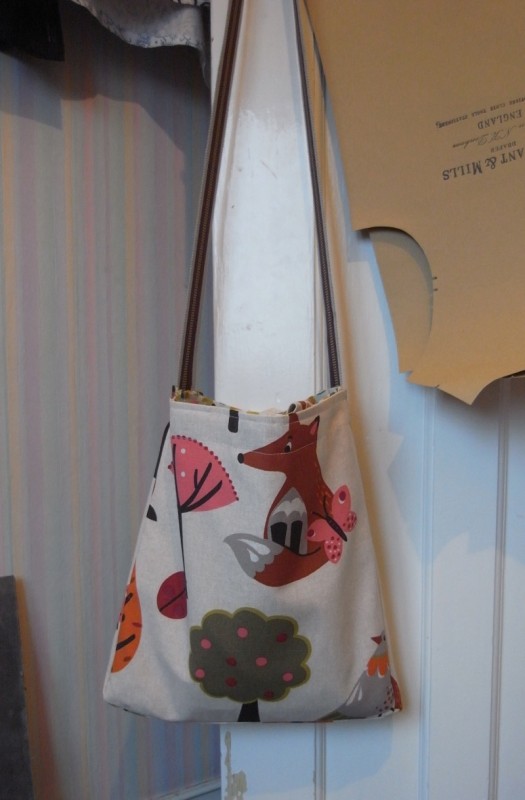
Finished.
love the trees.
and the owl, love the snail too. This is such a fun, cute bag.
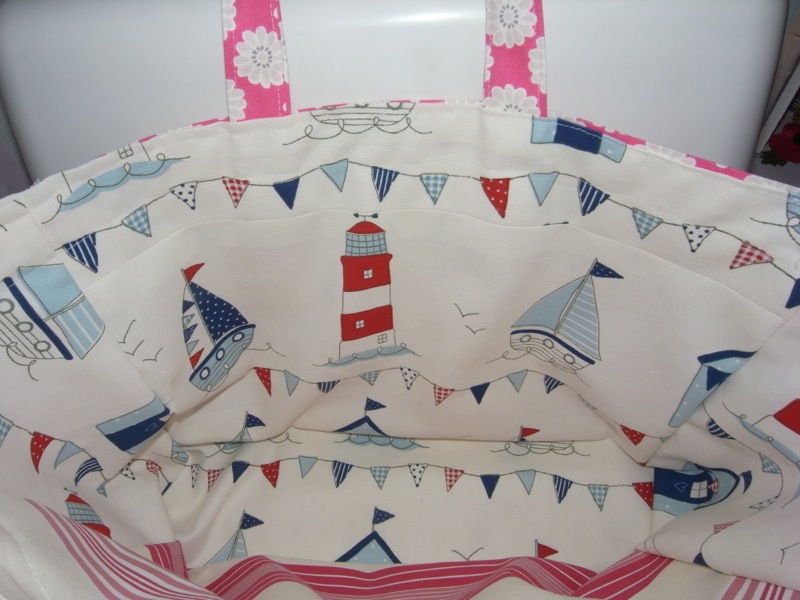
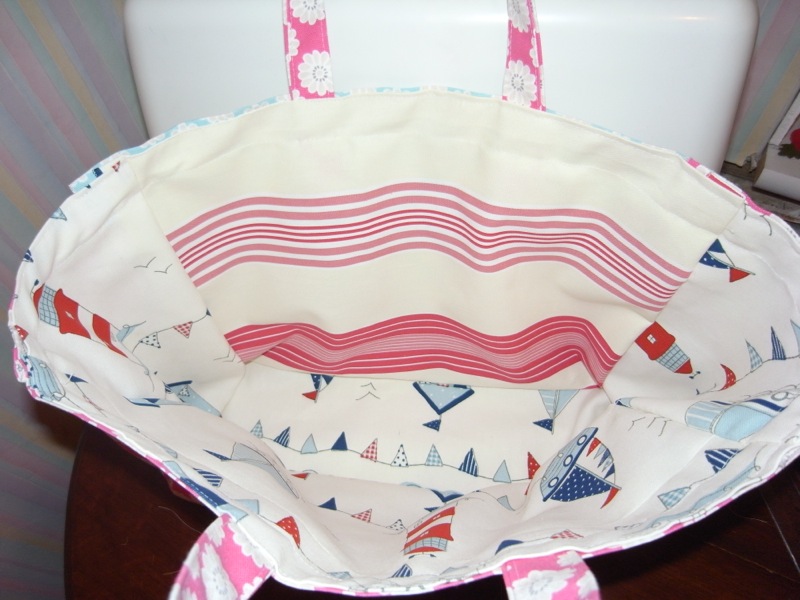
the lining.
See how I attempted to align the pattern. Mostly works.
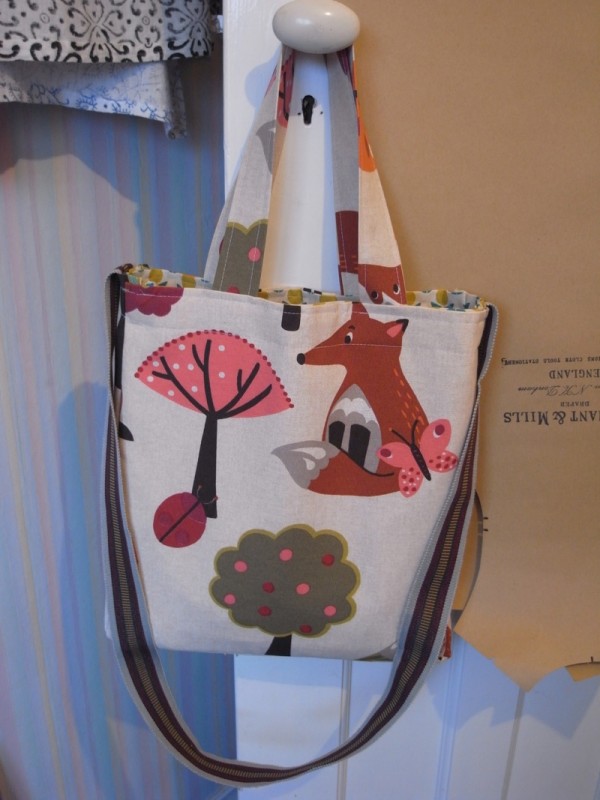
Love it! Very versatile with two different types of straps.
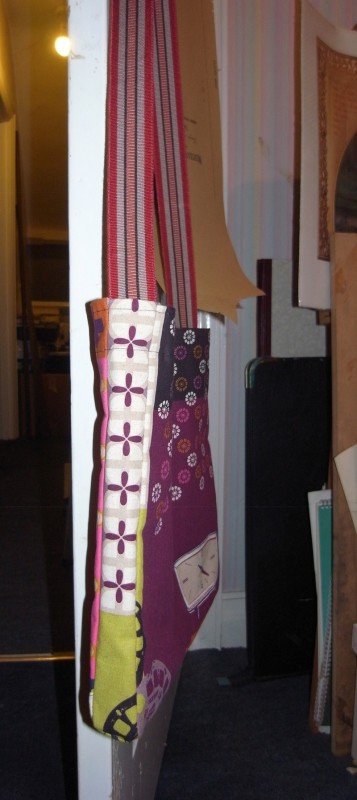
April 12th, 2014
I was asked by a colleague to make a knitting bag, so I set about doing this using some scraps of fabric I had. I enjoyed the process of putting this bag together. Considering I used scraps and not all the fabrics matched exactly I think it turned out pretty well. I made the handles myself for the first time too. There will now follow lots of pics!
March 31st, 2014
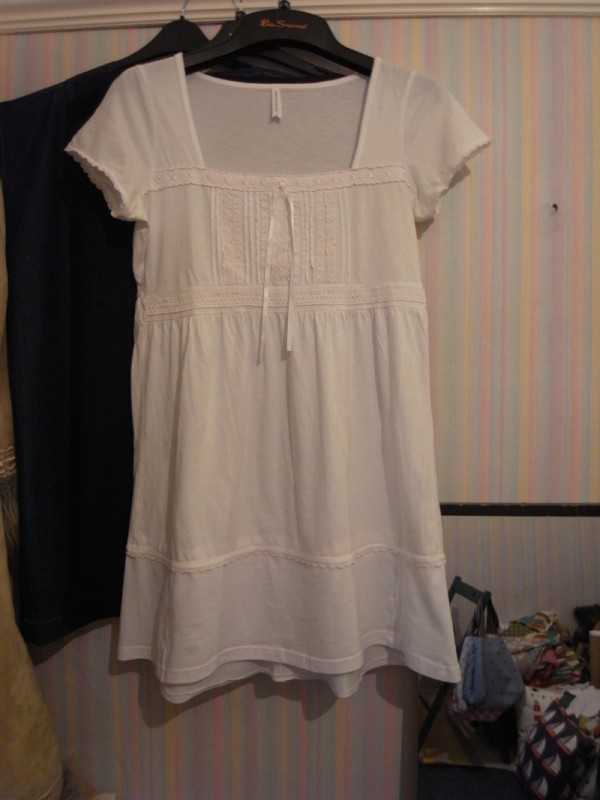
Next up is another challenge from Kristina. I meet up with her to discuss what she wants. Kristina has a top she’d like me to alter, wants it a bit longer to wear on the beach when she’s on holiday. Kristina is very patient and kind and always believes I can do something when I’m convinced I can’t. She produces a pretty white top that is perfect but just too short for what she wanted it for. She also gives me a white T shirt that I can cut up and use as the extra fabric. I tell her might not be able to do it and she says ” darling you can do it, but if its not possible then its not a problem”. So there’s really no pressure other than what I put on myself!
I take the top home and have a look at it, I look at the T shirt and the top and try to work out how on earth I’ll put them together. I must sit there for at least half an hour and then think, “nope can’t be done”. I go down stairs and talk to my Husband about it, he says he has an idea of how it could be done. So we both go upstairs and look at it. He starts telling me what he thinks should be done and I start saying “no it can’t be done, it won’t work”. And bless him, he perseveres, and after establishing that it doesn’t matter if we cut up the t shirt as its an old one, so it won’t hurt to try, I finally give in and listen to what he has to say.
Now for the life of me I can’t fully remember what we did, but it did work. It wasn’t perfect but it was perfect enough for the beach. I felt a real sense of achievement when I finished, and was really quite happy with it. This was also my first time working with jersey fabric, and it won’t be my last!
I added the bottom layer.
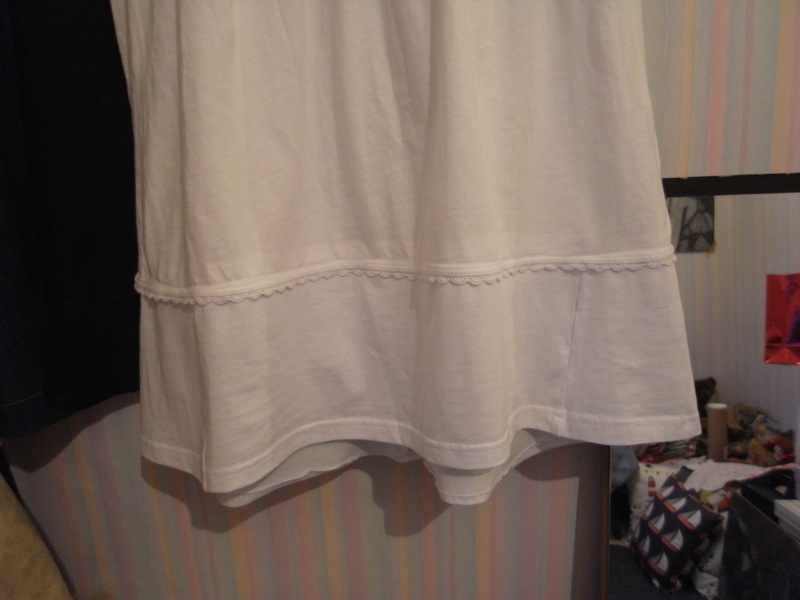
Close up of bottom front.
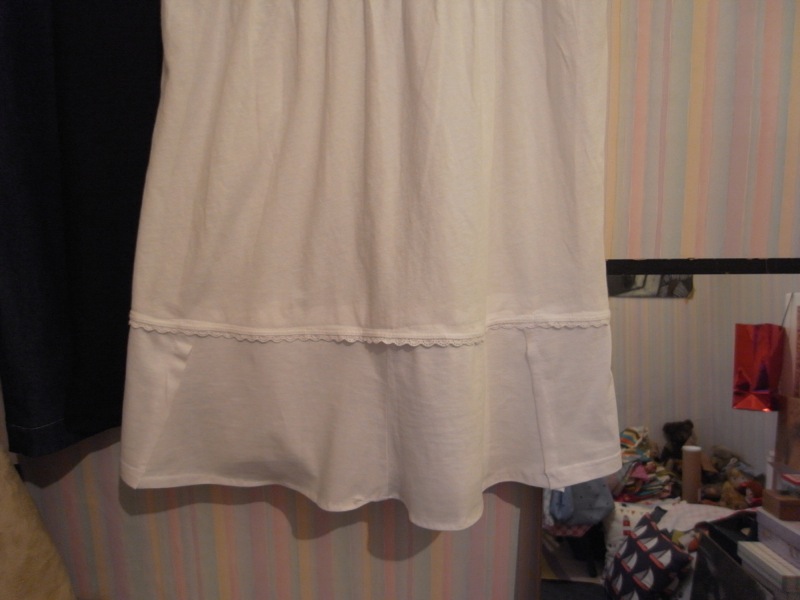
Bottom back. Not perfect but it will do for the beach.
March 22nd, 2014
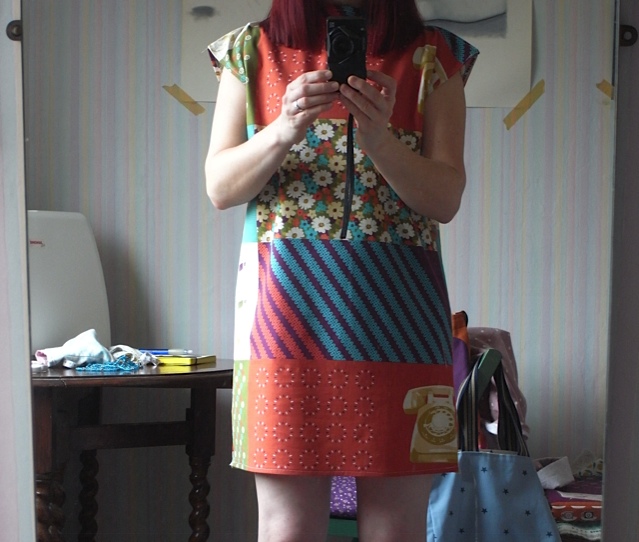
Made myself a summer dress. Will probably wear it with jeans unless very very hot! I love it :0)
March 20th, 2014
Its now January, and the stress that was happening at work has calmed down, and i’m starting to feel better about things. Christmas is over and I once again have some spare time to think about sewing and what I’m going to make.
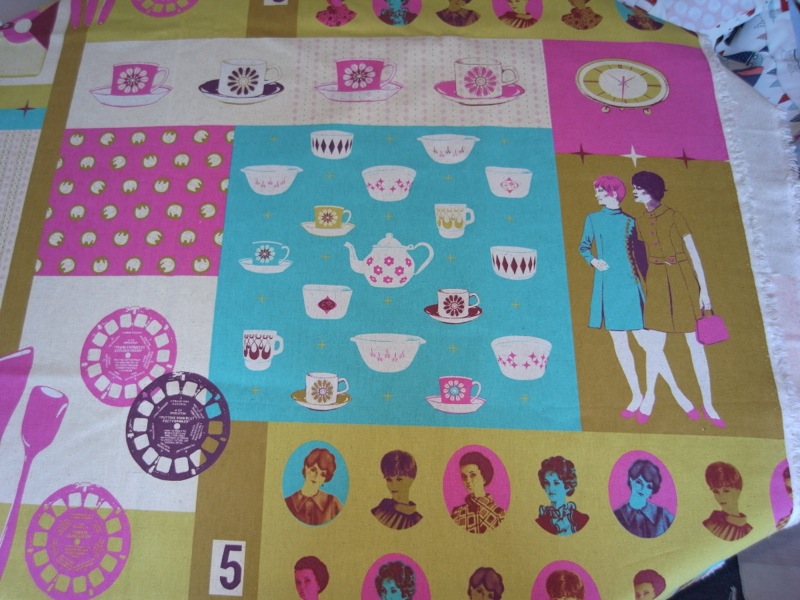
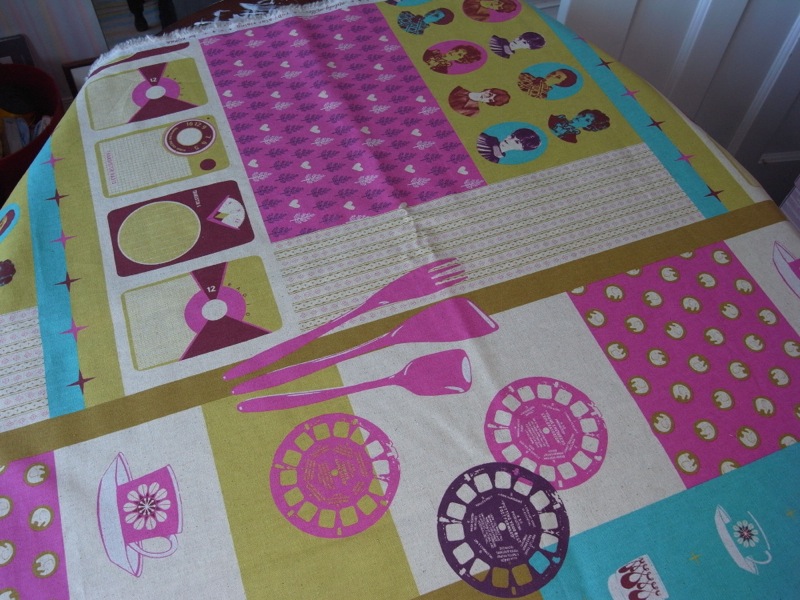
One of my best friends is about to turn 40 and I want to make her a bag. I have some lovely new fabric from the fabulous Fabric Yard, and I’m itching to make something with it. So this will be perfect for my new project. I think I bought 2 metres of the stuff and its quite wide too so I have masses. I will get loads of bags out of this. YAY!
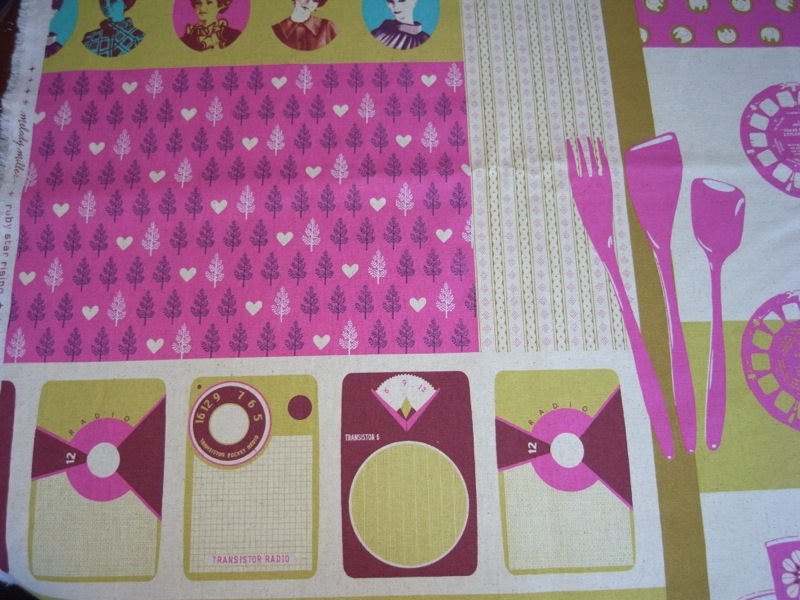

 It takes me quite a while to decide exactly how I want the bag to look. This is my thing, I use simple shapes, but I take a lot of time to think about exactly where to place the patterns and how the fabric will work with the overall appearance of the finished item, whether its bags or clothes. And I always use the best fabric I can find and afford.
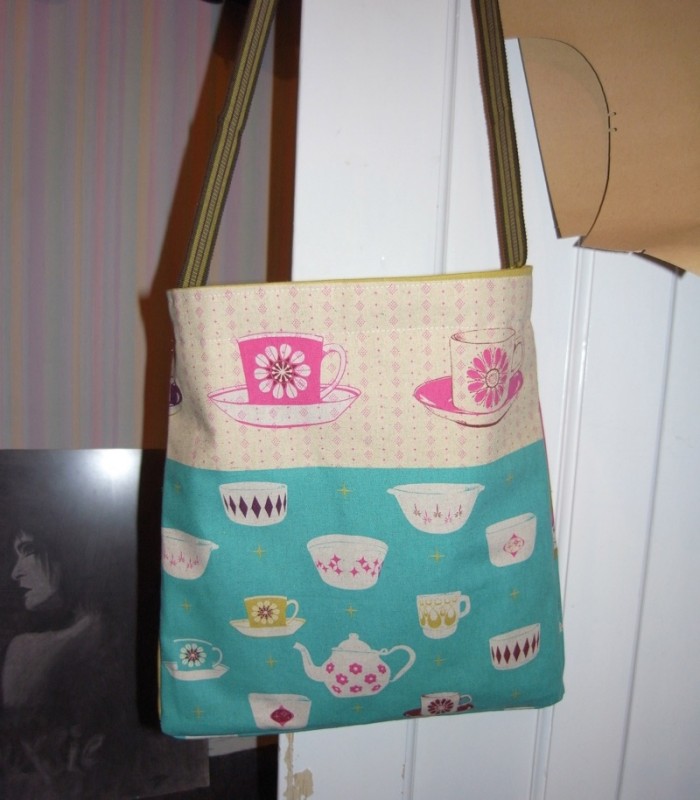
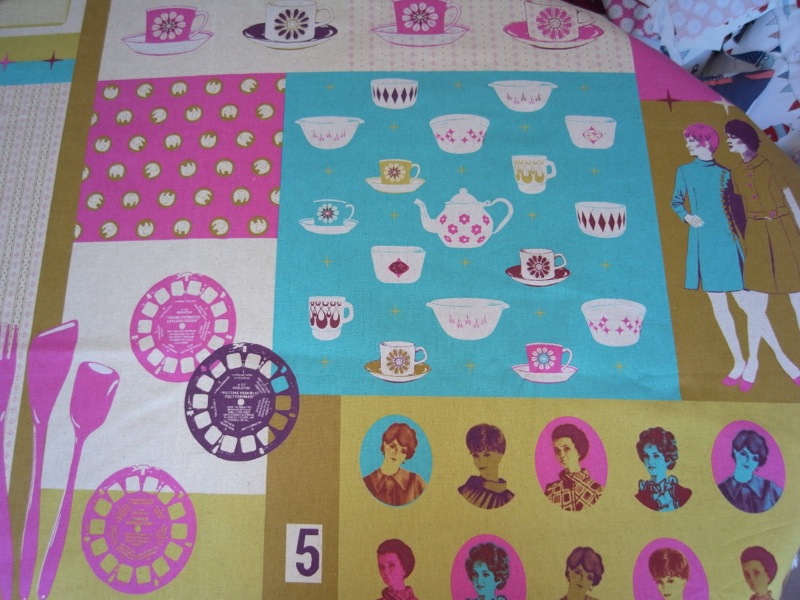
Love the teacups and teapots.
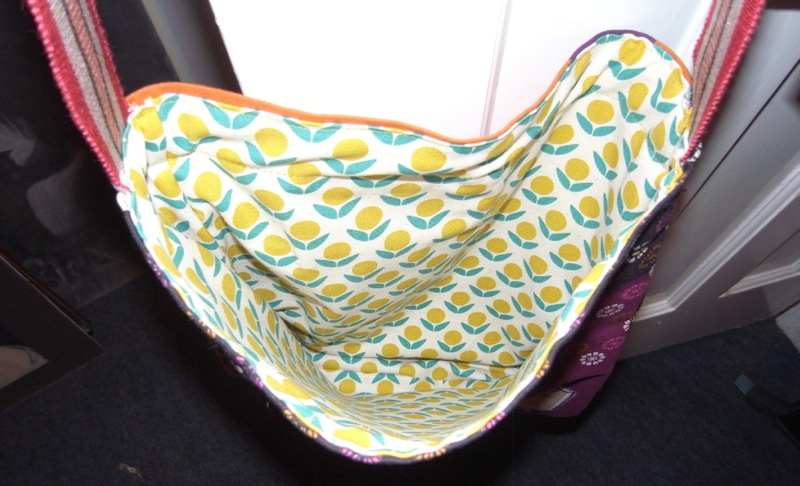
When making bags, I think the inside is just as important as the outside and like to use gorgeous fabrics for the lining. It makes me happy when I see a great pattern when I open my bag.
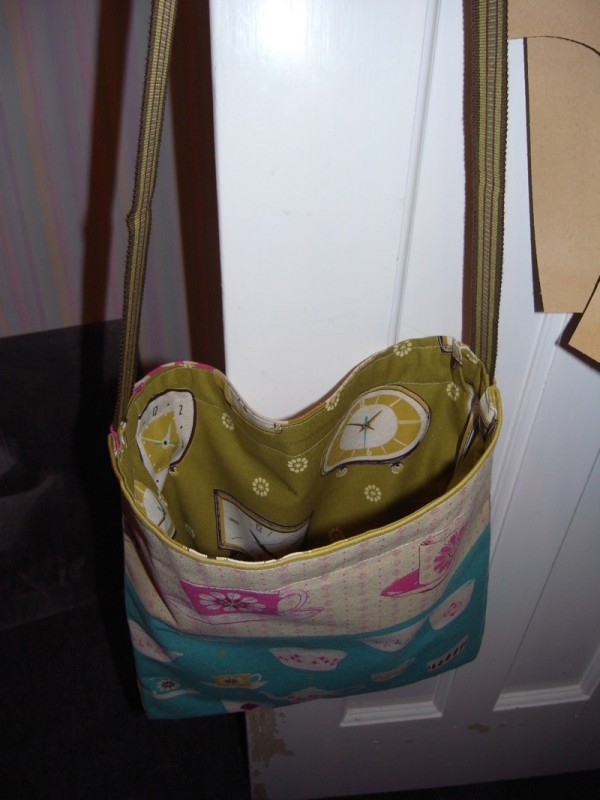
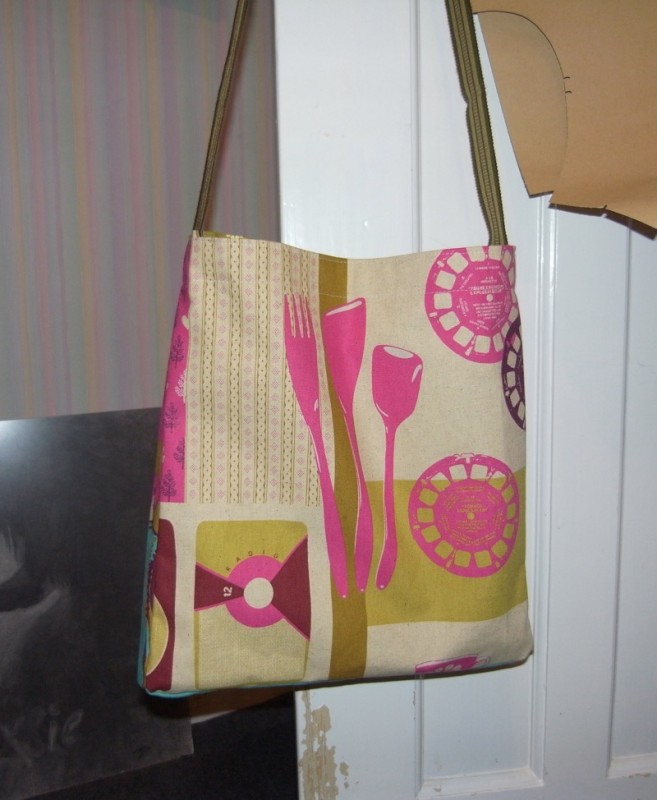
Choosing the placement of the pattern layout for the bag can make or break the outcome of the overall appearance. I love how different the fabric looks once its made into a bag. And I really enjoy the process and seeing how it all comes together.
March 12th, 2014
So its the end of November and work is getting quite stressful, and my creative juices are running dry! I’m a little worried that sewing was just a novelty and now I’m going off of it. I really hope not, but you never know.
Anyway I make another bag, using the rest of the Kokka, Melody Miller fabric. It turns out alright, but the tension on the bobbin was wrong and the stitching on the bottom row of stitches at the top of the bag (hope that makes sense) is not quite right. As the bag is only intended for me I’m not too worried. And its not too much of a problem, just looks a little off if you look at it too closely. I didn’t notice the thread wasn’t right in the bobbin till I did the top row of stitching on the bag, and then I nearly freaked because I couldn’t work out was happening. Eventually I took a closer look at the bobbin and realised that the thread had come loose somehow. I readjusted it and then spent forever (or what seemed like it) unpicking the stitches. And then re-stitched.
March 12th, 2014
The sewing is starting to slow down, things are going on at work that are taking my mind off of sewing and I’ve sort of lost my sewing mojo! However I have made another bag and this time its for Kristina. When I gave it to her, it had the denim side on the outer, but Kristina preferred the daises on the outside. And actually I do too. I had also added buttons. I have seen her use it a lot, and I’m rather proud.
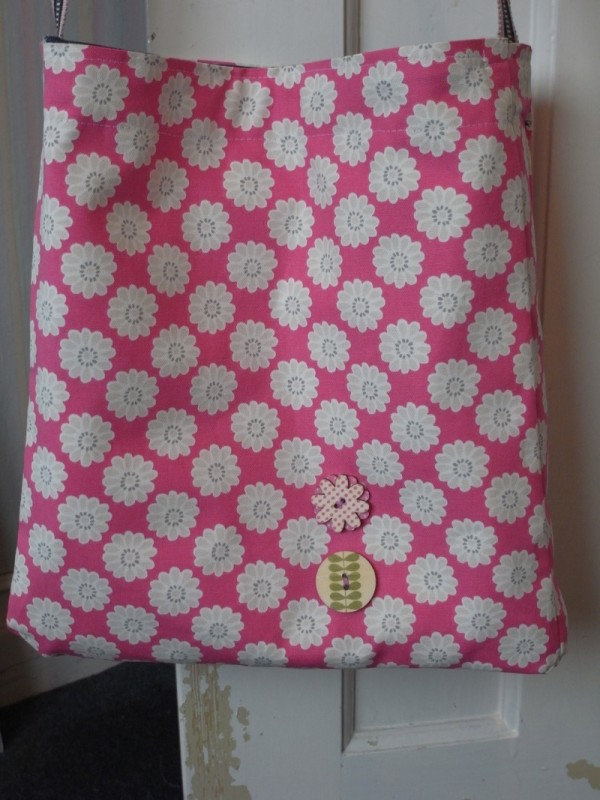
Love the buttons
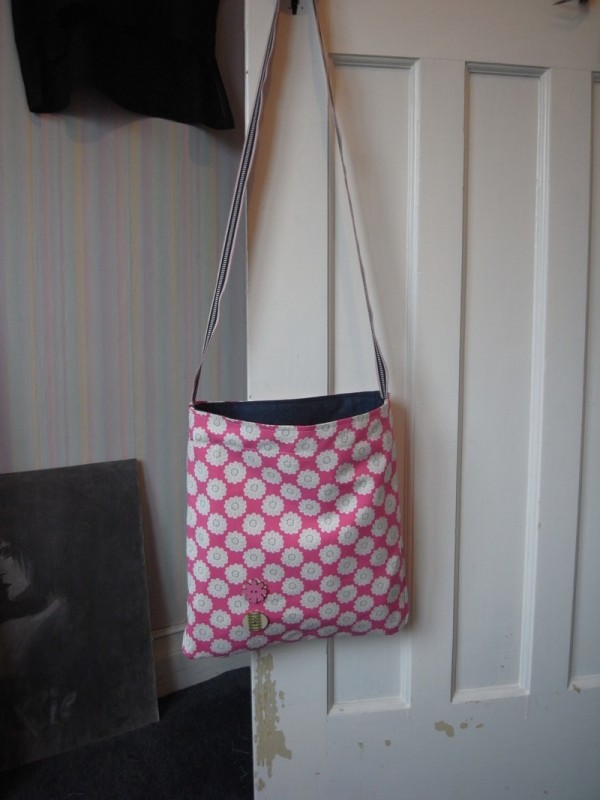
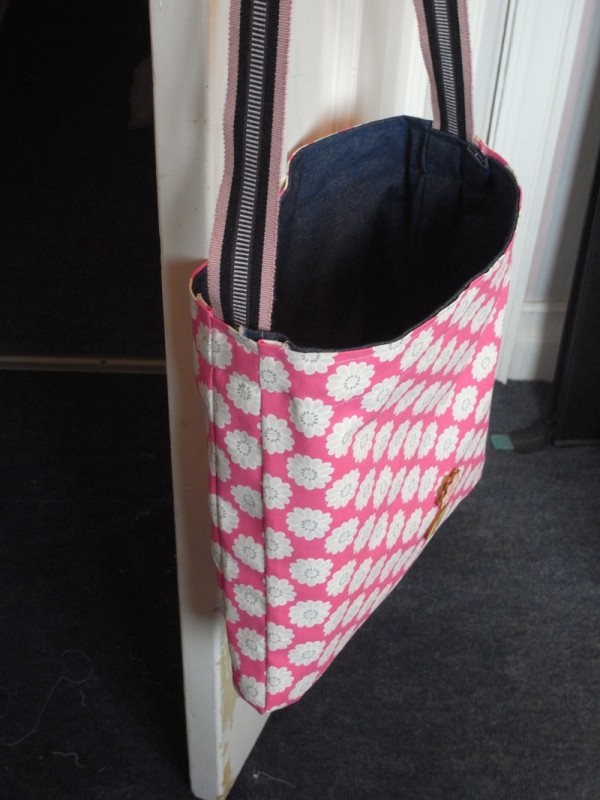
The denim lining.
You might be able to see that my finishing is not perfect. The top edges are not perfectly aligned and look a little messy. I’m working on it!
March 2nd, 2014
After wearing the black linen dress out, and loving it, I felt compelled to make another, in denim. So it was off to my favourite place Merchant & Mills. I had been looking at their on-line shop and saw they had lots of lovely denim to choose from. And when i got there I was spoilt for choice. I ended up with the beautiful “Michaels washed denim 8oz” I think its the medium colour. You can find it both in their fabulous shop in Rye and on-line. I am a complete novice when it comes to fabrics, well a complete novice when it comes to anything to do with sewing at all! But for some reason I seem to think I can do it!
I ended up changing this dress 3 times
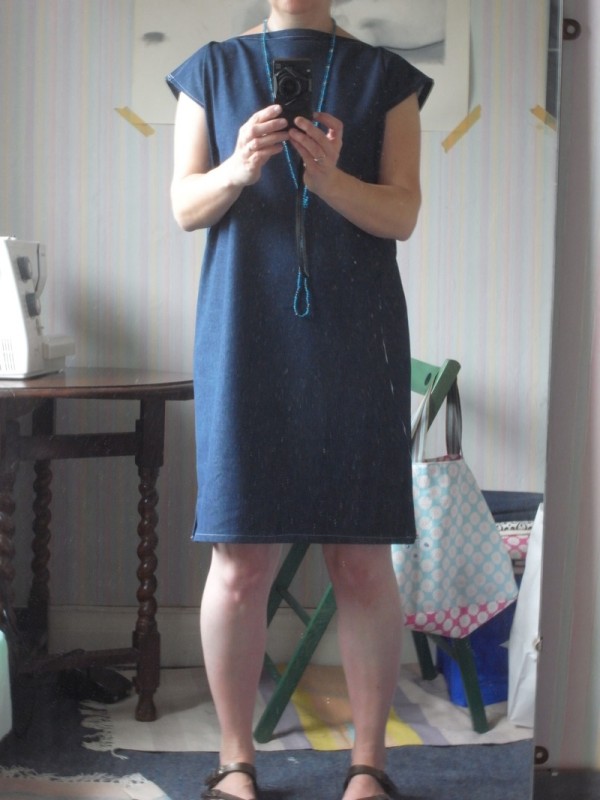
1st version
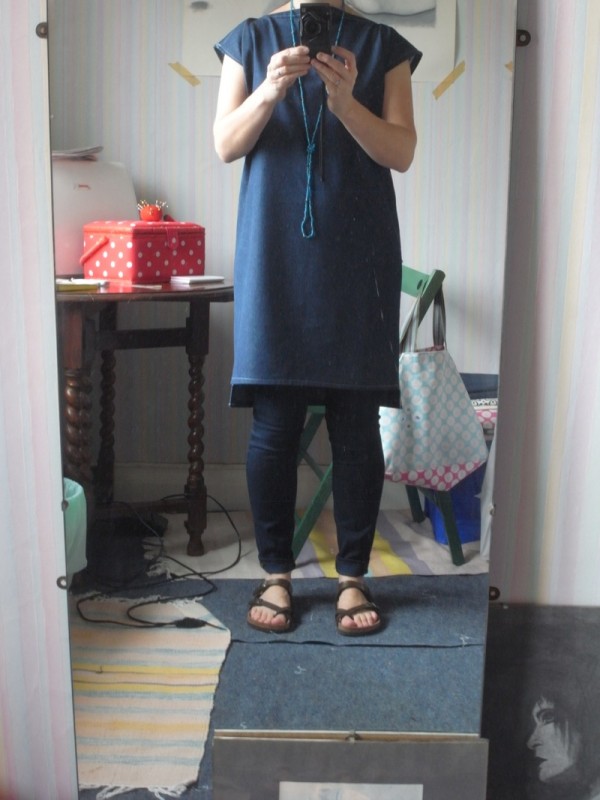
2nd version
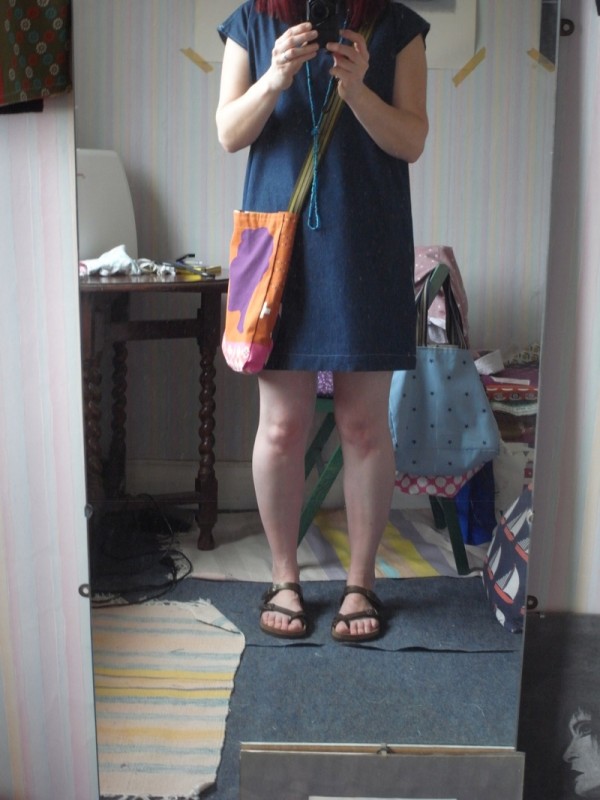
3rd version
Please excuse the pale and pasty legs! I plan to wear it over skinny jeans unless its very very hot.