March 25th, 2018
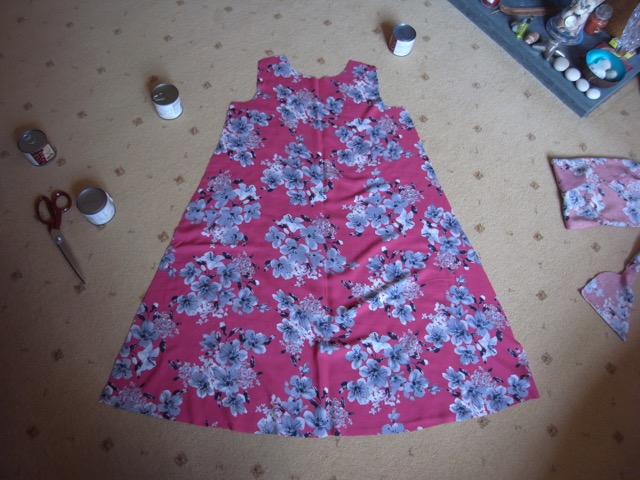
I don’t know why I only ordered a metre of this fabric, I never only order a metre, as its rarely enough for what I want to make. But for some reason I ordered a metre. This was October last year, and when I decided I wanted to make a Marshmallow tunic top I tried to order another metre but it was out of stock! I thought that might be the end of that idea.
I thought I’d have a look and see what I could get out of it, so I laid the pattern pieces on the fabric and happily I could get a sleeveless version from it. Also had to make the frill piece much smaller, think I ended up folding it in half.
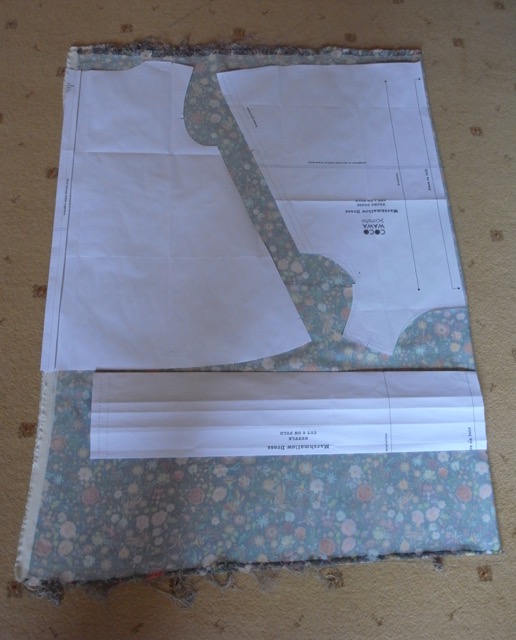
No sleeves, no facing and no pockets. But I love it!
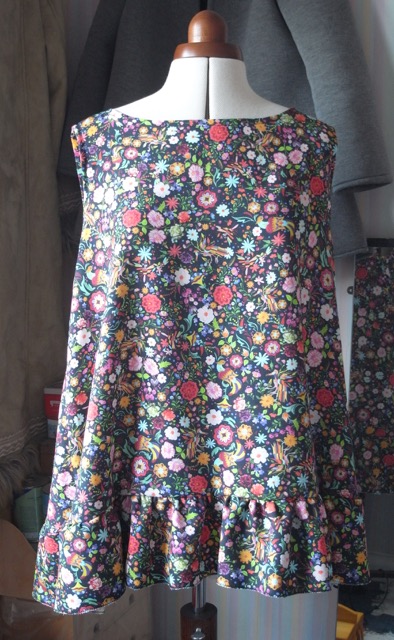
This is such a happy, colourful fabric. I love all the details in it, so much going on.

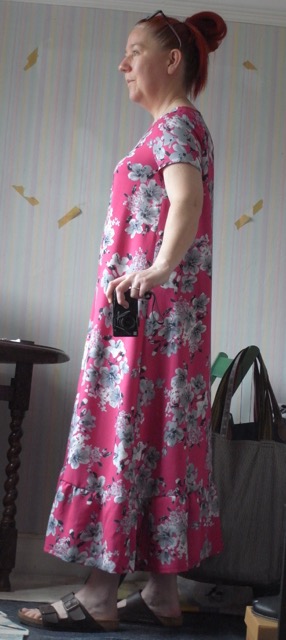
And I’m really really happy with the length of this one too.
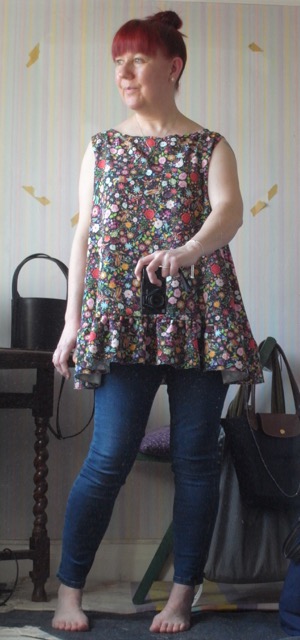

And I remembered to make all the seams with a 2cm seam allowance.
March 18th, 2018
For christmas my lovely hubby gave me a voucher for Merchant & Mills, and I’d been looking at the Jack Tar bag pattern for quite a while, but hadn’t gotten round to getting it. then they started doing a kit, which includes everything you need to make the bag. So armed with my voucher I trotted off to Merchant & Mills and bought it.
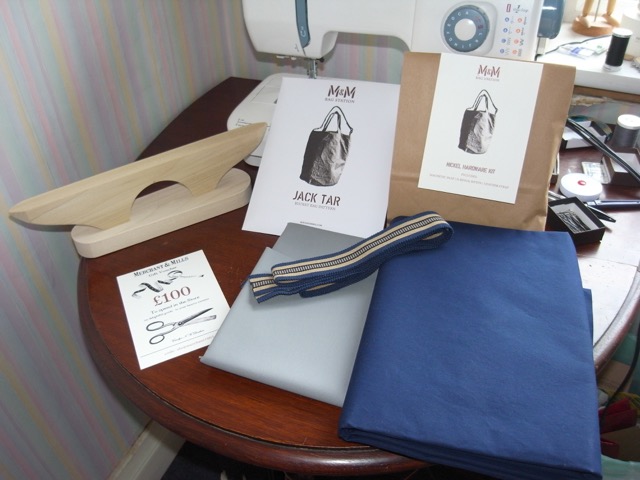
Its taken me a couple of months to get round to making this, but I’ve finally done it. I have to say it was a rather pleasant experience. I did things I’ve not done before, like snap closure, and used D rings. Also a facing on a bag, which I’ve not done before. And turning a bag right side out through a hole in the lining. That was an experience I can tell you.
This was also quite a painful make too! The outer fabric I believe is a dry oilskin and the lining is a sturdy canvas, both fabrics were quite tough to get my pins through at times, and I managed to stab myself on many occasions.
I also want to say, that whilst the pattern is supposed to be beginner level, Merchant & Mills can be quite frugal with their instructions, and If I hadn’t already known how to attach a base to the main body of a bag I would have been a bit stumped at that point.
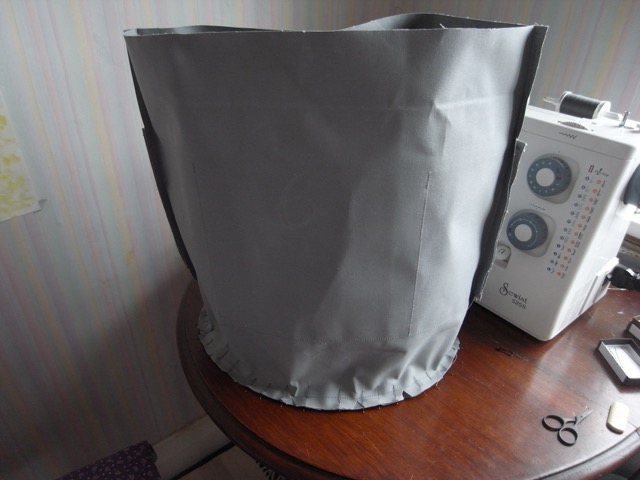
Base of the bag pinned to the top. Above ^ and below
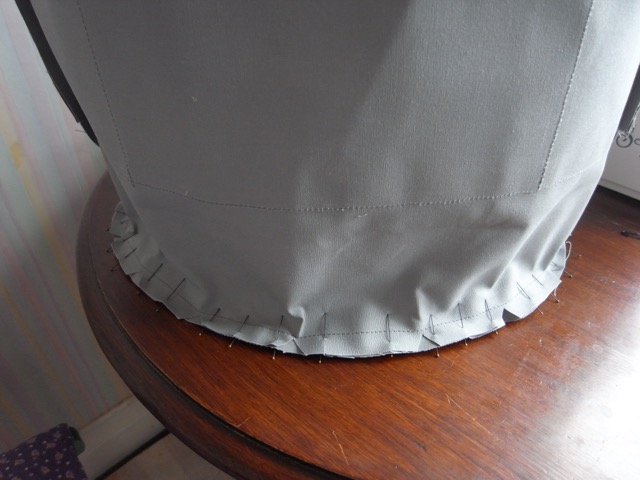
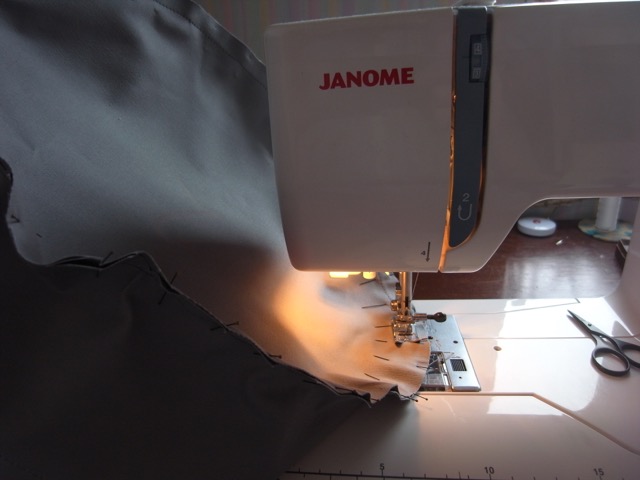
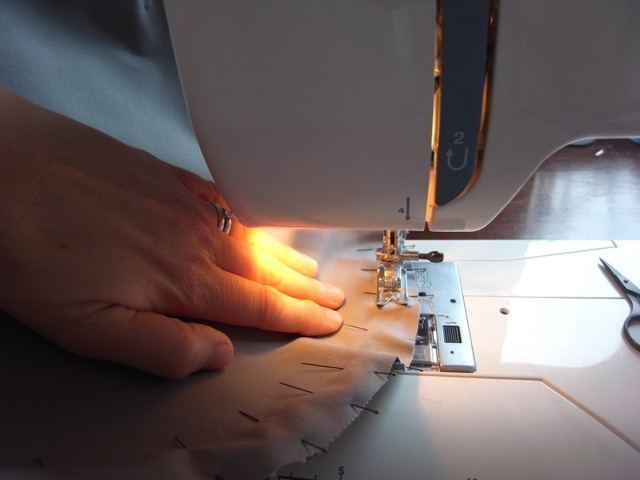
It was quite tricky getting it through the sewing machine, as the fabric was quite stiff. And this was one of the areas where I would get stabbed by my pins!
Picture of the lining, before I’d sewn the base.
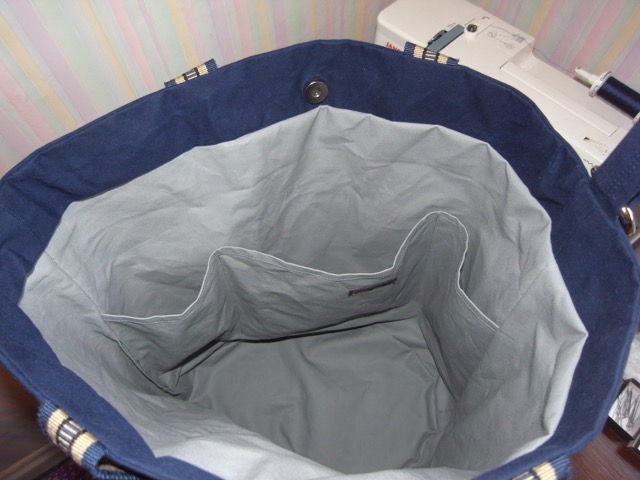
All finished. Inside view of the pockets.
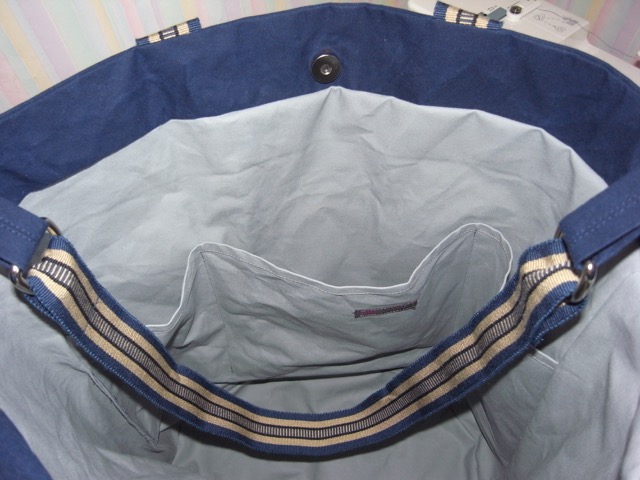
Another inside view, with the shoulder strap. The bag kit comes with a leather strap, but I decided not to use that, and opted for a webbing strap instead, same as I used for the handles. There is an option to make the handles yourself out of the same fabric as the bag. I like the contrast the webbing straps give though.
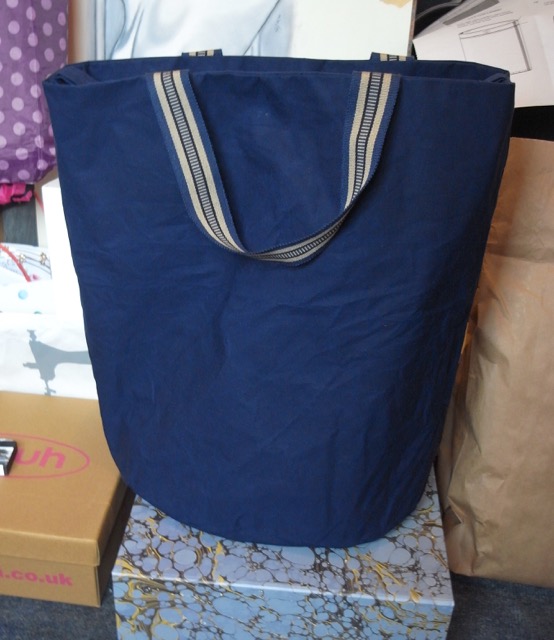
This is a pretty big bag, I think it will be really useful as weekend bag or carry on bag for flights, as well as being a great everyday bag for town and shopping. The 3 inside pockets are the perfect size for your purse, keys, sunglasses and phone. Plus any other small items you don’t want to lose inside the main compartment. the pockets are also ideally placed for good access whilst carrying the bag crossbody, but I reckon would be tricky for someone to try and pinch your purse.
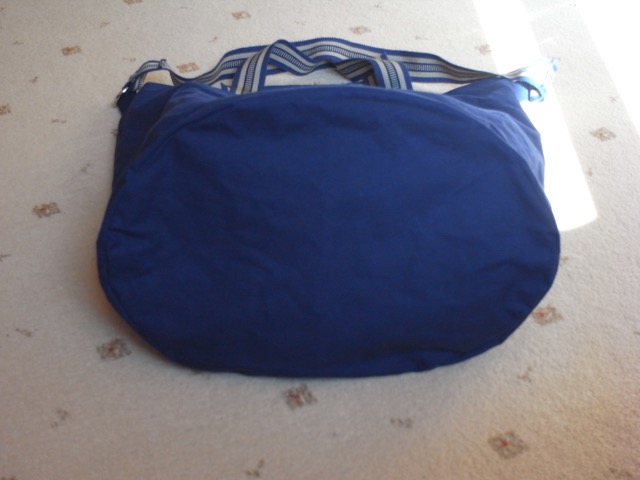
Carrying options, are as follows.
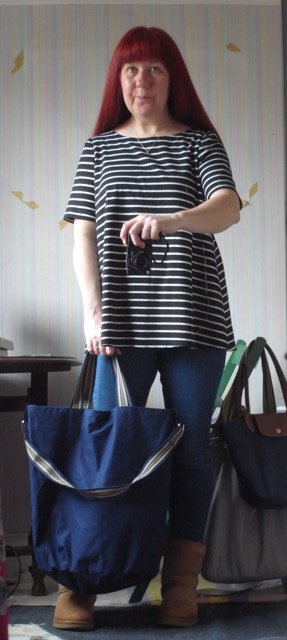
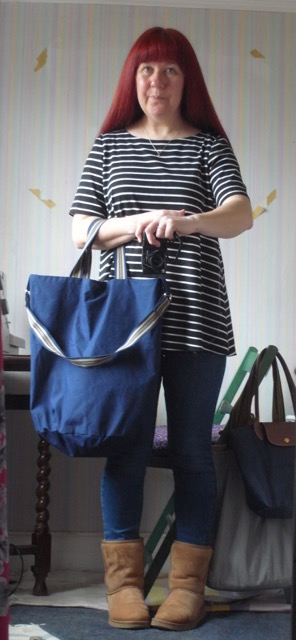
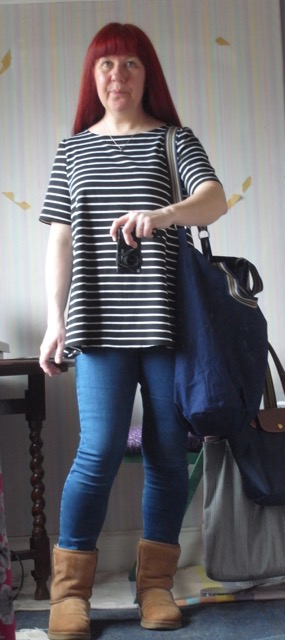
My favourite is crossbody, so comfortable. So there we have it. What do you think?
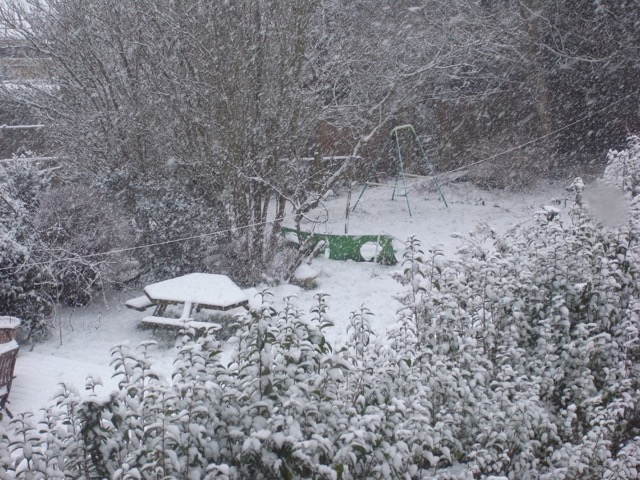
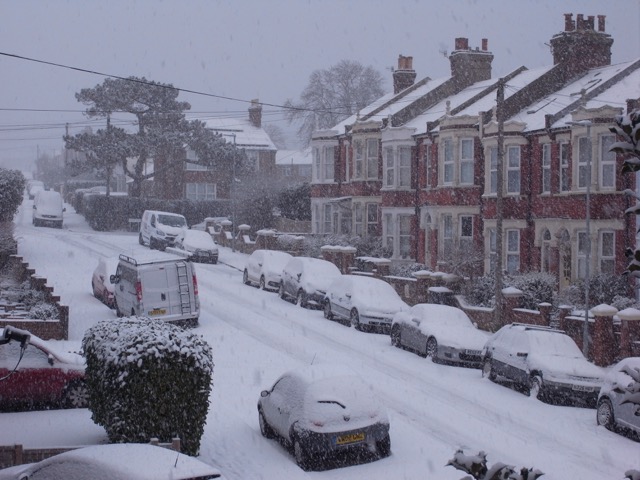
March 11th, 2018
On one of the snowiest days of the winter, I decided to start making a dress for the summer. As you do…
It’s a Trapeze/Marshamallow mash up! Merchant and Mills Trapeze dress with the addition of the Marshmallow ruffle skirt bit.
Gorgeous fabric form FabricGodmother. Feels wonderful to wear. Can’t wait for warmer weather.
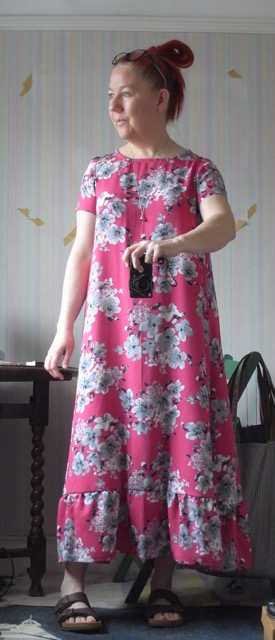
Once again, please excuse the bed hair, had to take pics whilst the light was good.
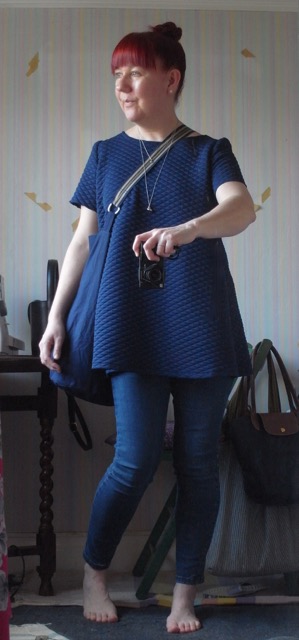
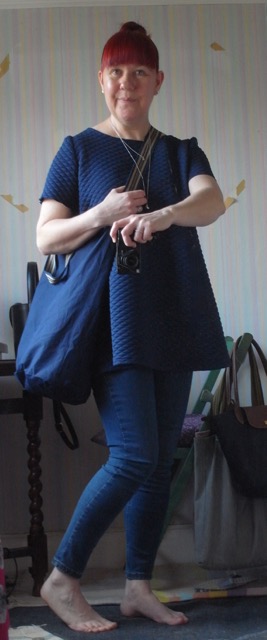
March 3rd, 2018
I’m a creature of habit. And when I like something, I really like something. And therefore when I find a pattern I love, I will make it time and time again. I will also find ways of making it simpler too. For I am a lazy sewer, very lazy. If I can skip a step or leave something out I will.
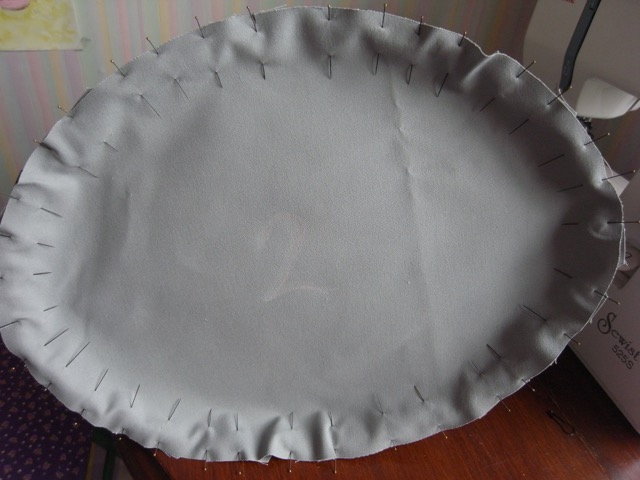
For my latest Marshmallow, I had it all cut out, pockets and all, but it sat in my to do pile which consisted of just that, for about 6 weeks. It has taken me long time to get over the cold/flu type thing I had at Christmas, New Year. And I just couldn’t face making it up. I cut it out, but just couldn’t bring myself to make it up. Why? Mainly because of the pockets. I love the pockets on this dress, just couldn’t bear the thought of sewing them. So I made a few other items in the mean time. One of those being the black sleeveless and pocketless Marshmallow (due to lack of fabric), which I love.
So I ummed and ahhd and finally decided to make another tunic version, but this time with sleeves, but still without pockets. So I cut down the length of the skirt pieces and put the pockets to one side, and cracked on with it.
And very happy I am too.
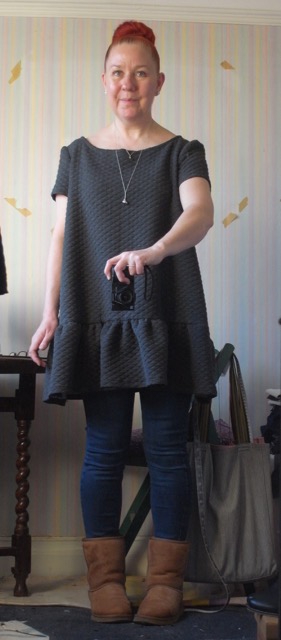
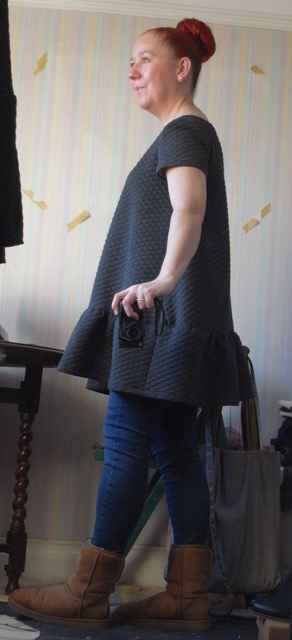
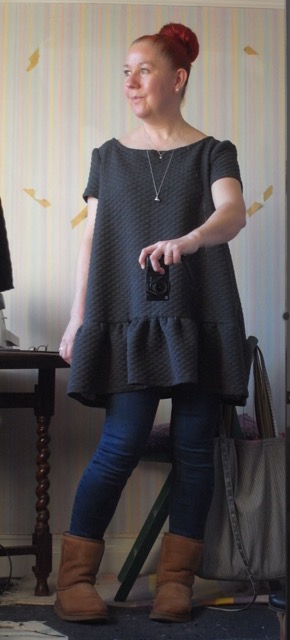
I made the seam allowance 2cm this time instead of 1.5cm, to see if it reduced the size a bit. And it does. However I had already sewn the centre back seam together before I made this decision. So next time I will make that 2cm too. I think it does fit a little better.
I’m really loving this fabric also. Its a charcoal grey quilted Ponte Roma from FabricGodmother, and its so soft, comfy and cosy. However I think it will pill like a bitch!