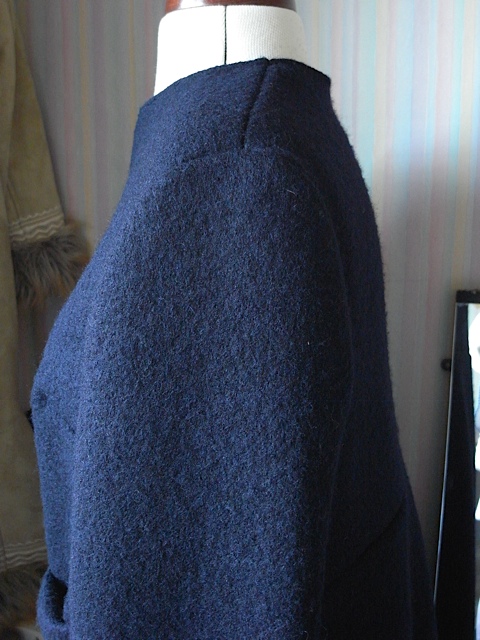
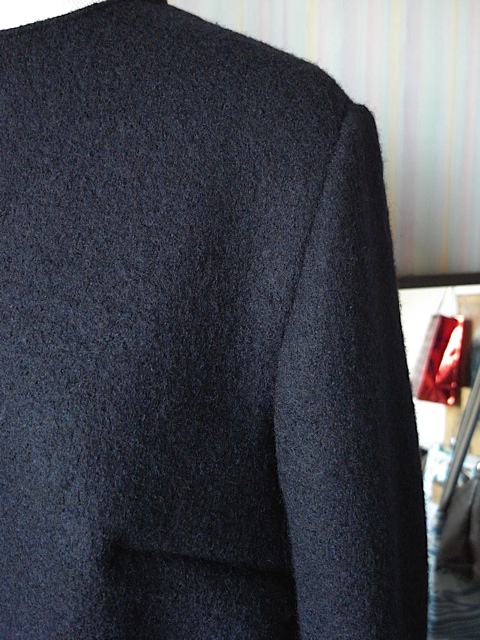
Close ups of the set in sleeves. Here ya go. Aren’t they lovely? I’m really rather pleased with these.
Close ups of the set in sleeves. Here ya go. Aren’t they lovely? I’m really rather pleased with these.
As far as sewing goes, 2015 is proving to be a pretty good year so far. I started with the Mathilde pattern and now have 3. And now I’ve made a bloody coat! So, it doesn’t have a lining or button holes and buttons or any kind of fastening, but it does have pockets! Yes you heard, pockets. Four of them to be precise. Although two are mainly decoration or something as the only things you can put in them are small coins and they’d probably fall out! I bought The Strand coat pattern from my favourite Merchant & Mills . Although my finished coat looks nothing like theirs.
I had a long discussion with a very helpful person in Merchant & Mills, who was so patient with me, answering all my silly questions. I ended up choosing a boiled wool in navy, after hearing that you don’t need to finish the seams and therefore it would be quicker and easier to make! Yeah right…
The pattern packet says Intermediate level, which I now know means, you know what you’re doing so we can get away with not telling you much. After using the Tilly & the Buttons pattern and having all her useful hints, tips and pictures on blog as well as the booklet, you feel like she’s there holding your hand guiding you through every step. And then suddenly I’m on my own, completely and utterly on my own. I knew what some of the stuff meant but for a large part it was guess work. I had to re-do a few things through trial and error, as to me anyway it was not at all obvious what was supposed to go where and what was to attach to what. Thank the lord for pins and my new best friend Gerti, without whom I don’t think I’d have completed this.
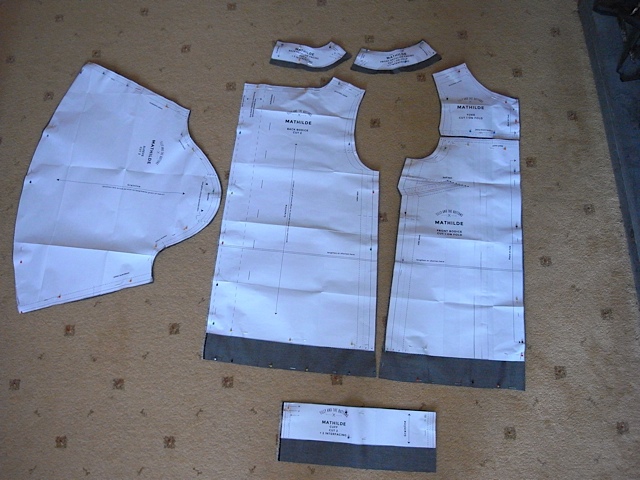
I was told that I’d be able to make this coat from 1.7m of fabric as I was using boiled wool and wouldn’t need facings and could go easy on the seam allowance. My first panic came when I was trying to place the pattern pieces onto the fabric. I just couldn’t get them to fit without a couple of pieces overlapping. Oh this isn’t good, I thought. Then I remembered I wanted to make it shorter in length than the actual pattern. So I measured and cut off about 5cm I think, I can’t remember the exact amount, from front and back. And this allowed all my pattern pieces to fit correctly. Panic over. Four and a half hours later and I had all my fabric cut out. I am learning to be really really slow and methodical. Its worth taking your time and redoing things if need be.
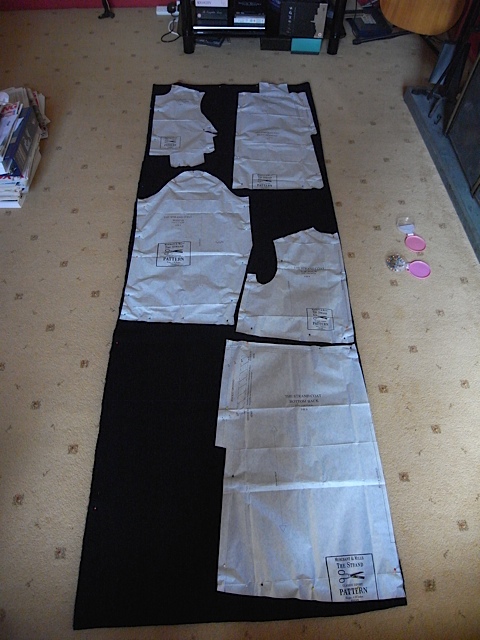
Bit of a tight squeeze! Doesn’t look it but trust me it was.
That was enough for one day, I had become really tense around the neck and shoulders and knew I shouldn’t do anymore.
Day two: This involved marking out the notches and darts and marking out pocket placements. This was one of the things that had me scratching my head and frowning a lot. I ended up doing what I thought was best and luckily this turned out to be right. I did this a lot. I marked out the darts with tailor tacks, which I’d never done before, so after a quick Youtube tutorial I was ready to have a go
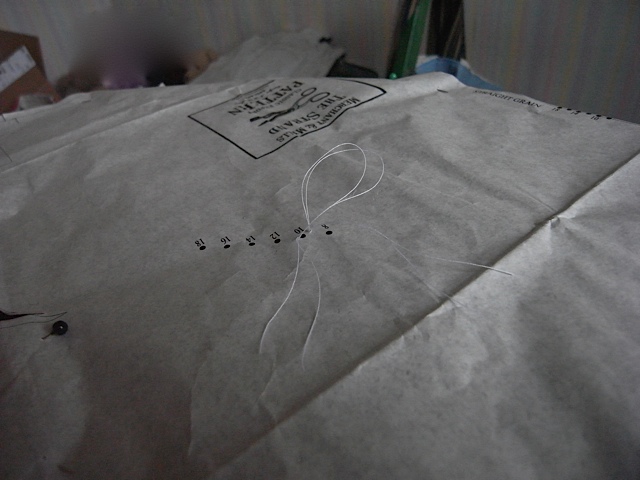
Can just about see it.
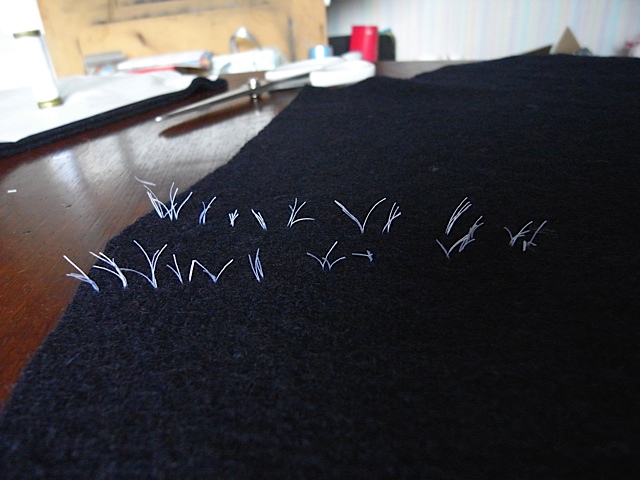
A whole dart marked out with tailor tacks

Can see them here too. This is Gerti by the way.
Next came pockets, I used Liberty print fabric in navy and cream to line the pockets. After much frowning and thinking and doing it wrong to begin with I finally worked it out. and I’m very pleased with them.
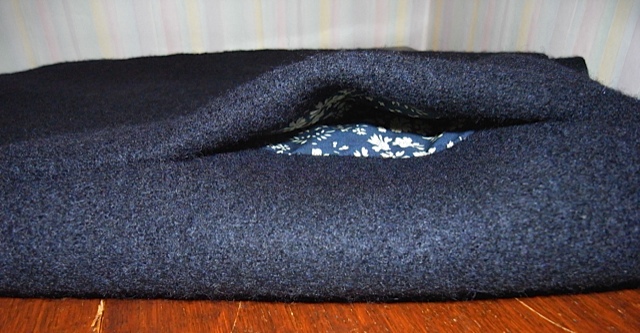
A little peek…
I think all this took me about six and a half hours. I stopped there and picked it up a day or two later.
Day three: Now it was time to join the side seams together of the top bodice pieces . This was when I found out I’d done my bust darts wrong, as the pattern didn’t make it clear where exactly they were. Well wasn’t clear to me anyway. I might find it a bit more obvious next time I work with a pattern with few instructions. I just couldn’t get my side seams to fit right so worked out that the it must be the bust darts. So I had to unpick them, re-attach the paper pattern piece and mark out the bust darts with the tailor tacks again and sew them. This time the side seams went together better.
Now I had to join the top half to the bottom half. This was fun. I pinned it where I thought it should be and it didn’t look right to me, so I did it again and it didn’t hang right or sit right and looked down right awful. I was not happy. So I figured the first way i did it must be the right way. So I pinned it again, using lots of pins. Hung it on Gerti and felt it looked better. Just to be on the safe side I baste stitched it and baste stitched the shoulder seams so I could hang it again and see how it looked. This time it was better.
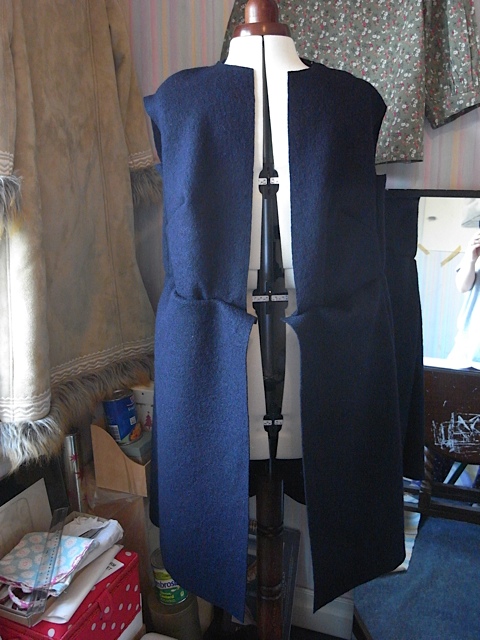
1st attempt front.
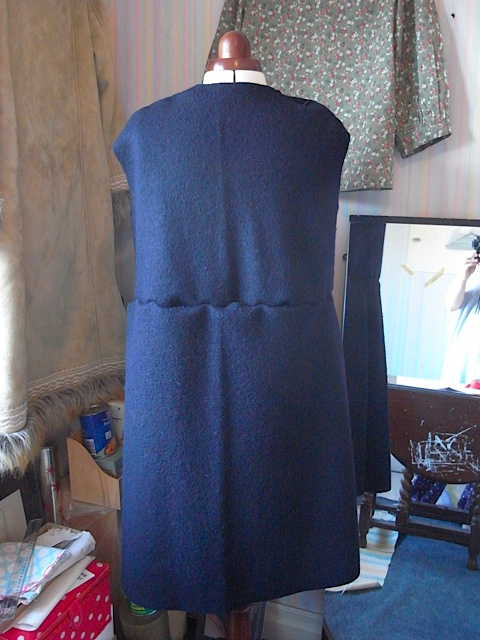
1st attempt back.
Doesn’t look like I’ve uploaded the photos of the second attempt. Oh well. Once I felt I’d got it right, I stopped. It took me ages to figure out if I was happy or not.
Day 4: After looking at it for a day or two I decided I was happy with it and now I had to properly sew the two halves together. I had to do a little hand stitching through the side seams as where the top met the bottom there was an awful lot of fabric and I couldn’t get it through the sewing machine. I knew this from the baste stitching exercise and I was a little worried that my hand sewing wouldn’t be good enough, but it appears to be OK. Next I did some top stitching at the side seams and the side pockets.
You can see the bust darts quite clearly here, and just about see some top stitching.
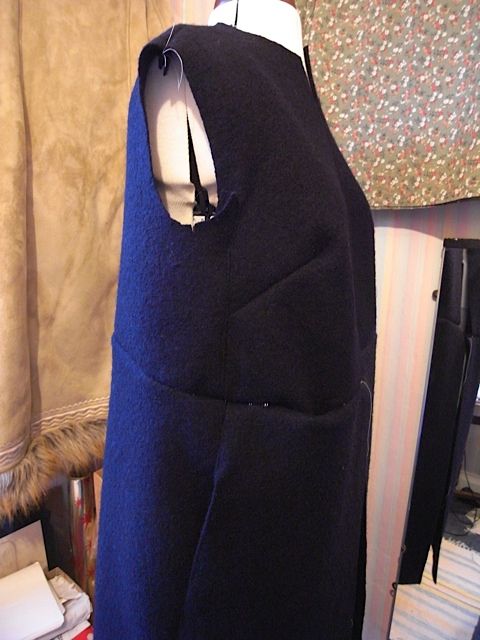
Time for sleeves. I was a bit anxious about this, but it had to be done. I first sewed the elbow darts, then joined the sleeve seams together. Next up was to sew the couple of rows of ease stitching. The pattern said to secure at one end only, I wasn’t sure what this meant but thought it might mean do some back stitching so they don’t come out. I wasn’t entirely happy about this but its what I did. Not sure if it made things easier when putting in the sleeves or not, but I managed it. all in all the sleeves went in quite easily and I was pretty happy with the results. I love the fact that the minute you attach sleeves to something which should have sleeves the garment looks hundred times better even when its not finished…
Sleeves in, too long but I’ll sort that. Bloody hell, looks like a coat!

From the back
I was amazed at how quickly I was able to put the sleeves in, took me just under two hours. Then I spent an agonising amount of time trying to decide what to do with neck line. I wasn’t happy with it as it was, and as I wasn’t going to be doing a facing it might well have ended up staying like that. I decided to try just turning over a little bit of the neck line and pinning in place to see how it would look. It looked good I thought. Then I sewed it in place. Was happy with it till I tried it on, and the inside of the neck wanted to bounce back out. Hmmm, what to do? I deliberated and thought about it and ended up cutting off the excess fabric, and luckily it worked. No more bouncing. YAY!
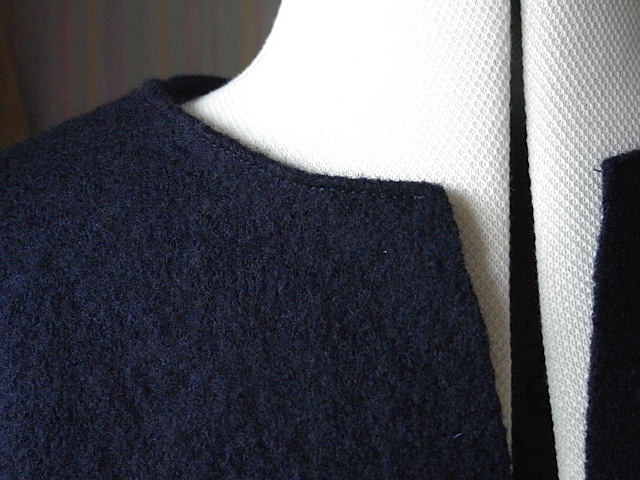
Lovely lovely neckline!
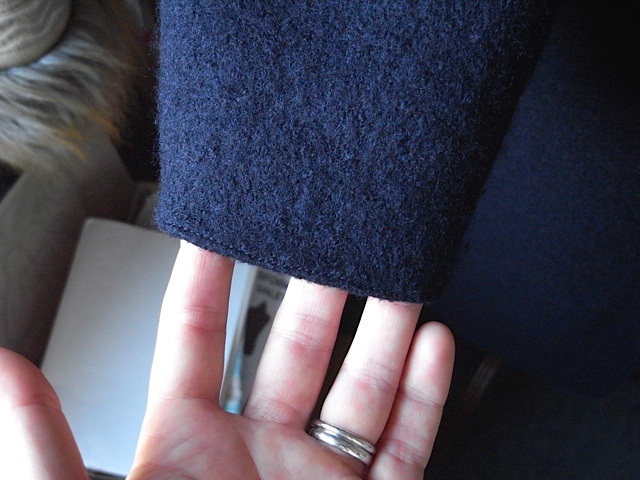
Then I had to decide how long I wanted the sleeves to be. They were too long as they were, so I pinned them at various length till I hit upon the right length for me.
Just about see the pins here…
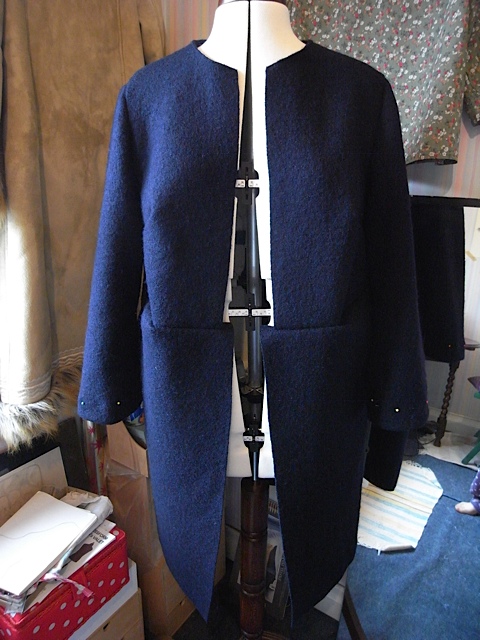
Day 5: My next problem was what to do about the excess fabric at the waist seam, where the bodice joins the bottom. I had this mainly due to the fact that I cut off a 2cm allowance on the bodice that was to accommodate a hook and eye fastening, but didn’t take it off the skirt section. I was thinking about cutting off the extra 2cm allowance but wasn’t convinced I could do it evenly. I pinned it first to see if I it would look any good, It looked OK but I still wasn’t convinced I actually wanted to cut it off, I kind of liked the extra fabric, felt it gave it a bit of a design element a bit like a Marni coat. So I kept it. And i love it. And now I think its finished.
See the way the fabric extends beyond the top half.
Top stitching on the sleeves.
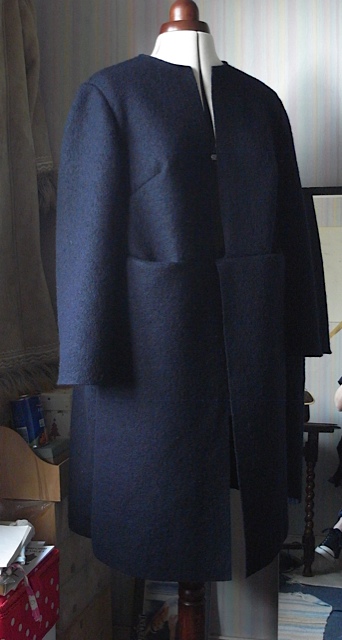
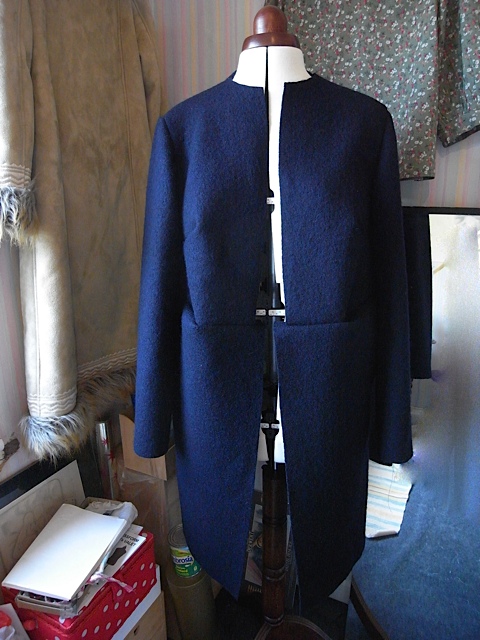
Here it is on Gerti
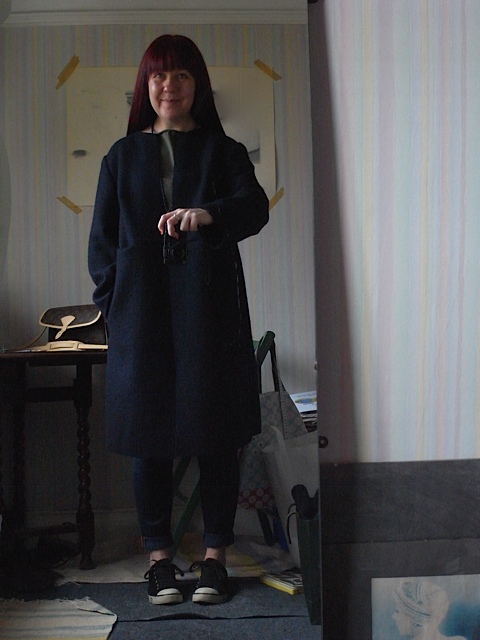
Here it is on me.
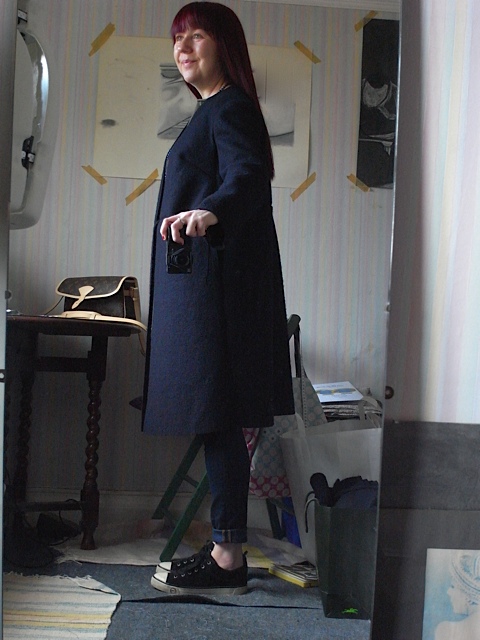
side view
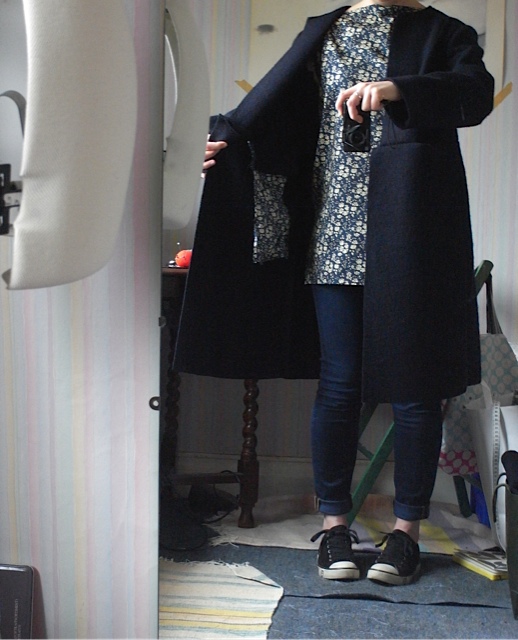
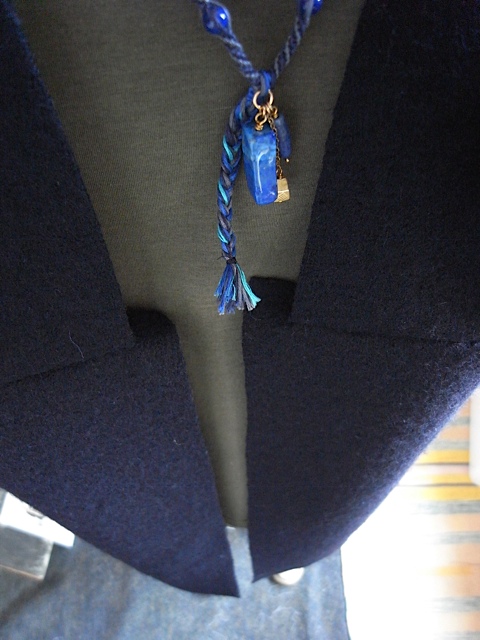
I can match my pockets to my outfit!
I think thats about all for now. My Husband thinks its odd, but he doesn’t always get fashion. I don’t know if this is fashion, but I do love it. I wasn’t sure about half way through the make that I was going to like it, but i do, I love it! Its not a traditional coat and I’m not a traditional girl. So i think it suits me.
All in all i think this took me about 25hrs to make. So far the most labour intensive item I’ve made.
I’d like to add that I love the position of the side pockets on this coat. They are in the perfect place to just casually slip your hands in and be really comfortable.
Finished my 3rd Mathilde blouse. Did I tell you I love this pattern? I made this one 5cm longer though and I’m much happier with the length now.
lengthened bodice front & back, and also made cuffs and facings a bit deeper. Makes them easier to work with.
No pics of me wearing this yet as I haven’t got a decent one. As soon as I have I will post it.
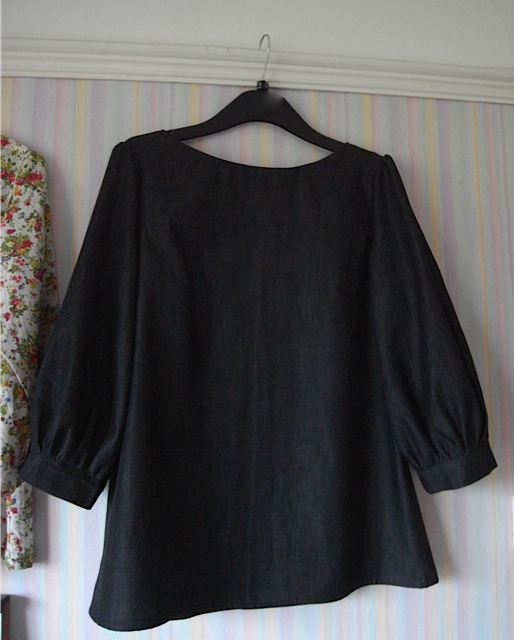
Made this one from black 5oz dress weight denim. Love it, think it worked really well. I was a bit worried the fabric would be too thick for french seams, but happily it was just fine.
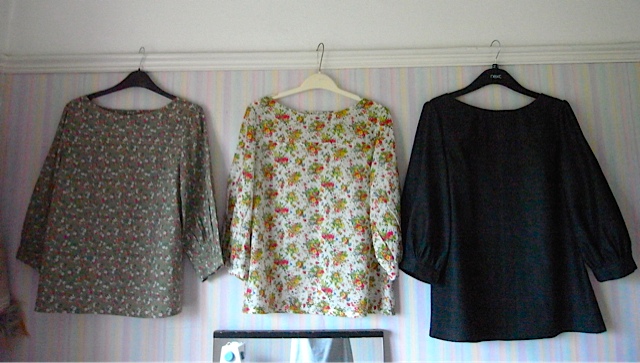
3 Mathilde blouses all in a row!
And I have the fabric all ready and waiting for Mathilde blouses 4 & 5…