This is my most expensive fabric so far. Or it would have been if it hadn’t been in a sale. I bought this beautiful fabric online from joelandsonfabrics.com, in their winter sale. It was a bit of an impulse purchase, was either going to be a new bag or fabric, and as I apparently have enough bags (at least according to the Husband) I went for fabric. Cheaper than the bag would have been too. Anyway like I said bit of an impulse purchase and wasn’t too sure why I bought it when I was thinking about it later. Totally not my sort of thing really, floral and a sort of greenish/yellow colour! Sounds disgusting.
As it was the last remnant of a roll it was a fixed amount, luckily that was two metres. And I think about 140cm wide, so I knew I would have enough for a top or dress. Oh and its Emanuel Ungaro!
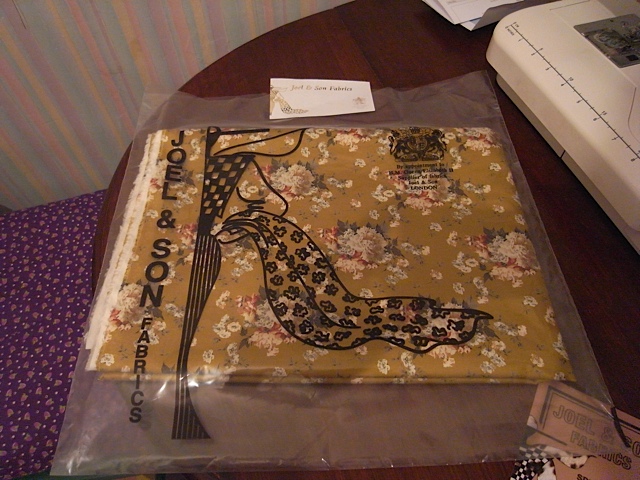
It arrived in beautiful branded packaging, I like the nice touches like that.
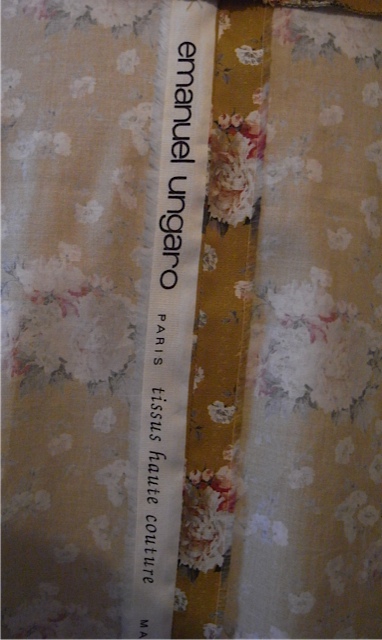
Just look at that selvedge. Had to keep it as part of the dress.
When it arrived I was at first a little non-plussed. I had decided I wanted to make a dress with it but then thought it might be a little too thin to work as a dress. I didn’t rush into making anything with it. I did however bung it in the wash so when I was ready I could get on with it.
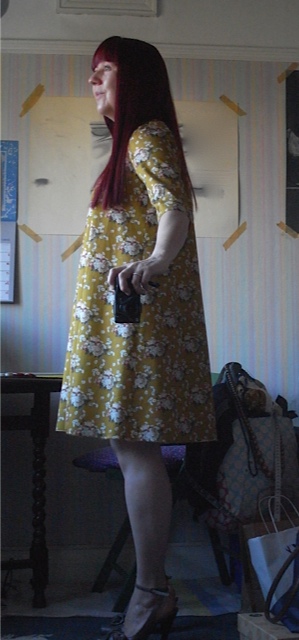
The colour in real life looks a little more gold and it’s got an almost metallic sheen to it, I can’t really describe it. The flowers are quite simply beautiful and appear almost photographic, the detail is quite stunning. I’m no expert but think they might be Camellias.
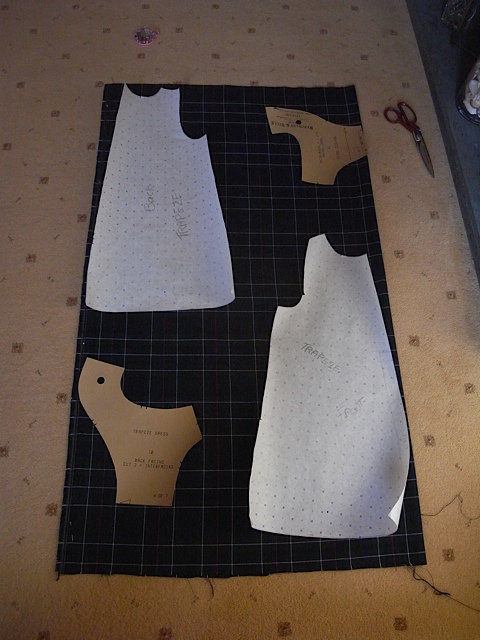
I decided to go for it and make it into another Trapeze dress (I know I know, I said I wasn’t going to keep making the same pattern but I can’t help it, I love the Trapeze and also I didn’t want to risk using a new pattern and possibly ruin the fabric, so there!). I have a wedding reception to go to soon and thought this would make a lovely dress to wear for that.
I nearly had a panic attack when it looked like I might not be able to squeeze the a Trapeze out of the two metres of fabric, don’t think it was quite as wide as I thought it was. However the Husband came in to find me looking quite distraught and came to my rescue and rearranged a couple of the pieces. I would have probably got there in end but you know he saved me from at least an hours worth of anxiety. Sometimes it does help to have another persons perspective.
It is a bit of a tight squeeze, but did fit.
I have to say this fabric was dream to work with. It behaved itself so well. And was quite simply delightful to handle. and because of that I nearly had it finished in a day, and I would have done if I hadn’t had to eat, although I suddenly became aware that the fabric was quite expensive and I was getting tired and setting in the sleeves is often where I unpick, and I really didn’t want to unpick. So I knew it was best to stop.
I picked it up again the next day, and as always took me bit longer than I anticipated mainly due to trying to work out how long I wanted the sleeves and the length of the dress. Once I had that sorted it was plain sailing.
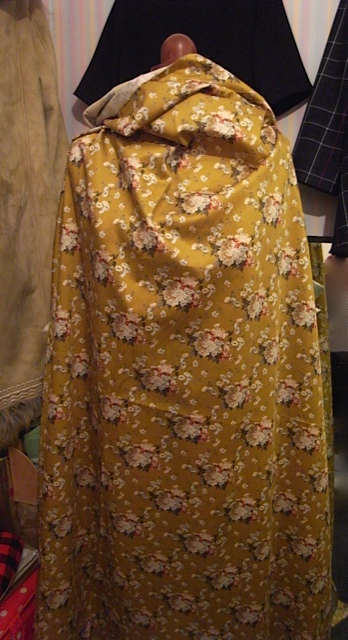
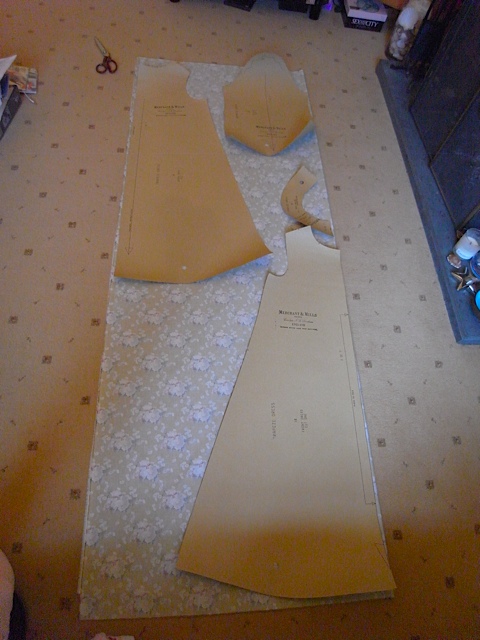
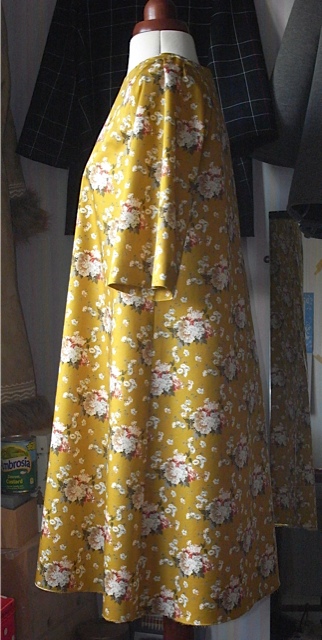
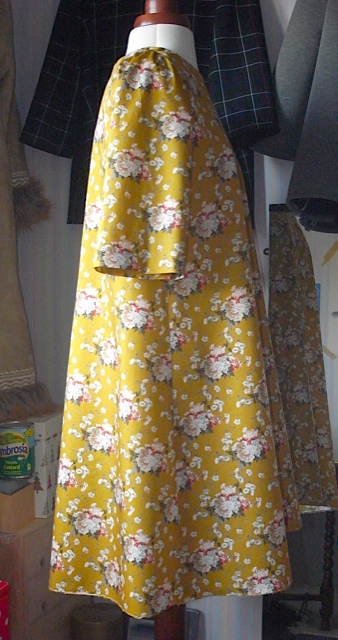
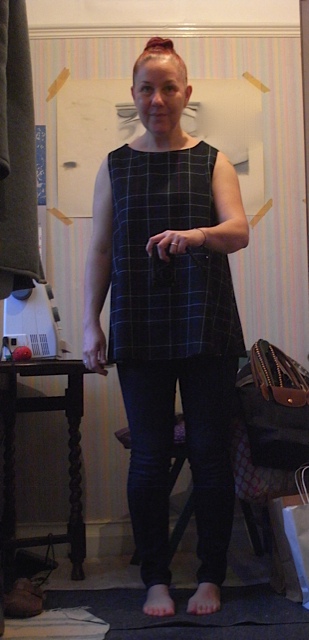
The above picture shows sleeve and dress length as yet undecided. I’m always a bit nervous of shortening, as once its gone its gone. I often end up erring on the side of caution and shortening things twice. However I am learning what length suits me best.
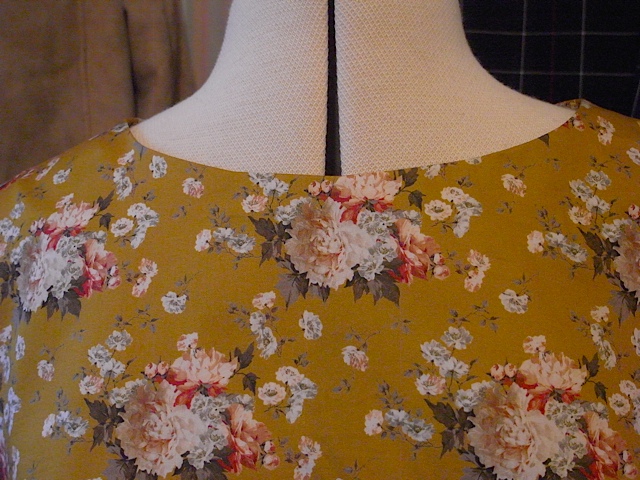
Here’s a close up of the gorgeous flower detail.
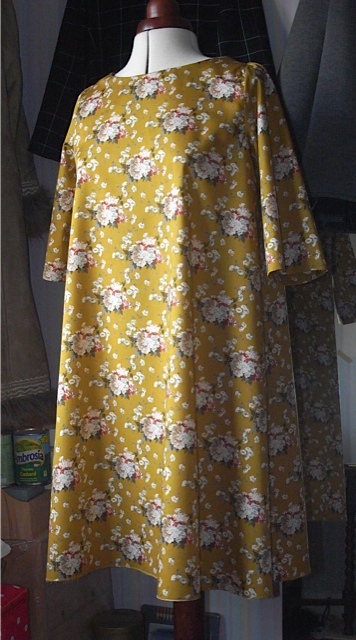
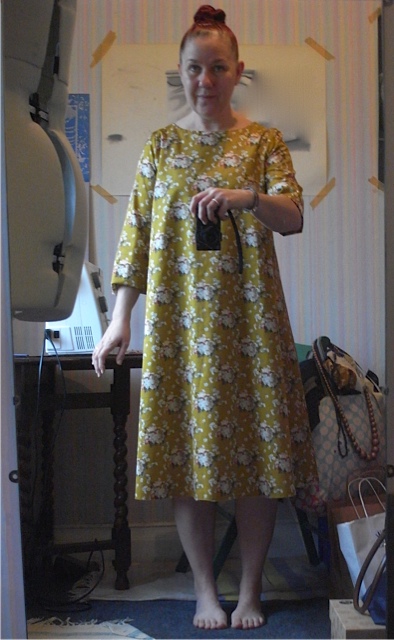
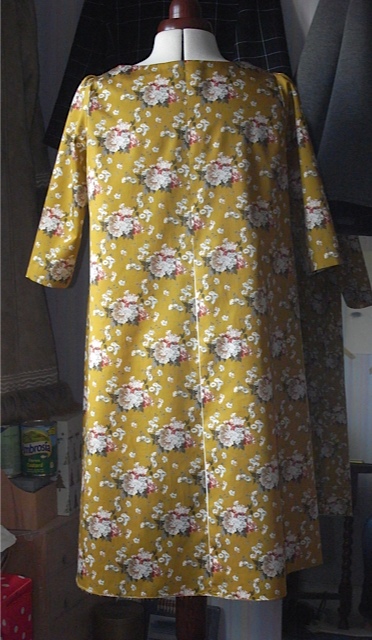
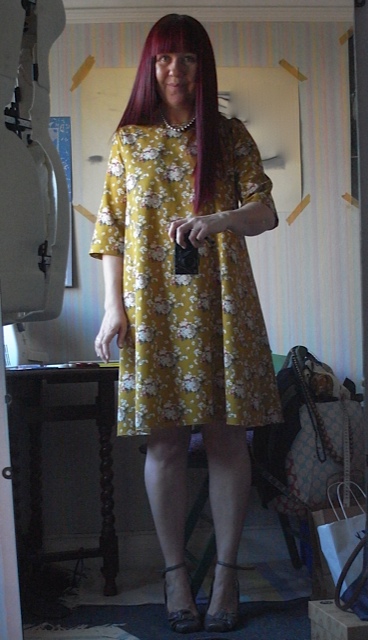
Finished.
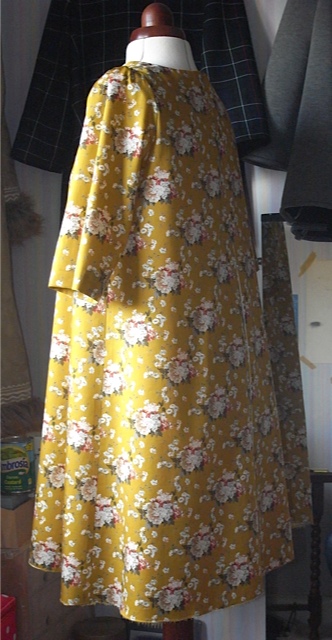
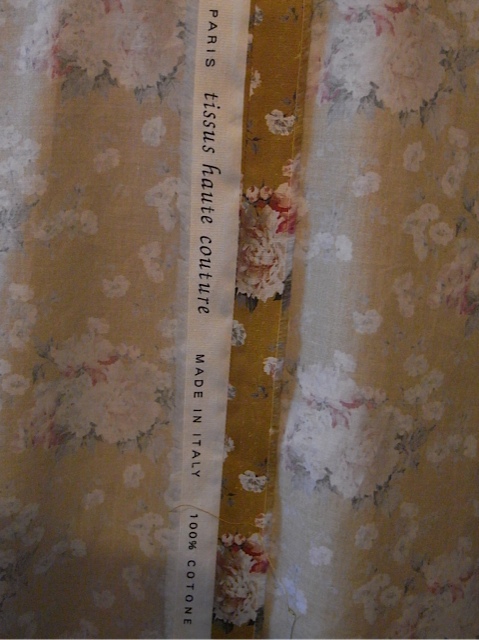
In the above picture you can just about see a white line running down the back centre seam. This was due entirely to me wanting to keep the lovely selvedge that said Emanuel Ungaro and have the words Haute Coutoure in something I’m wearing. The pattern has a 1.5 seam allowance and the selvedge was about 2cm wide, tired to accommodate that but as it was a tight fit getting all the pattern pieces to fit anyway well it didn’t work too well. I can live with it, I have too.
The above picture is a fairly good representation of the colour.

I have to say that another reason that I love the Trapeze pattern is, that its a nice loose shape and means I can eat and drink what I want without worrying about the bloat.
Very happy with the finished garment I have to say. Feels absolutely gorgeous to wear. Feels a little bit special :0)
I would totally recommend checking out joelandsonfabrics.com, they have some really beautiful fabrics. They even have Chanel Boucle if you fancy making yourself a Chanel jacket, but be warned the cheapest is £1,490 a metre! How terrified would you be to cut into that? Its fun to look around though at all the gorgeous stuff they have and dream.
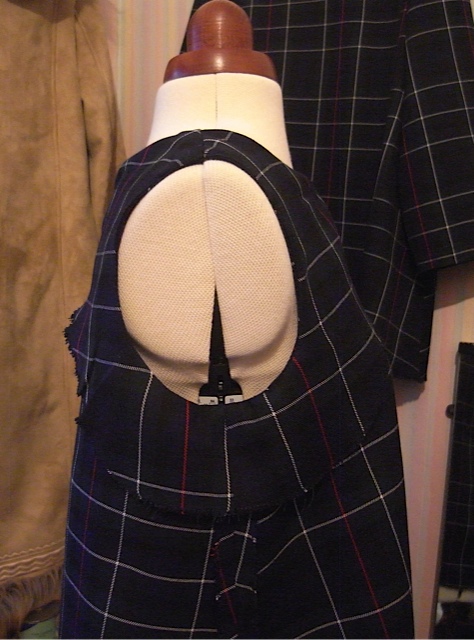
What a F*****g nightmare! I do not exaggerate , I really don’t. Making this was, how shall I put it? Traumatic! I am not one to over dramatise but this really was one of the most mind boggling things I’ve ever made.
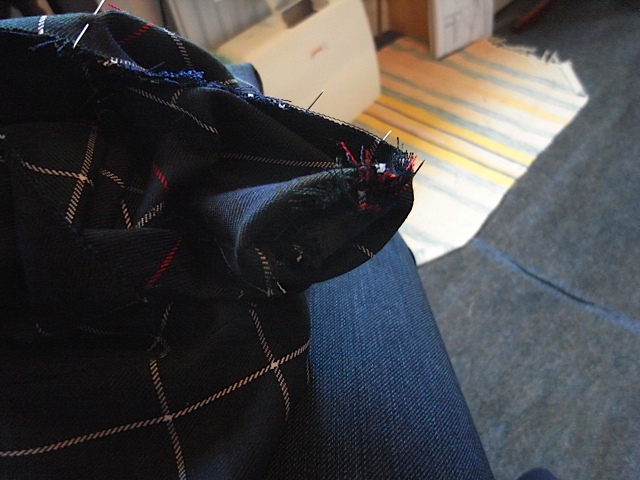
It all started off innocently enough. All was going to plan. Cut out the fabric, put the front and back together. Constructed the facing, attached it to the neck. Was thinking, I might have this finished today. And then BAM! I hit a major brick wall. The armholes OMG the armholes, more to the point the armholes facing. WTF!
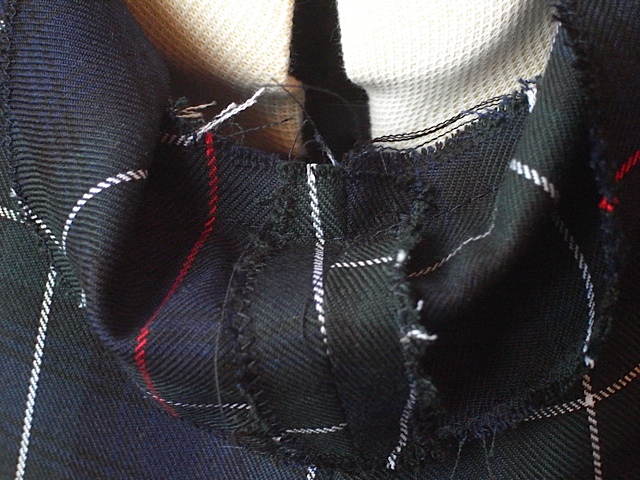
I started off OK, I pulled the facing outside and turned it over so right sides were facing each other. Started to pin in place pulling the inside out as I went, got to about half way up the armhole when it all started getting messy. And it was at this point that I decided that the good people of Merchant & Mills had lost their minds and missed out an entire section of instructions. It didn’t seem to matter what I did I could not get my garment to look like their illustration.
I can tell you now people, the air was pretty blue around me at this point, I was frustrated beyond belief. The Husband hearing my moans of despair came up to see what was wrong and when I explained, he had a look and tired to help. He couldn’t figure it out either. We were both convinced something was missing.
So I had to put it aside for a couple of days and wait till I could get to Rye and go see M&M in person. Which I did on the Monday. They were very helpful and assured me that they hadn’t missed anything out and that it was very common for people to get confused at this point. So that made me feel a bit better. Anyway the lovely lady pinned one half of the armhole for me and I watched intently as she did so. She said it really feels wrong and twisted whilst you’re doing it but it all works out in the end.
I couldn’t do anything till the next day. So finally I sat down to have another go. I stitched the side that was already pinned. And that takes some working out too. How best to place this deformed piece of cloth under the sewing machine? Once I figured out the best way for me to do it I started sewing. And let me tell you it still was not simple. I finished that half (oh and by the way I tacked it before sewing proper, just in case) and took a bash at pinning the other half. Trying to remember how she did it. Mine looked almost like hers. I tacked that side and then turned the facing to the inside. Hmmm, not quite right, nearly but not quite. It gets a bit messy at the shoulder seam. So I unpicked and had another go. Still not right. So I decide to have a go at the other armhole.
I will try and explain how its done.
What you do is, start by puling the bottom of the facing to the outside of the garment and matching the seams so right side is facing right side, and then pin, then keep pulling the facing to the outside keeping the edges together and pin as you go. You do one half at a time. Now as you get to about half way up the arm hole things start to get very messy but persevere, keeping hold of the edge of the armhole facing and the armhole you just keep pinning and the garment gets more and more twisted, as you approach the shoulder seam you almost turn it inside out, but just at the shoulder keep pinning until you meet the seam. Now attempt to stitch, once you’ve done one half you do the next half in the same way. working up from the side seam to the shoulder seam. Apparently once done you turn it back through to the inside and voila a perfect armhole facing. At least thats how it should happen. Good luck!
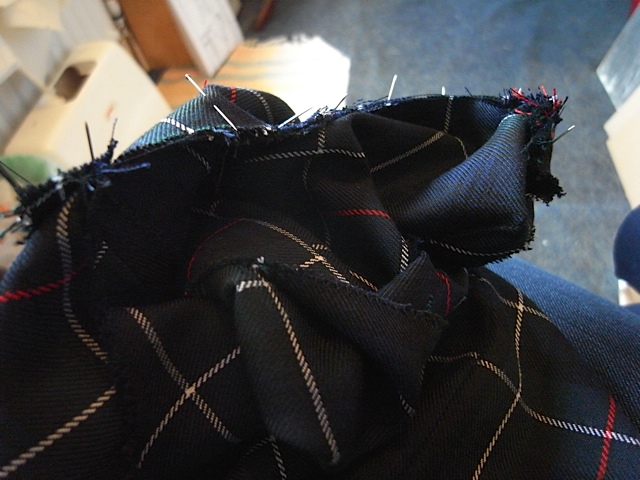
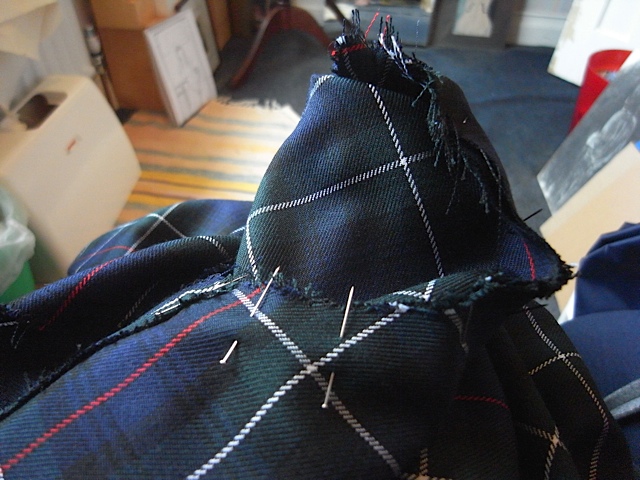
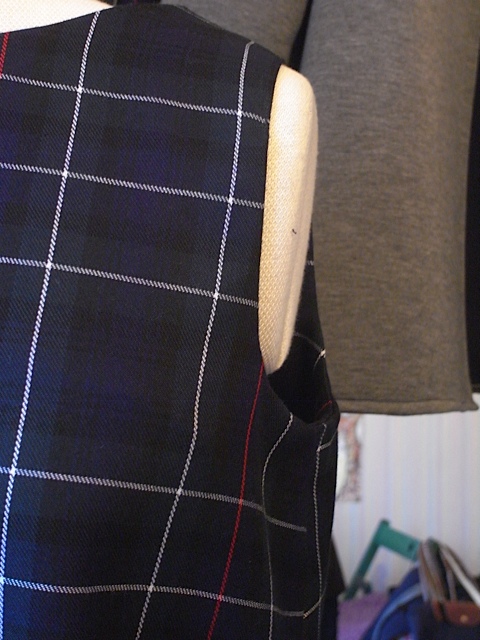
There will now follow some pictures in the hope that you get the gist of how horrible it is.
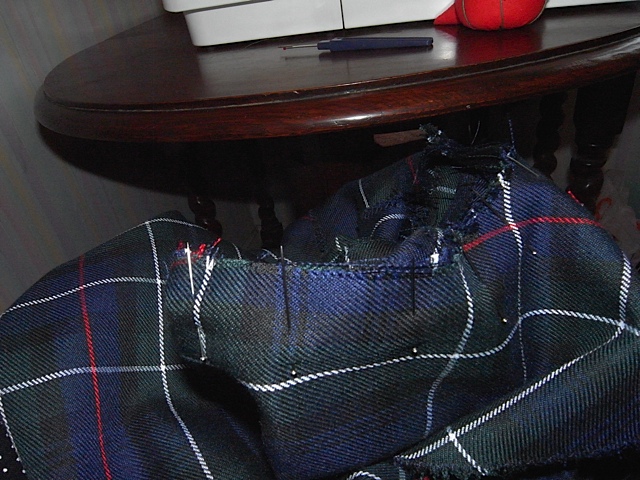
You can’t really tell whats going on here, and I can’t really explain it.
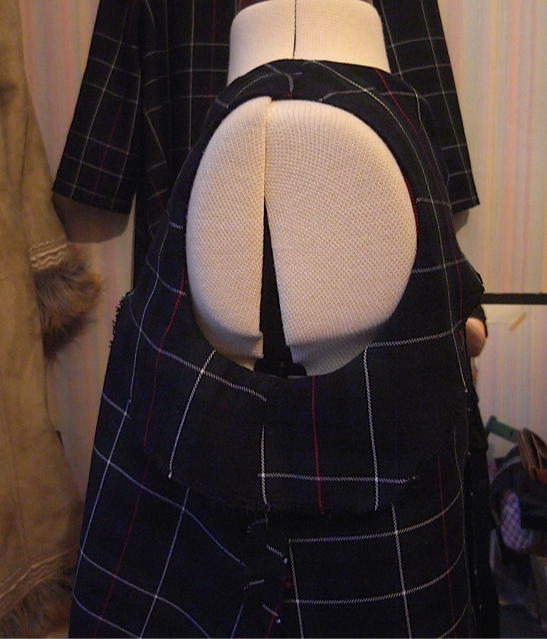
The bit sticking up is the shoulder seam.
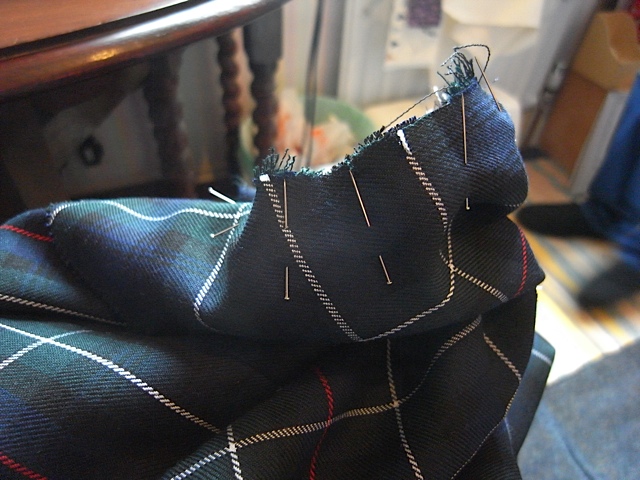
Thats a bit more shoulder seam. Clear as mud eh?
Once again The shoulder seam beat me. I just couldn’t get it to lay flat, looked horrible. In the end I unpicked about 3inches of the top of the shoulder and top stitched it down, very close to the edge.
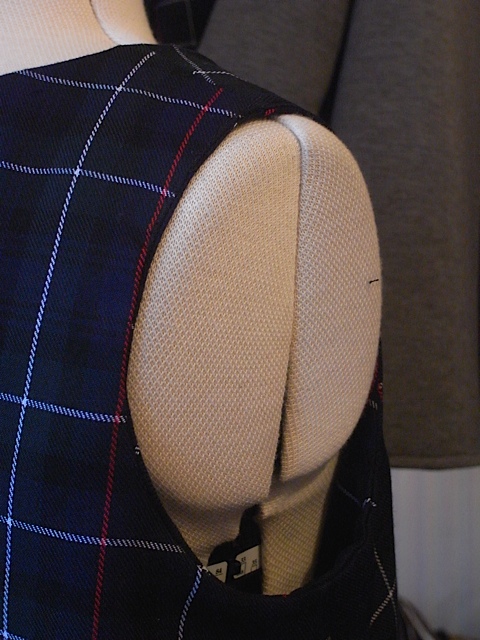
I think it works quite well and stopped me from completely giving up. I shan’t wear it when I go shopping in M&M as they might disapprove of my method.
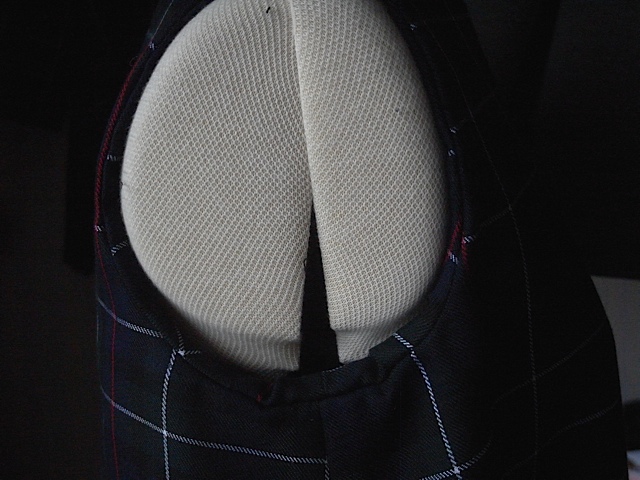
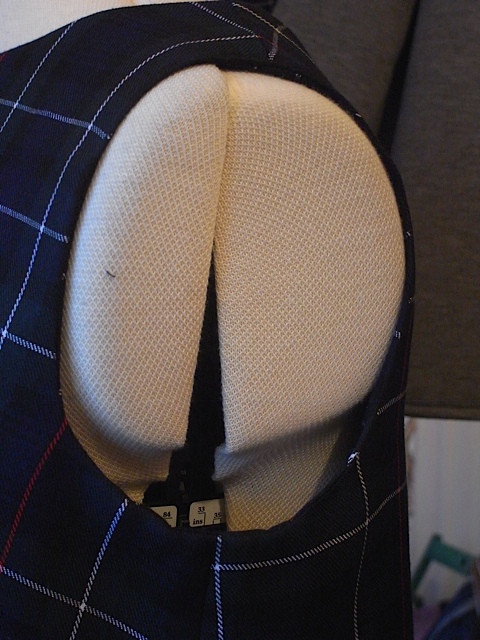
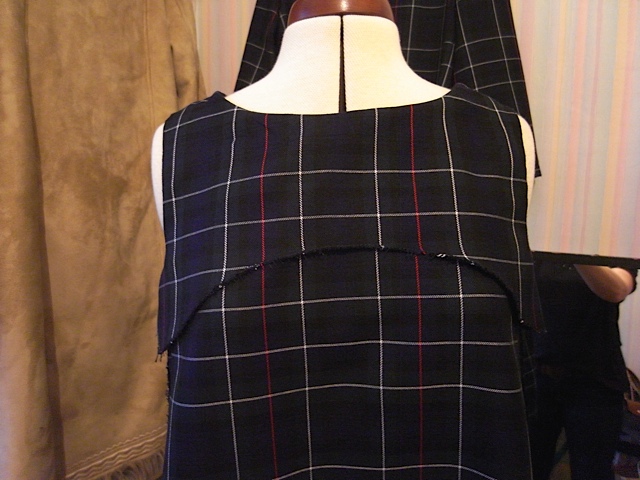
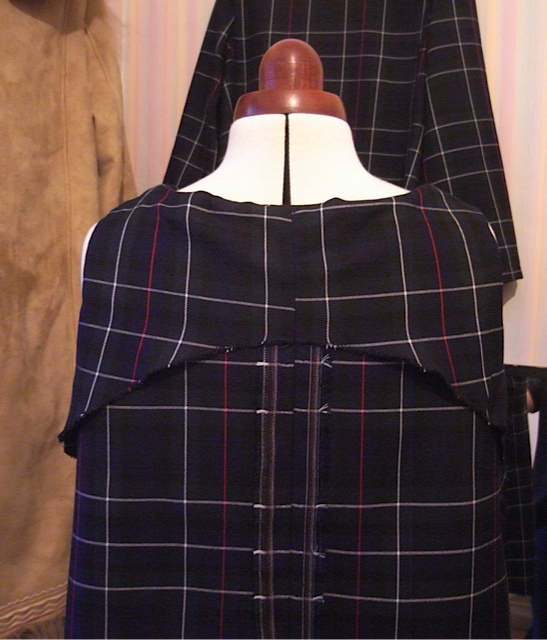
I’ve put the above picture in just to show what a difference a really good press makes to a finished garment. I am truly amazed that the armhole ended up looking so good. And it was all down to the magic of the iron. Above picture is pre-ironing, and below is after ironing.
Ta dah!
Looks all lovely and innocent now, but it truly was a monster!
This is the inside of the garment. Look how well I’ve pattern matched it, right where nobody will ever see it…
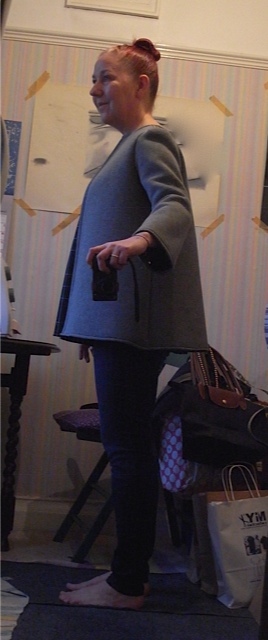
One of the main reasons I made the sleeveless version was to have something that would go under my scuba cardi/jacket thing. The sleeves are quite snug on it so sleeveless is best for it really. And it does fit under it beautifully.
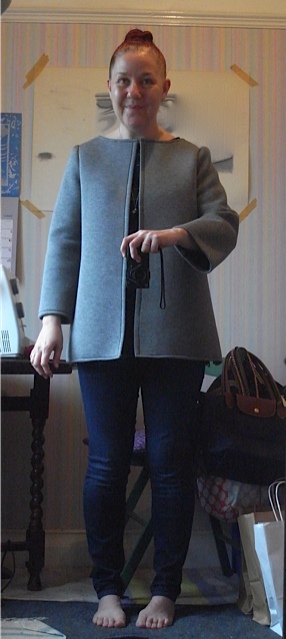
You can’t see it, but its there. Fitting very comfortably.
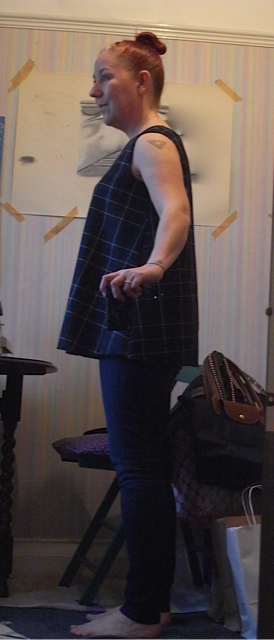
Have to say I’m not overly keen on the sleeveless look on me. My arms are not very toned anymore and look a bit stubby I feel, but needs must and I’m going to wear it. It was a challenge I have to say and I nearly gave up. So glad I didn’t. And even though I didn’t end up doing it exactly as I was supposed to, it still works and looks good. I partly blame the fabric, it frayed terribly and was quite difficult to manipulate. So there!
I have to add and this is quite important, might be obvious but I didn’t work it out I was told. Do not attempt to do the armhole facings with the garment on a dressmakers dummy. Can’t be done, end of!
Will I make another, yes, but a dress next time. And I’ll try and find more appropriate fabric.