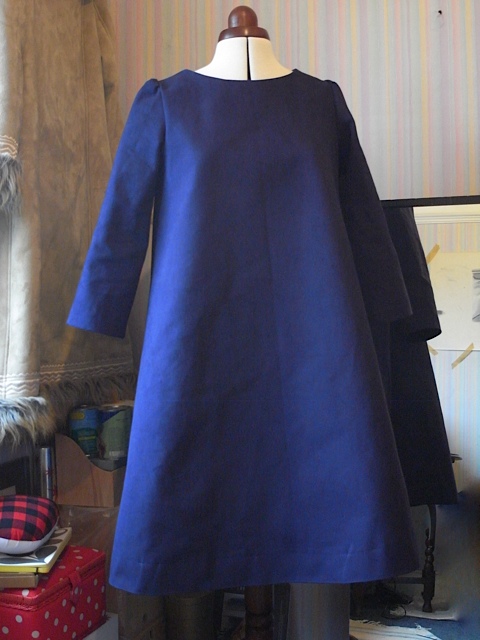
Love love love this one. 8oz washed denim from Merchant and Mills.
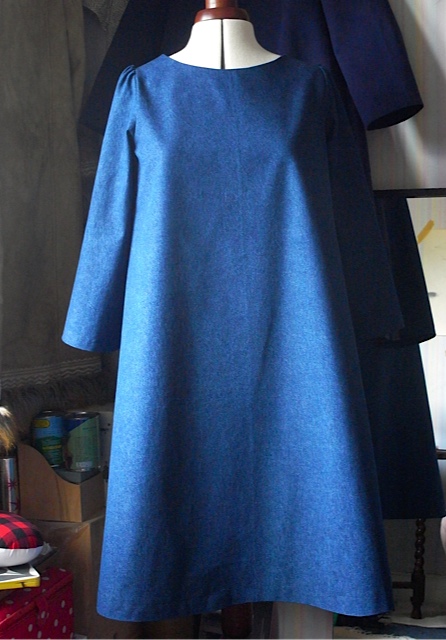
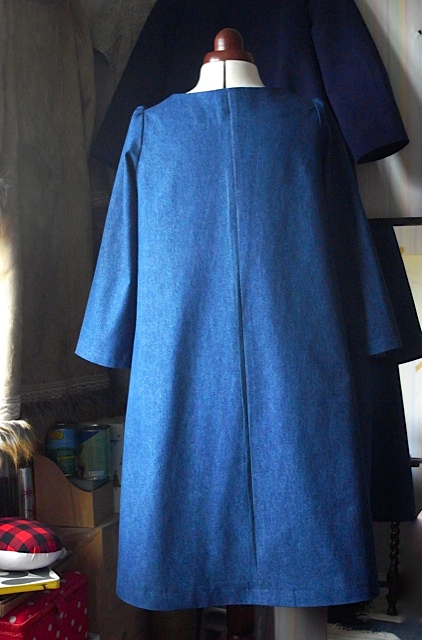

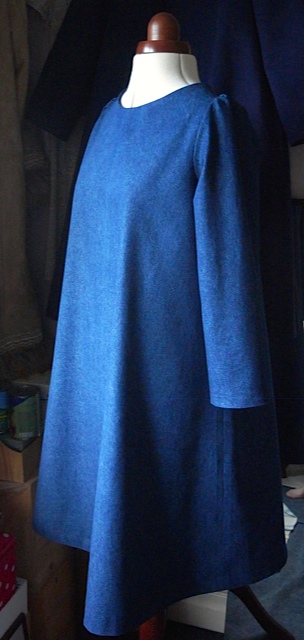
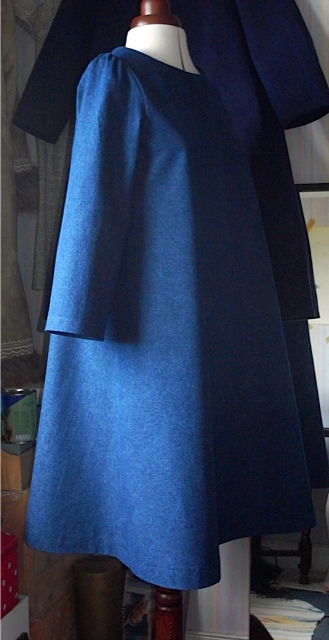
Not much to say, went together beautifully again, just have trouble getting the sleeves in smoothly but still looks good slightly puffy. hangs and drapes wonderfully in the denim, a little softer than the canvas.
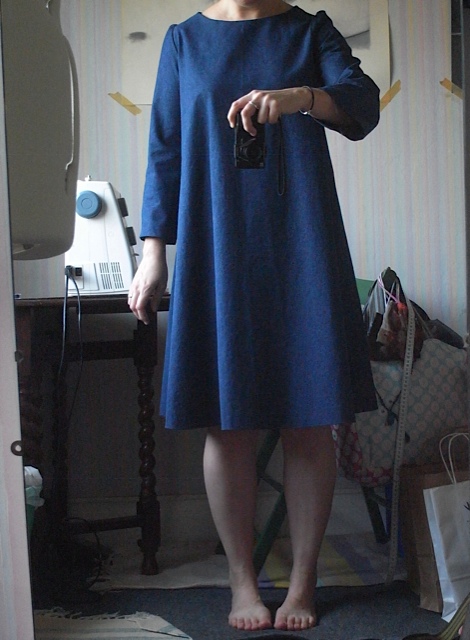
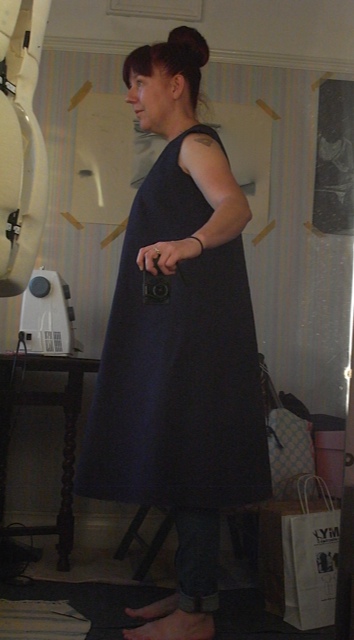
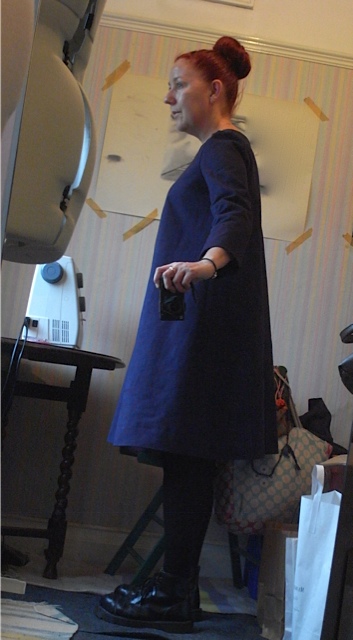
Just adding a mod pic for reference. Cropped head out as had major bed head hair! I usually start sewing before I make myself presentable.
Or dress for that matter?
After the disappointment of the Top 64 I decided I was going to make the Merchant & Mills Trapeze dress, properly. I bought this pattern in the pre-cut cardboard, size 10, about 2 years ago, when I first started sewing as I thought it looked nice and easy. And after getting it home and reading the instructions I realised it was far from easy, got scared and put it away. And then I made a simpler version of it (although I don’t think I can remember how I did it).
Now, more than 2 years later i’m finally ready to give it a proper go. I’m using the cotton canvas I originally bought for the Top 64, I think it might be a little thick for it, but I just have to use it, I have a feeling it will work.
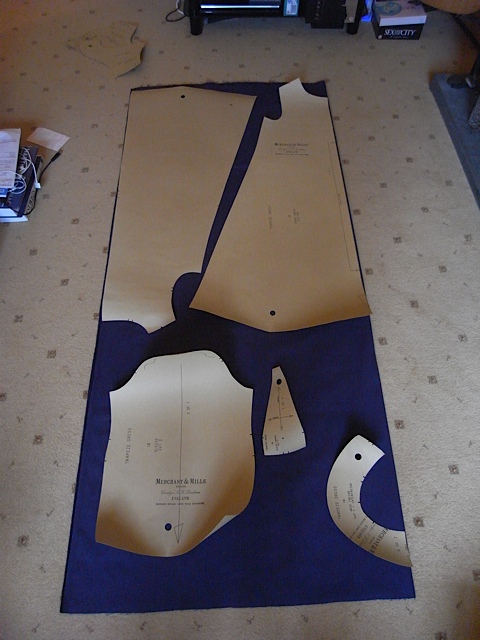
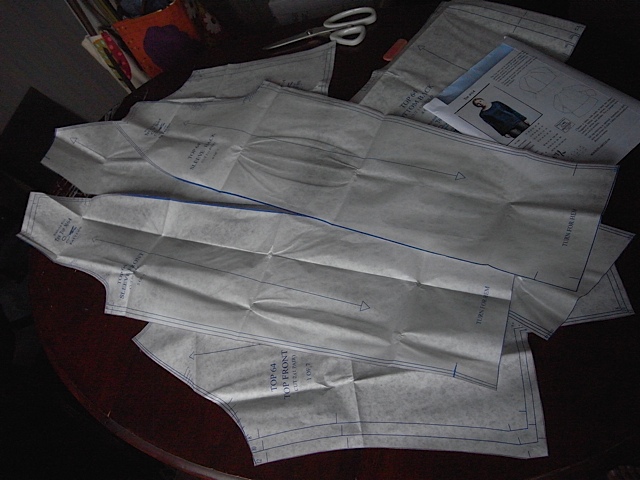
The pattern pieces laid out. I had to put the back on upside down to fit. Yes it does mean the nap on the back runs different to the front but its not too noticeable.
I loved how quickly this came together. I’m making the straight sleeve version, decided not to put the added bit in the sleeve which makes it flared, I think they’re a really lovely shape as it is. So there are only 4 pieces to cut out which is always a bonus. In the instructions they suggest laying out the pieces on the fabric and drawing round them but as I don’t have a large enough hard flat surface I’ve opted to just cut round them, using tins as weights.
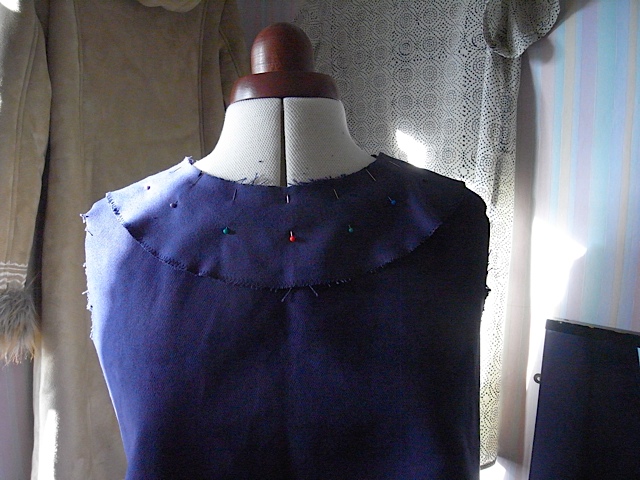
Neck facing.
This came together so quickly, I reckon if I’d started at 9am I’d have had it finished by 5 or 6pm that day.

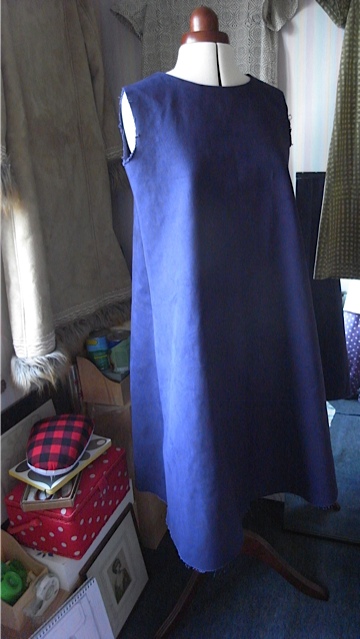
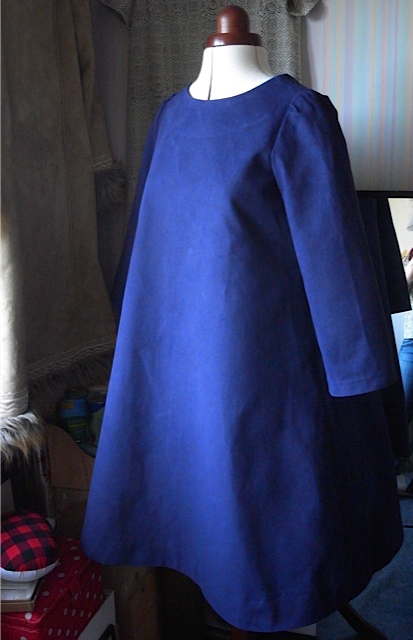
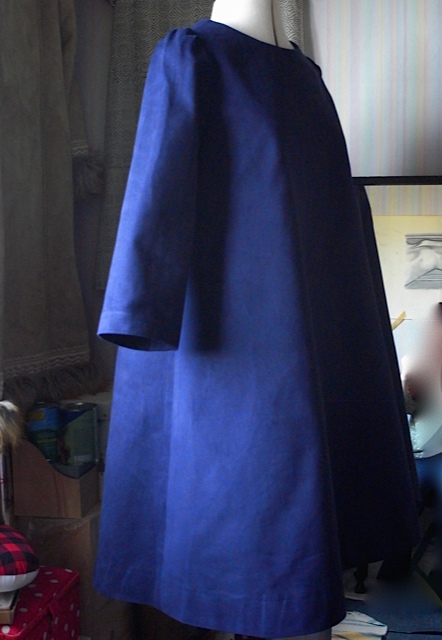
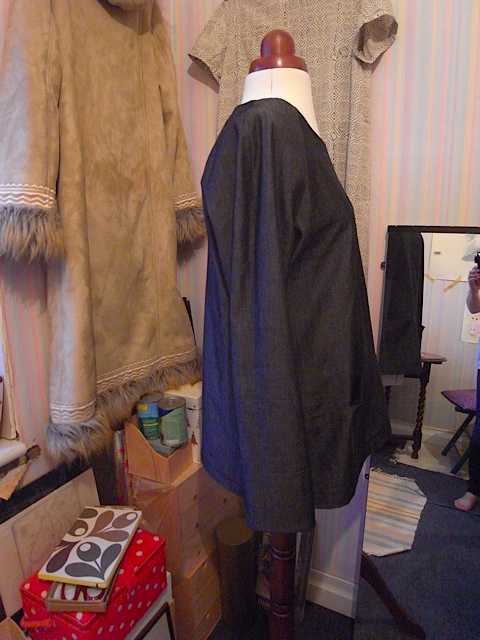
Looks a bit like a tent at the mo…
Even more so from the side.
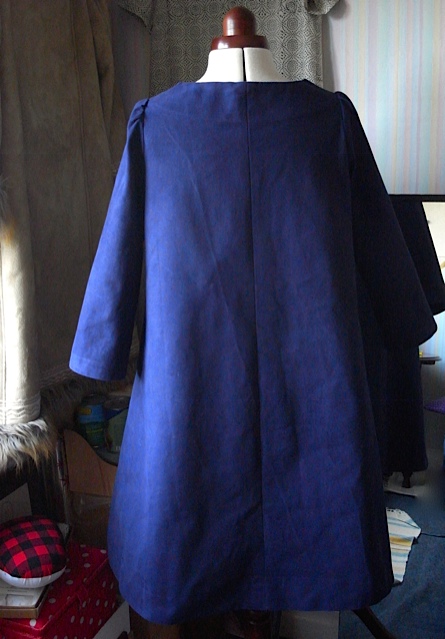
The next day I put the sleeves in. They went in beautifully except they are supposed to be smooth and mine didn’t work out quite like that. The thread snapped when I tried to gather in the sleeve head so left me no choice but to make them puffy. But I quite like them like that.

Sleeves in.
Next came hemming of sleeves and skirt hem! Sleeves were painless, but the skirt hem was a little trickier, because of the curve and the amount of fabric you have to fold up. I looked up several different methods for doing it neatly, but ended up not using any of them. So whatever you do if you see me wearing this dress don’t look at the underside of the skirt hem, please.
I was a bit worried before I hemmed it that it was looking a bit too voluminous, but once hemmed it looked so much better and hangs beautifully. I love the structured shape the fabric gives it.
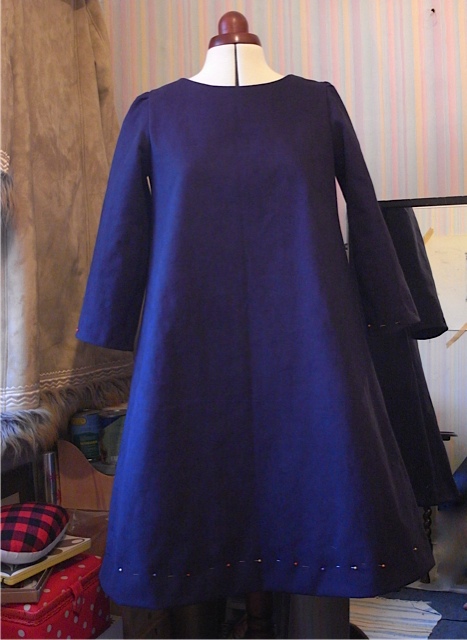
Pinned in place.
Finished.
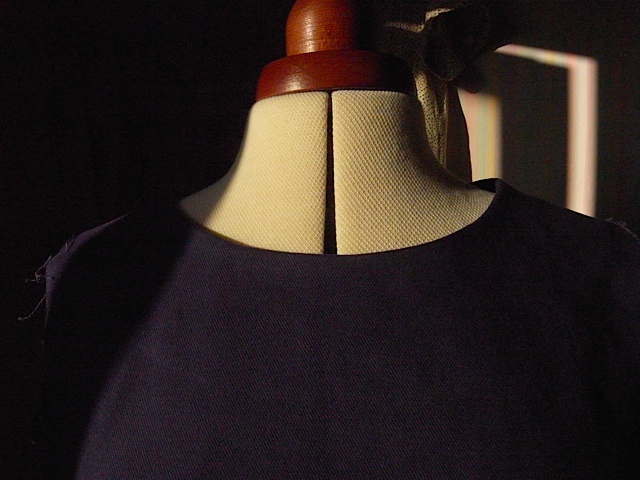
Just look at that lovely neckline. One of the neatest facings I’ve ever done.
The fabric looks quite creased here, I have worn and washed it already.
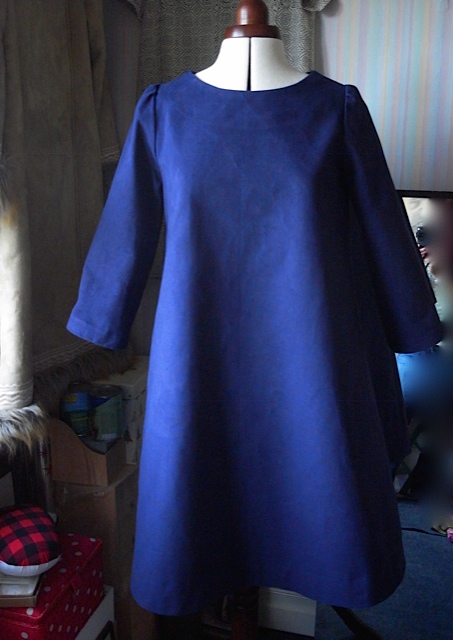
I really really love the shape of this dress.
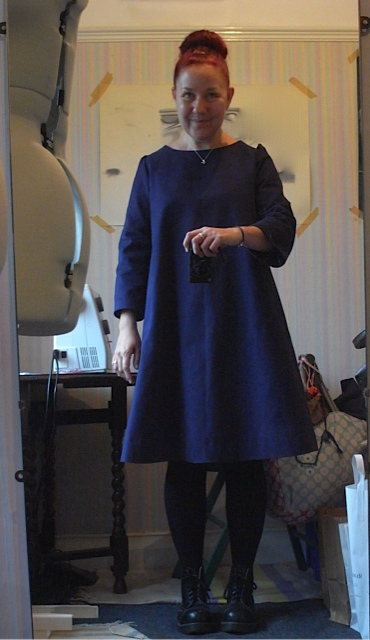
Happy happy me :0)
I thoroughly enjoyed making the Trapeze dress, the fabric was a dream to work with (am now thinking the Strand coat in this fabric would be divine) and the pattern was also a joy to put together. I needed a good project after my last disaster and this was perfect. I. Will. Be. Making. More.
Would like to attempt the sleeveless version sometime but that does look a bit complicated believe it or not. And even though M&M say this dress is good for beginners, there is an awful lot of fabric to handle which can be a bit daunting if you are new to sewing. Or maybe thats just me.
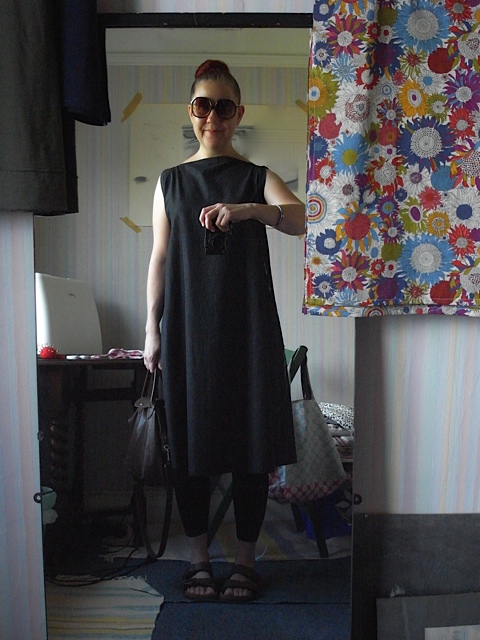
I suppose its not so much a sewing fail but a style fail. I hate it, I really do!
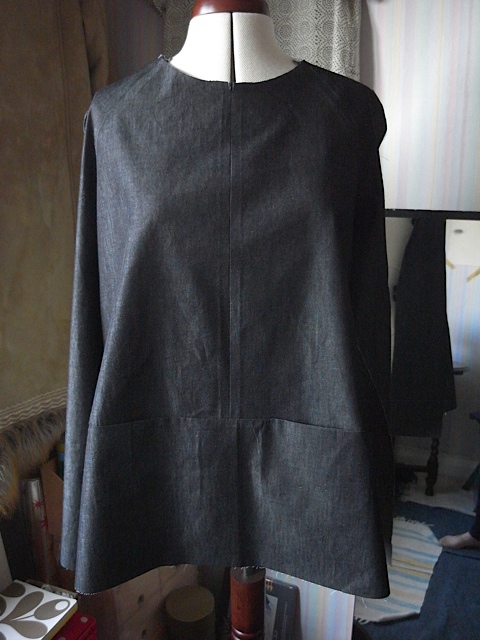
I wanted to have a go at something different. So I bought the Merchant & Mills Top 64, pattern. I also bought some top quality cotton canvas in blue for it. However I decided to make it up first in a dress weight denim also from M&M. And boy am I glad I did.
It wasn’t a complete fail I suppose, I enjoyed the making of it, and I learned some new things about construction. And this was completely different to my usual tops.
The pattern pieces all cut out and ready to go.
I cut out the size 12 after trying on the size 10 at M&M in rye and very nearly got stuck in it. The size 10 in their shop is made up in a waxed cotton canvas and has no give whatsoever! I knew I shouldn’t have put it on but I really wanted to know how the 10 would look. After nearly dislocating my shoulders to get out of it, I talked to Michelle who works for M&M and she advised me to make it up in a size 12, even though I’m usually a size 10 in their patterns. As she said that is what she does and she’s usually a size 10 too. So thats what I did.
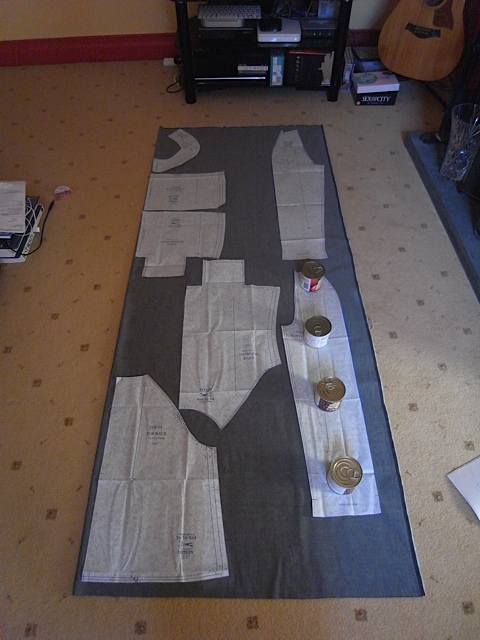
Pattern pieces laid out on fabric. And I now mostly use tins when I cut out.
Like I said I enjoyed the actual making process but I hate the finished product.
Inside of the front.
I decided against top stitching the seams, and I’m glad I did. Would have been a monumental waste of time and cotton.
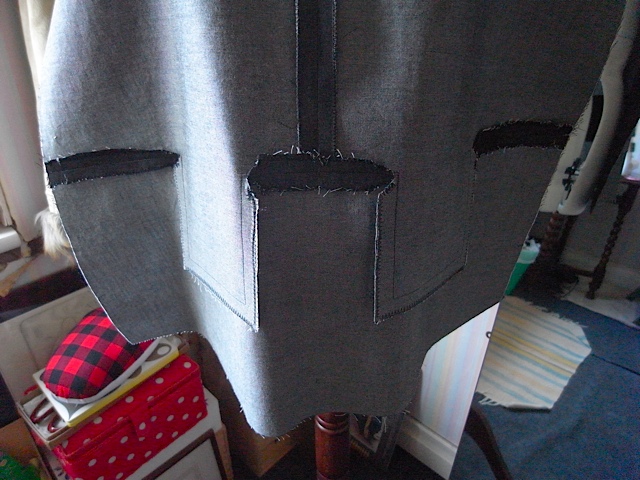
Close up. Quite impressed with the straightness of my sewing.
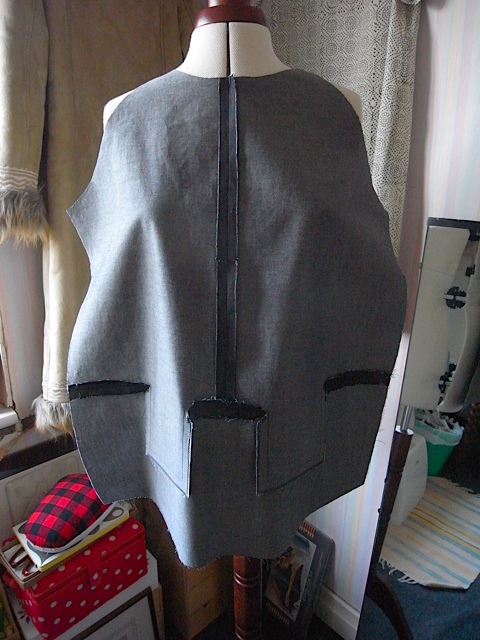
This is what the front looks like before I attached it to the back.
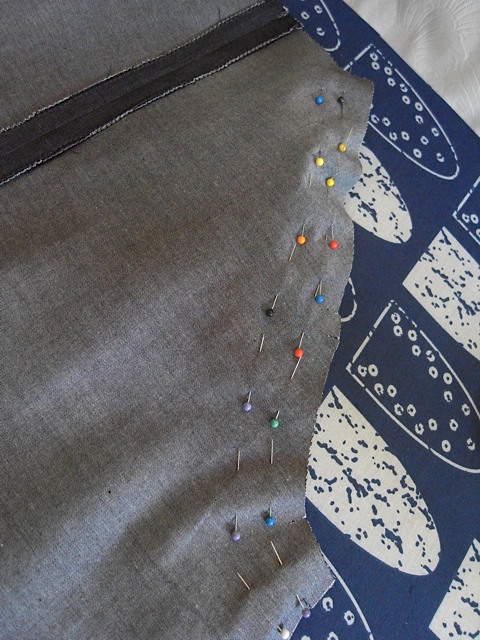
Pins for the raglan sleeves.
front and back joined together.

Not used to doing the neckline facing after putting garment together. But it works really well and looks super neat.
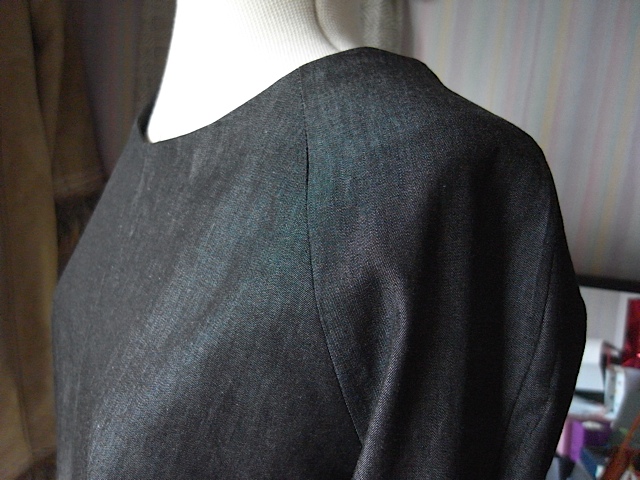
Sleeves/shoulders.
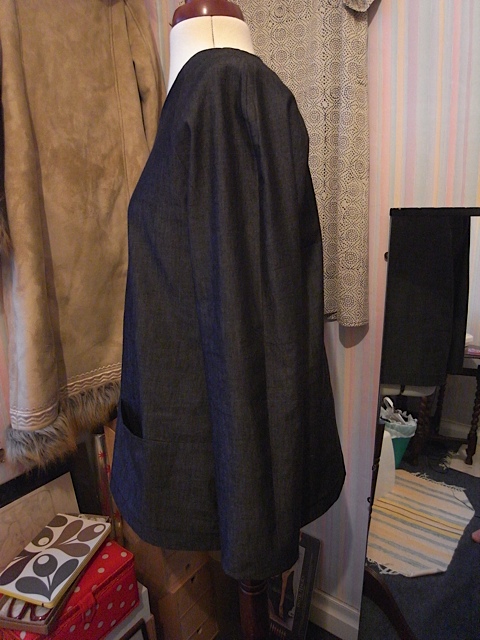
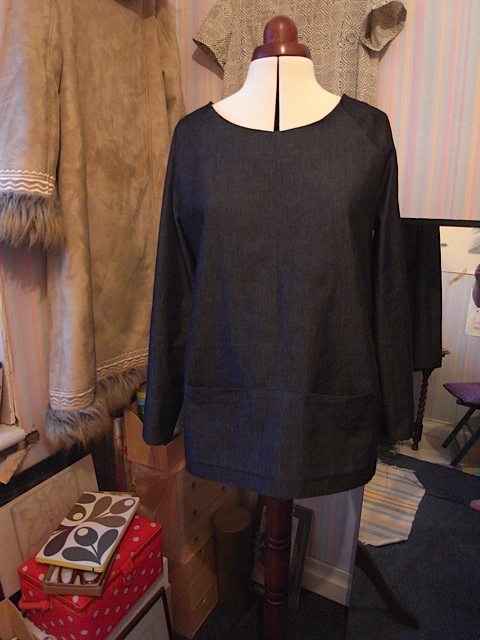
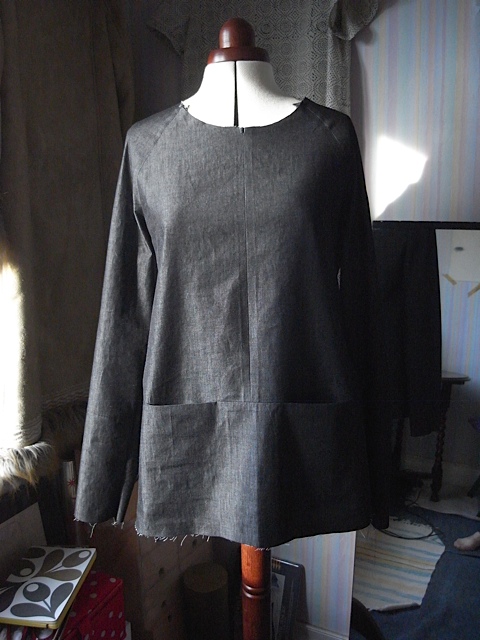
Hangs much better on the dummy than me. I’m pleased with the quality of my sewing on this but it just looks awful on me. Hangs funny, the centre front sticks out and just looks wrong. Don’t know why? Could be that the fabric isn’t sturdy enough, I just don’t know.
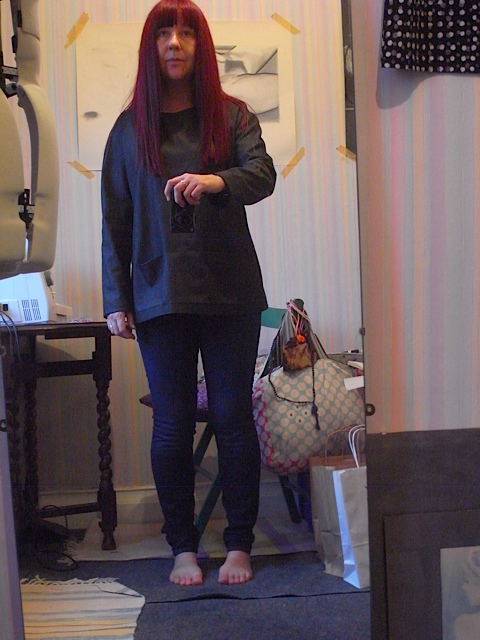
Can you tell I’m not happy? Please excuse the nude in the background, its not as rude as it looks. Its from my life drawing days.
I’ve put it down to experience, and like I said I’ve learnt new things. Who knows I might try it on again in a few months and decide I do like it. Never say never…