February 22nd, 2014
You might remember I made a black linen top a while back which wasn’t a great success. Well I had some linen left over and thought I might have a go at making a dress for myself. Nothing complicated you understand, I think we’ve all come to realise I don’t do complicated! So once again using the two rectangle pieces of fabric sewn together formula, I set about my task. Now whilst the linen itself is a beautiful fabric its quite hard work to work with. Its lovely to sew, but the devil is in the detail and when ironing linen, I was advised to use a damp cloth to prevent the fabric from going shiny. I honestly couldn’t be bothered to use a damp cloth as I’d have to keep re-dampening it. So I just use an old cotton tea towel between the linen and the iron, this seems to work pretty well. It does however make the ironing of seams and hems just that little bit more complicated. The ironing takes forever, and as my ironing board is down stairs and my sewing room is upstairs I’m forever running up and down the stairs! Seeing as my exercise regime has gone out the window since starting to sew, I am at least getting some form of exercise.
I’m quite happy with the finished product. My husband though keeps telling me I need to make something with more shape, but I like it. I like shapeless.

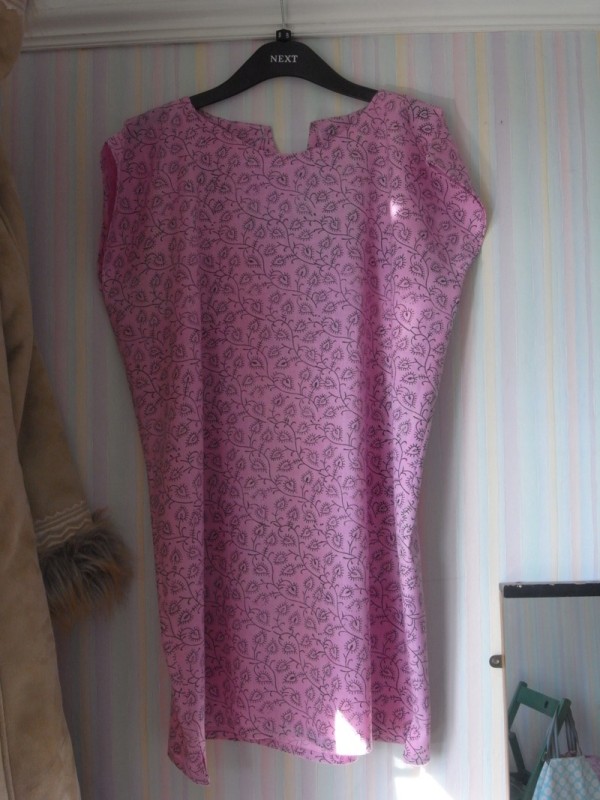
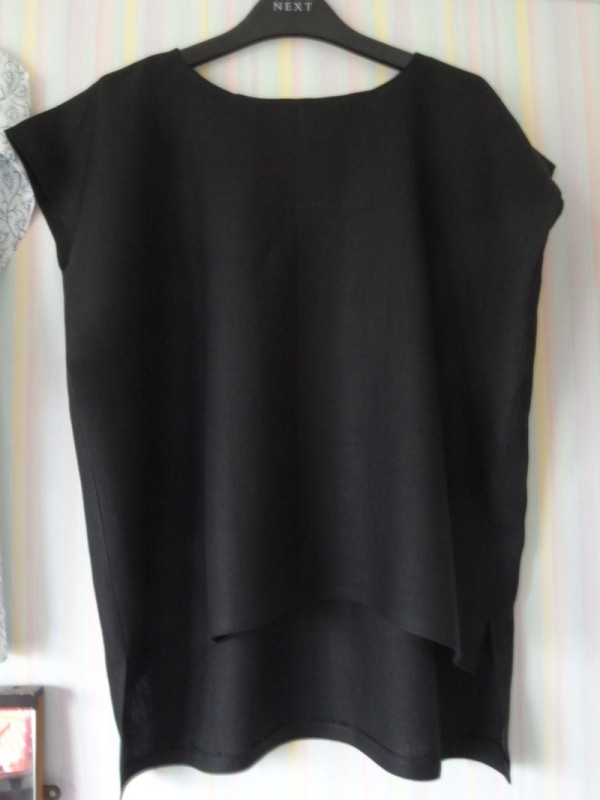
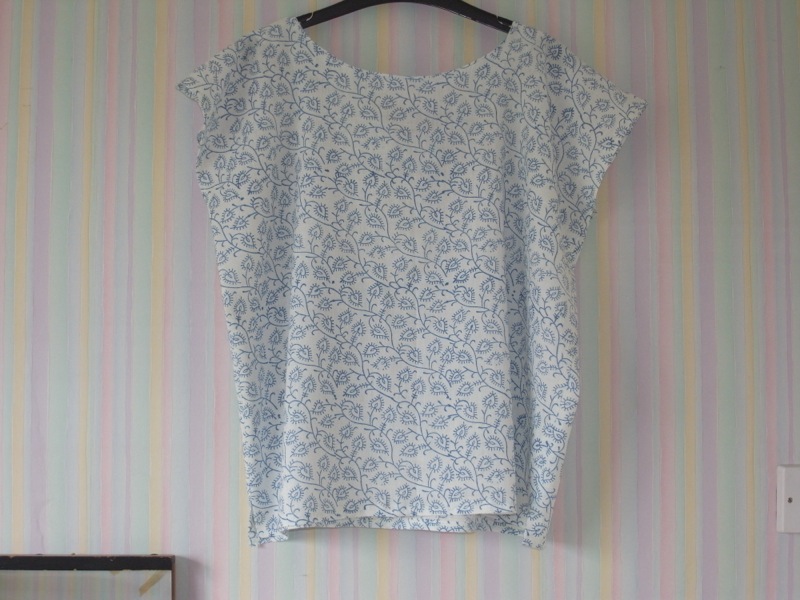
Not very interesting hanging up.

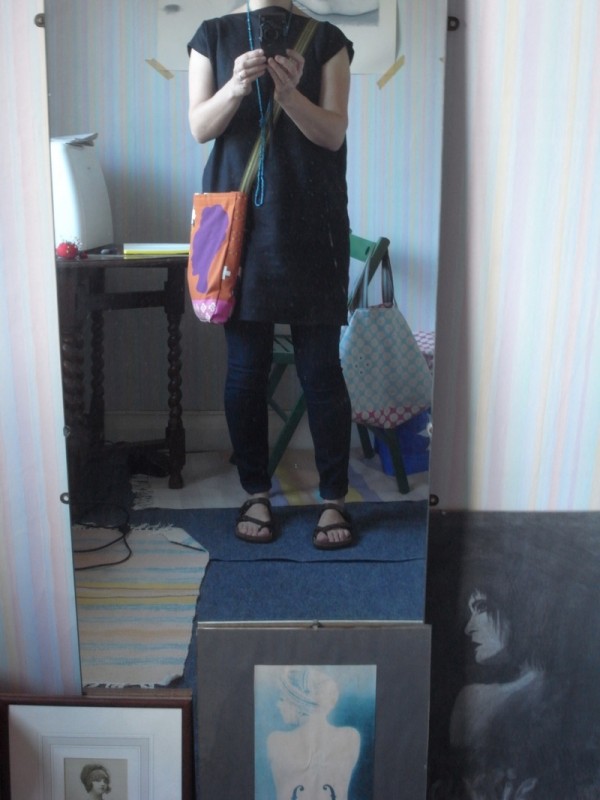
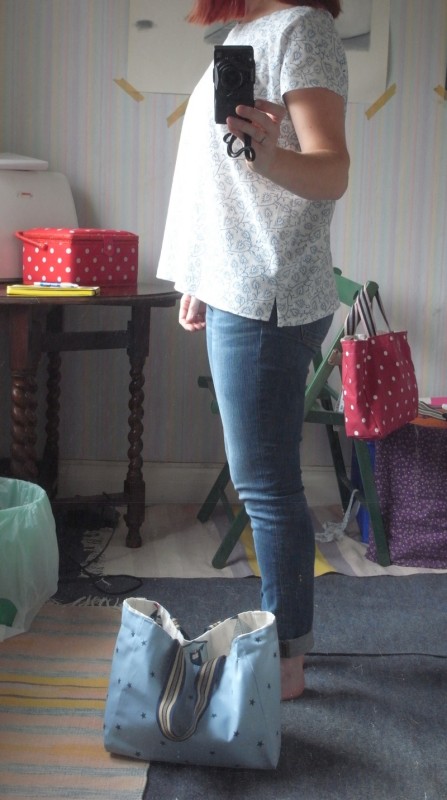
The boat neck.
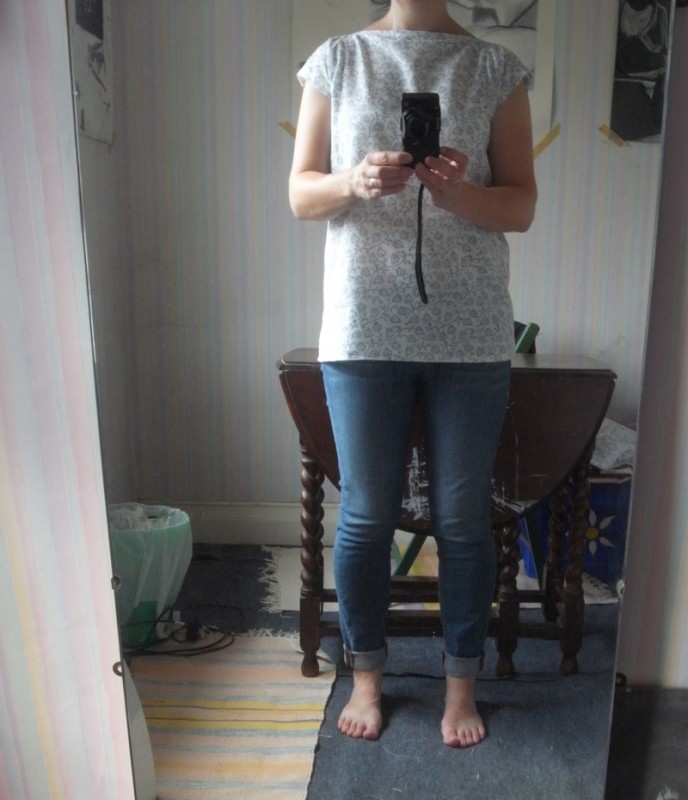
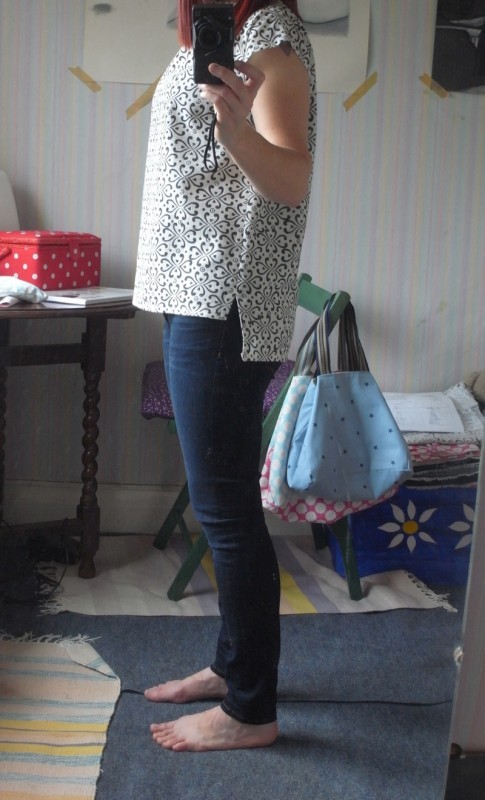
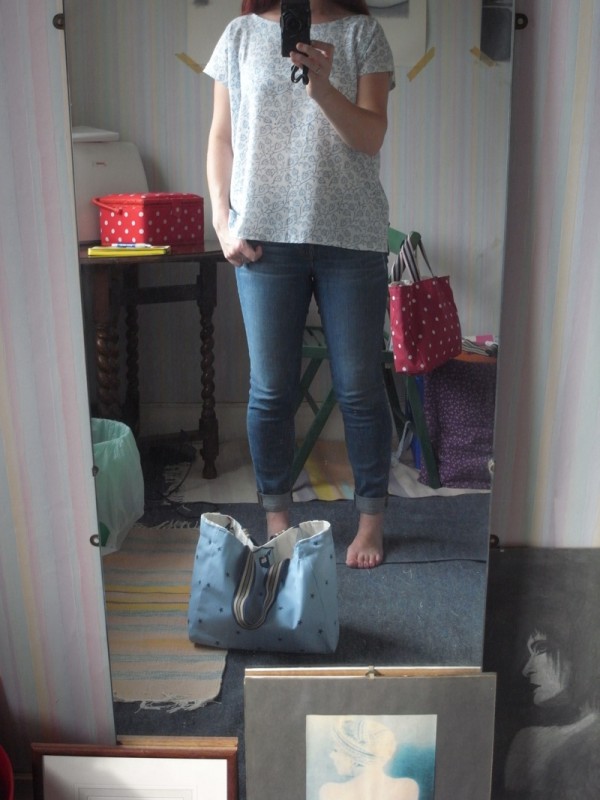
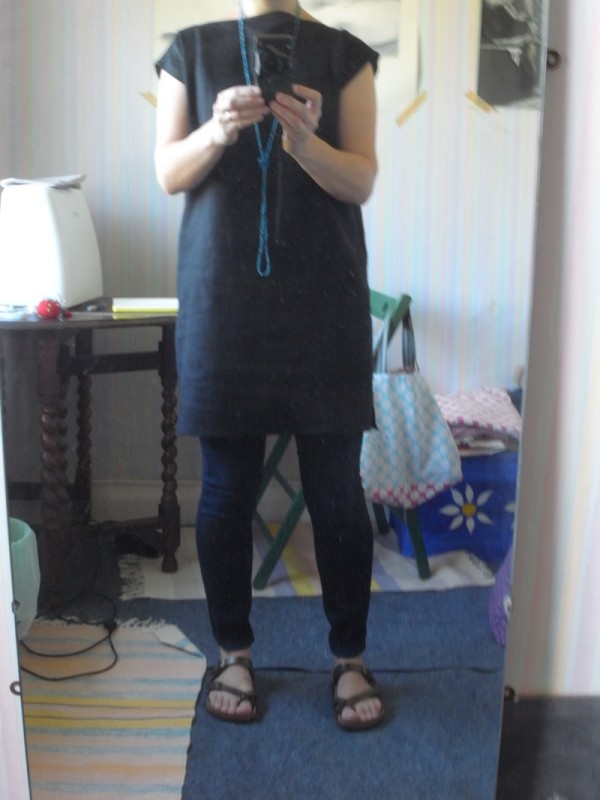 Sorry for the blurry pic and dusty mirror.
February 22nd, 2014
Another cushion, this one was for my boss who was leaving us. We had lots of things in common, and would often chat on our lunch breaks about sewing, sailing and camping.

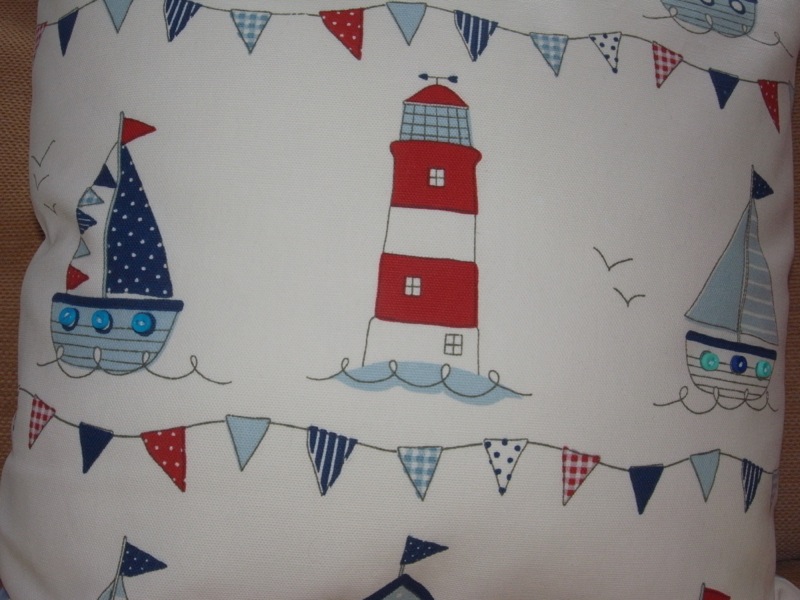
I added buttons.
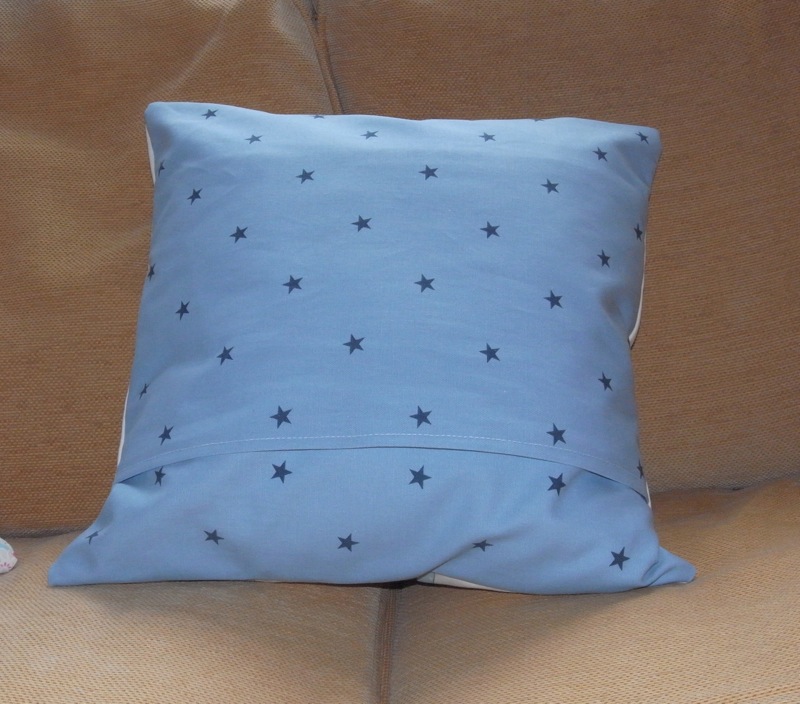
the back.
February 20th, 2014
One of my very lovely friends has such utter faith in me that she asked me to make her a dress! We were in Merchant & mills (again) as I was buying more fabric, and she spied a pink version of the blue & white one that I have, and she does love pink, and she asked if I could make her a dress? I said I’d have a go! Basically she was asking for a dress version of the top I’ve already made. And Kristina was so easy going about it that there was no pressure, other than what i put myself under. I just didn’t want to mess up the fabric she’d bought!
Here it is!

The back. I like the neckline at the back.
Seams finished nicely. Way better than my first top!

Fairly tidy neck at front, slightly wonky stitching though!
Kristina was very happy with it, but decided she would like pockets too. I’ve never done pockets, so this was another little challenge. She sure does like to give me little challenges. And every time, I say “I’m not sure I can do that”, and every time Kristina says ” You can do it darling”. And so I have!
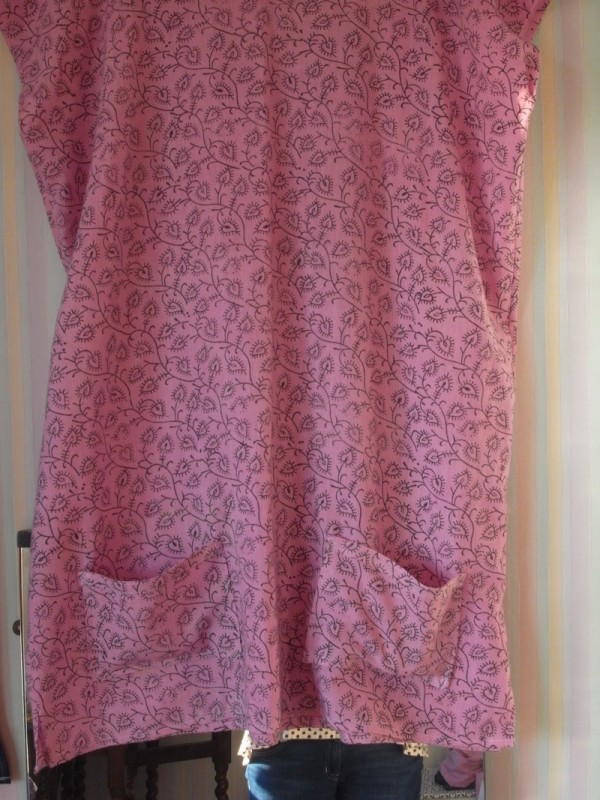
I’ve put things in the pockets so they can be seen better.
February 14th, 2014
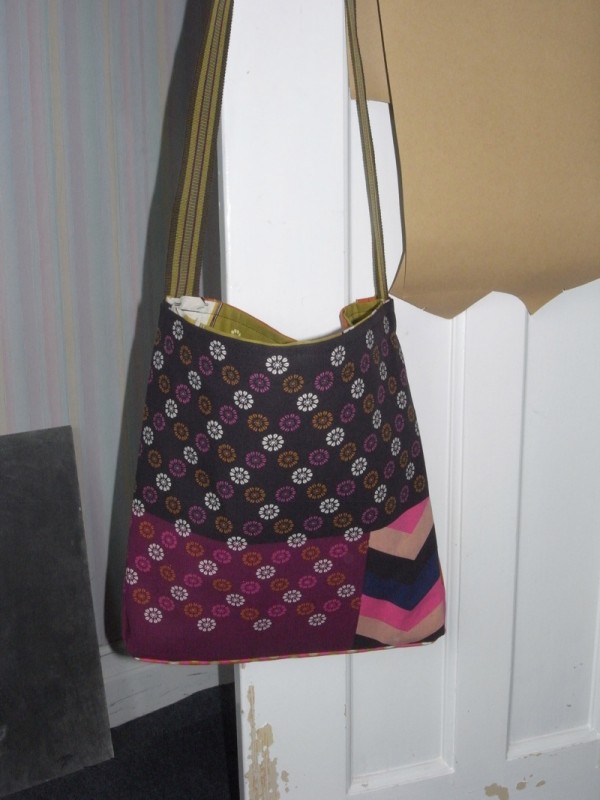
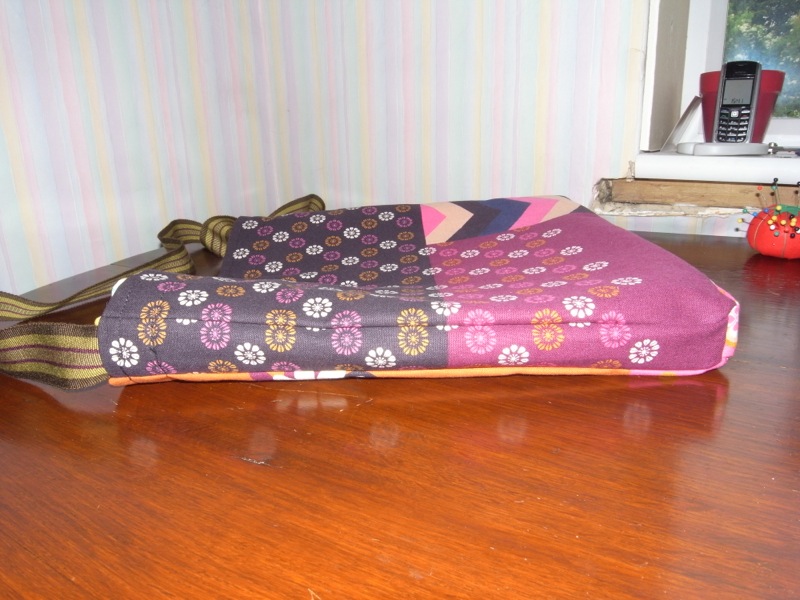
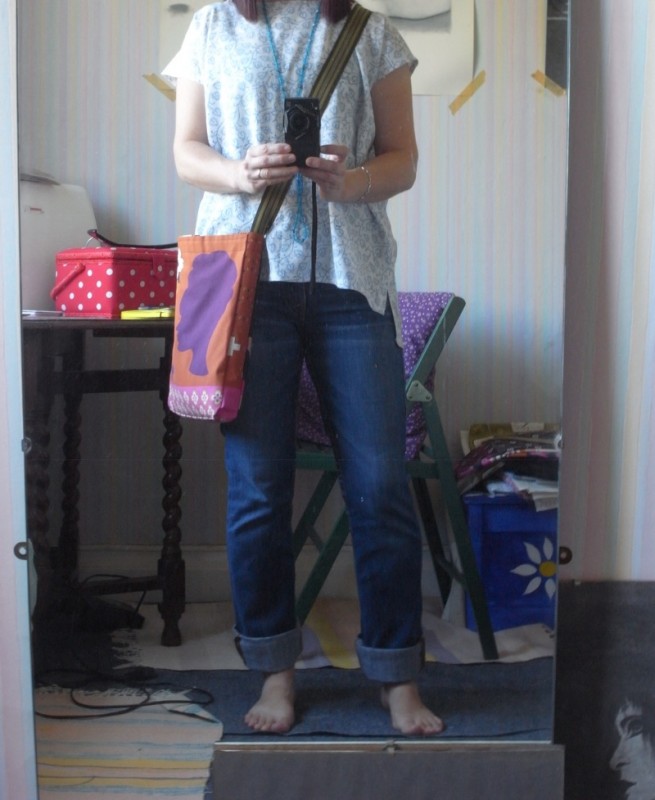
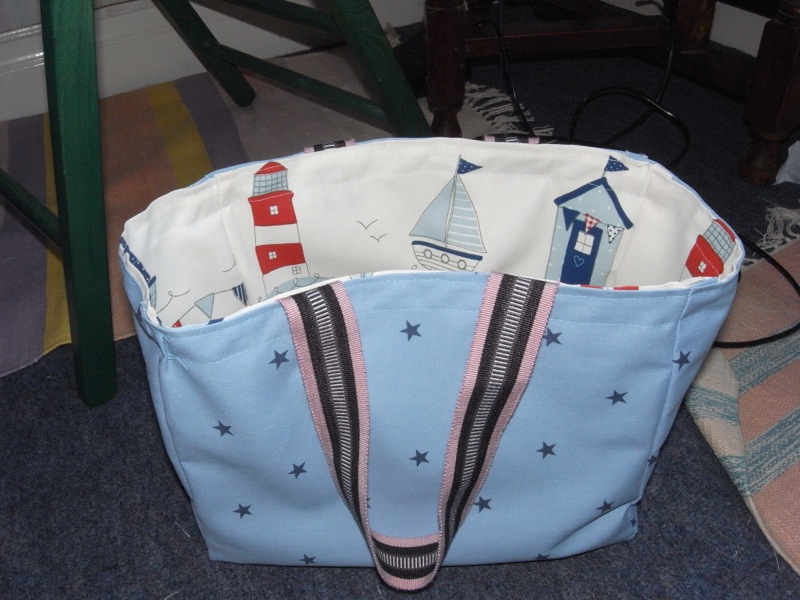
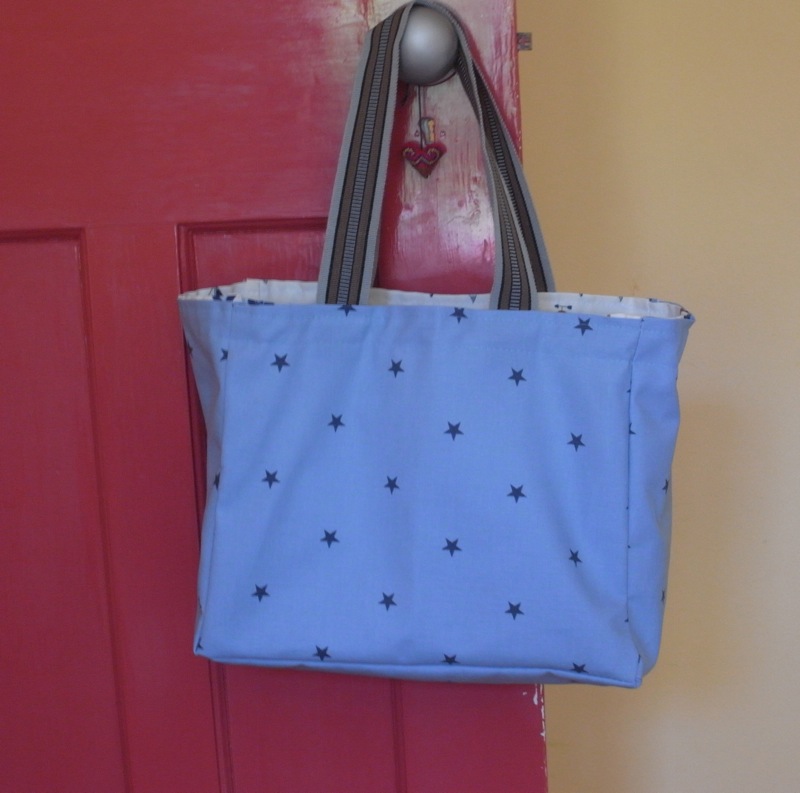
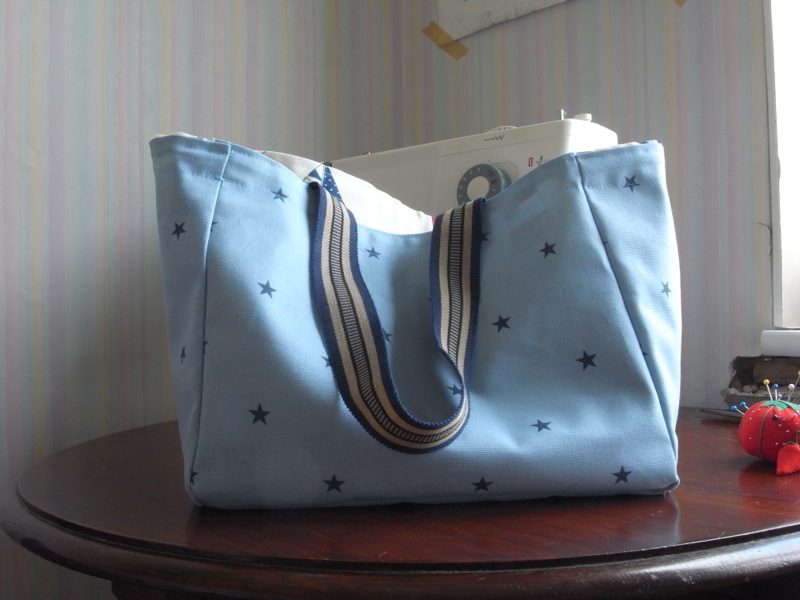
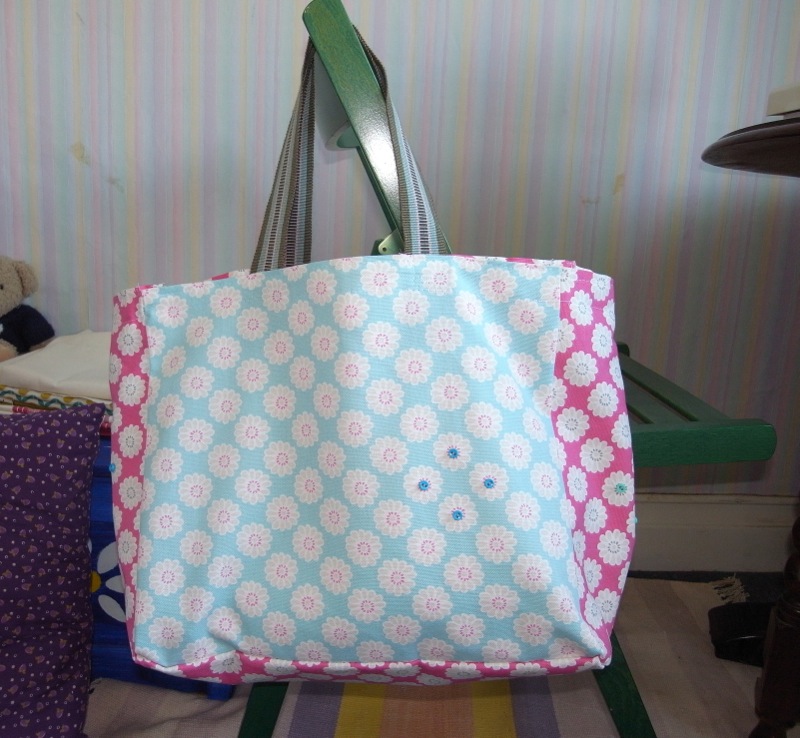
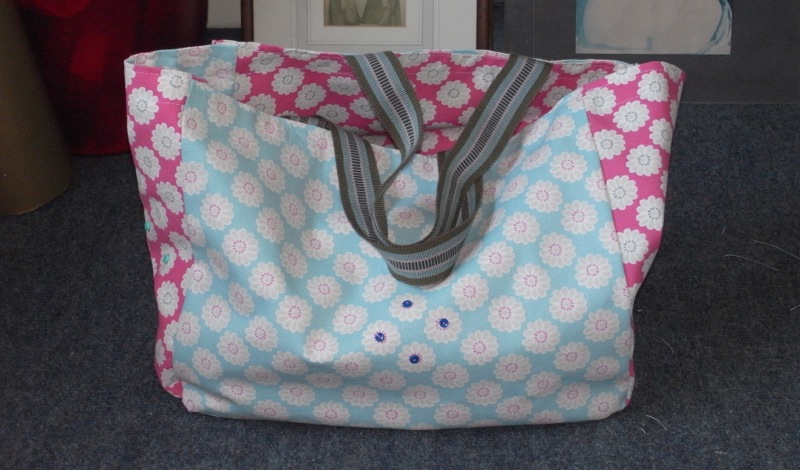
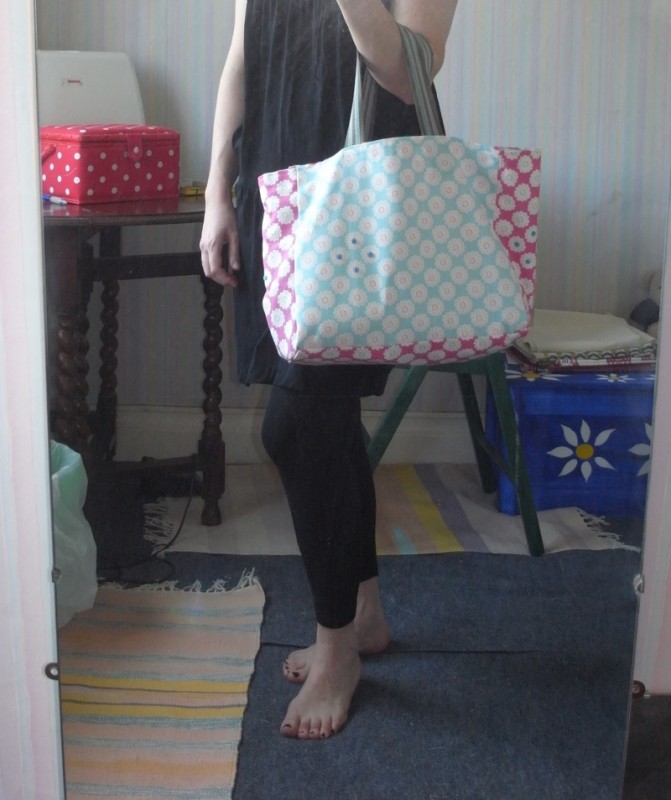
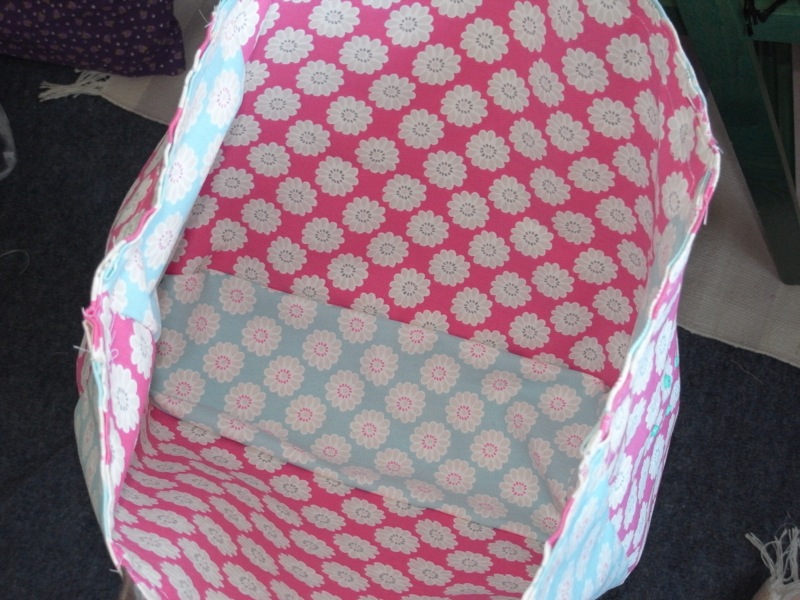
I’ve now made a fair few tops so its back to the bags. I love the bag shape that I’ve been making, but my heart belongs to the messenger/crossbody style of bag, and I’ve been wanting to try this shape for a while. I feel ready to have a go now. You may or may not remember the fabric I bought back in June, that I felt was too lovely to use at that point, nor was I ready to cut up such an expensive fabric. Well now I’m ready. This fabric is gorgeous, both of them. I’m quite excited to see how it will turn out. I line the fabric I’ll use for the outer bag with calico, it just makes it a bit more substantial. Its quite a fiddlely make as the sides are quite narrow, and I haven’t perfected the corners yet. I swear a little bit whilst sewing, as the extra bulk due to the calico makes it quite tricky. But I get there and I’m really pleased with the outcome. I used gros grain from Merchant & Mills for the strap ( I know it seems like I’m constantly plugging M&M, but honestly I just love their products) and I think it works really well.
Now for lots of pics!
Attention to detail people.
more attention to detail

And more…….
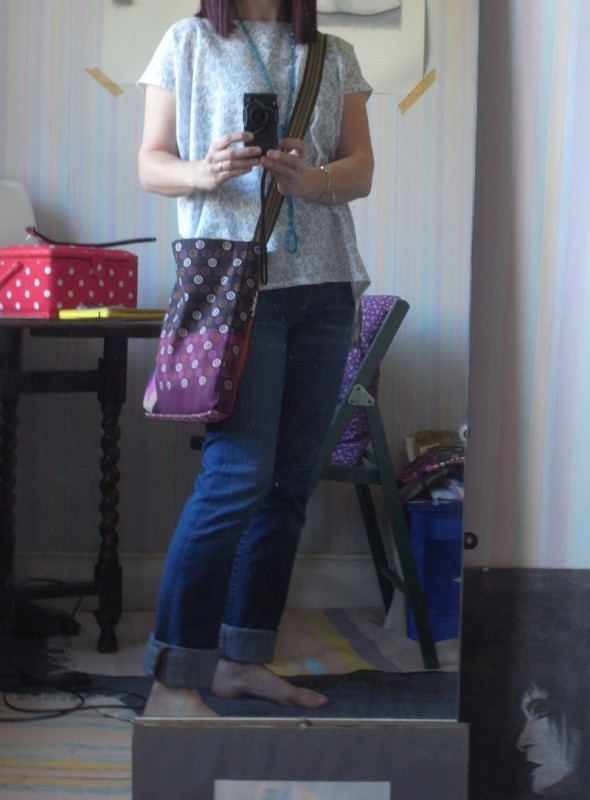
 I bloody love this bag, and have been using it almost constantly for six months. The fabric has held up really well, shows some signs of wear on the back from where it rubs against my clothes but otherwise still looks fab! Up till now I’ve had a very expensive bag habit, meaning I liked designer bags. I have several, that now rarely see the light of day, as I love using a bag made by ME :0)
February 14th, 2014
I now feel a little bagged out and feel the need to have another go at making a top. I buy some more of the blue & white cotton fabric from Merchant & mills. I’m still using Portia’s patternless top formula, but I’m altering it a little. Instead of having a split in the neck at the back, I’m going to try it without. And I’m making the back a little longer than the front. I’ve also read the instructions a bit better this time and see that for the facing on the neckline I need to do something called under stitch. O.M.G. What the hell does that mean? So I googled it and found some tutorials I picked this one from sewaholic, it took some reading and re-reading, and still it took me a while to work out quite what was going on, but I got there in the end (I think I blanked it out the first time. Otherwise I would have been so freaked out by it I would never have made the first top!). Quite happy with the end result. The neckline on this top has a much better finish than the first (obviously, having done it properly). I’ve also finished the hems better too.
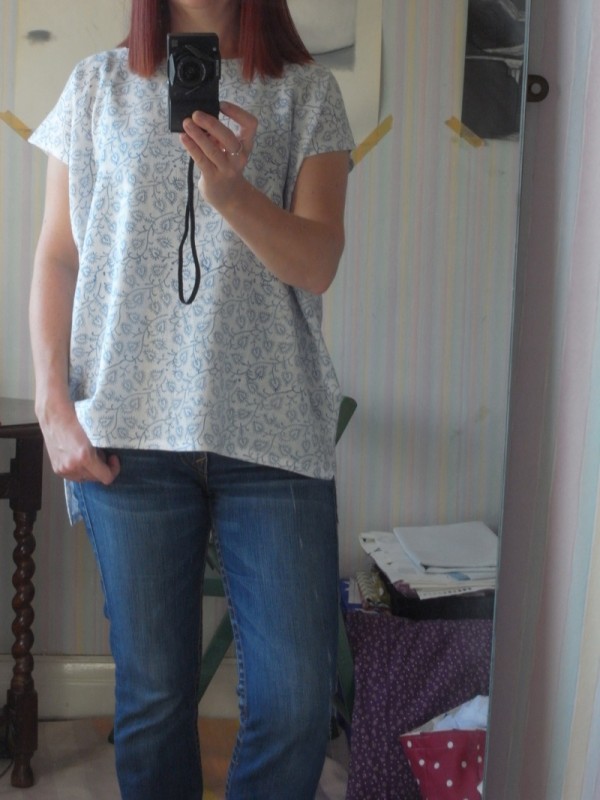
Love this top
Then I made this black linen top. There will be no modelling pics as I’m not terribly happy with it. And while the linen is a lovely lovely fabric (bought from Merchant & Mills) it creases like paper within minutes of putting it on. Actually it creases while putting it on!
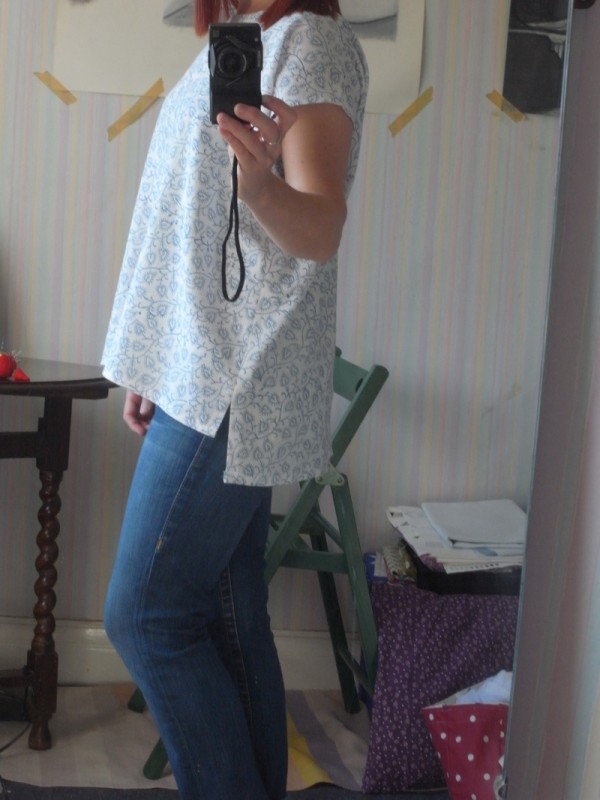
I had some of the blue & white cotton fabric left, but not quite enough to use the patternless top formula. So I used the basics of the patternless top idea, Its still a rectangle shape but this time I’ve had to use two separate pieces of fabric, and I’m trying a boat neck too. I think it worked quite well, not perfect but its a wearable top.
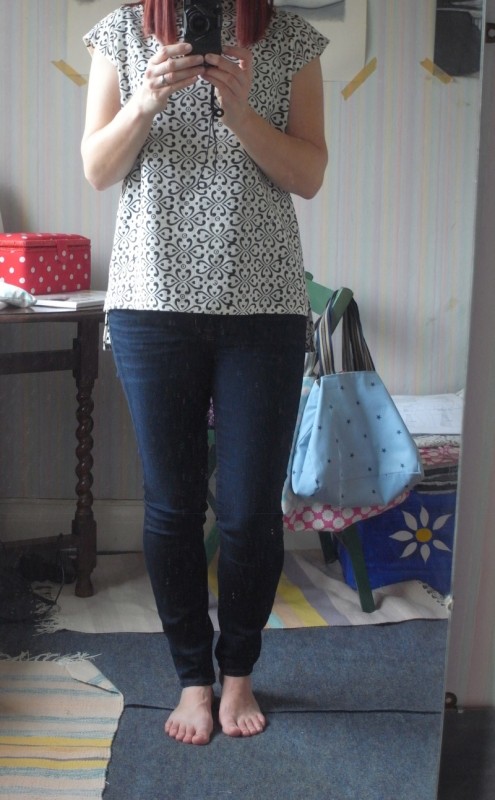
And then came this black & white top, fabric again from Merchant & Mills. Similar to the blue & white one but again a little different. Now whilst I don’t like being too adventurous I seem to not like doing the exact same thing twice either, so i alter things ever so slightly each time.
February 14th, 2014
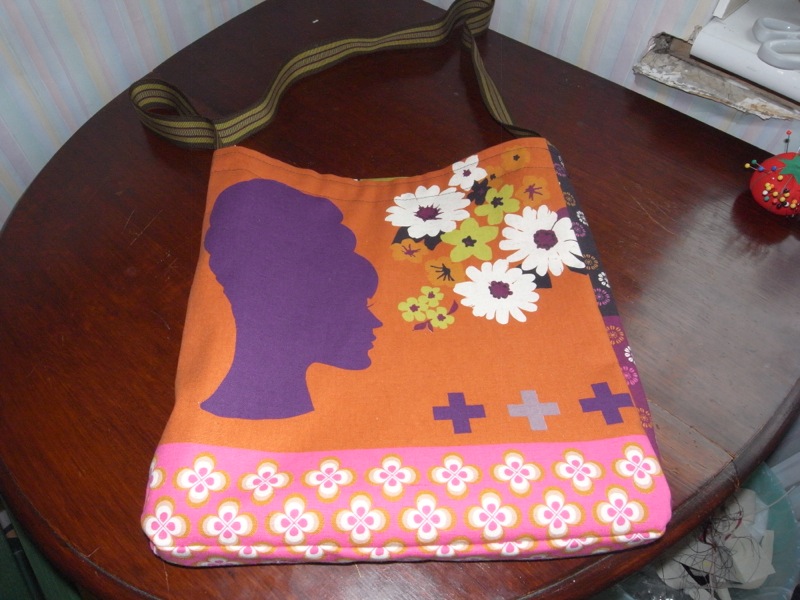
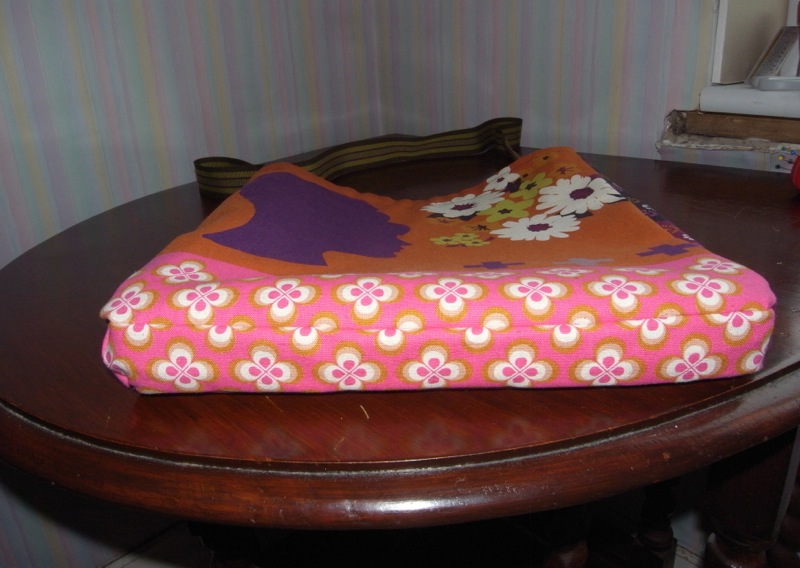
August 2013 and more bags. Not all for me, in fact none for me. These are all going to new homes. A work colleague asked me to make her one and said she’d pay me for it! Felt kind of weird though taking money for something I made. I charged only to cover cost. The other two went to friends that I offered to make bags for. Everyone was happy with their new bags.
Lyn’s bag
Sue’s bag
Amanda’s bag.
You might have noticed they are all the same, but they all have different handles. No two bags I make are ever the same. All unique!
February 9th, 2014
It is now the end of July and you might remember dear reader that my original plan was to make tops! You might also be aware that so far there has been no sign of any tops, at all, haven’t even mentioned them since that first post. Has she forgotten about them? You might ask. No I have not forgotten about them, I have been thinking about them a lot. Even bought a pattern, had a look at it and promptly hid it, as it was far too scary! Too many pieces and far too many instructions and nothing made sense to me. So I started to think I might just stick with making cushions, bags and pouches.
But the idea of making my own clothes was still calling me. And somehow or other, I don’t know how (divine intervention maybe), but I came across something on “The Daily Stitch” a blog for “The Village Haberdashery”. “Portia’s no-pattern-required summer top tutorial“. This was posted the middle of July and I stumbled upon it end of July, it was meant to be! I read the post, re-read the post, read it again just to be sure and started thinking maybe, just maybe, I could do this.
A couple of days later I went back to Rye and to Merchant & Mills and bought some lovely hand woven, hand printed, 100% indian cotton. I think that description is right anyway. A beautiful light weight fabric, perfect for summer. I had some fabulous advice from the chap serving me, helped me make the right decision and was very encouraging when I told him I’d only been sewing for about 6 weeks and this would be my first top. Between us we decided how much fabric I would need (I think I bought a meter).
I took my precious fabric home, and having been advised to wash it first, promptly stuck it in the washing machine. The next day my fabric was dry and having read Portia’s post several more times, I decided it was time to have a go…………………..
The beauty of this top is, its mostly straight lines (I’ve gotten better at straight lines), and that it involves just one piece of fabric. I measured out carefully how much I needed and then cut accordingly. I had my laptop in my sewing room with me so I could keep referring to Portia’s instructions. This I did many times. The most complicated part for me was the neck and the facing, I managed to completely overlook part of her instructions, but luckily it didn’t make too much difference for me (and I didn’t realise till I came to do my next top).
I’ve discovered that with sewing, there is an awful lot of ironing that goes with it. You iron the fabric before you start anything, then after you’ve done some sewing, you iron again, this helps set the stitches in the fabric better. Then you iron the seams in place and the hem, and then at last you iron the finished article! I have re-named sewing and call it “creative ironing”. Honestly i have never ironed so much in my life before I started sewing! I would actually say that sitting down to sew is only about 20%-30% of what making your own clothes, bags, cushions or anything, is about. Sorry I digress.
What joy, what pure and utter joy I felt at finishing my first handmade top. I made a top, its not perfect, the finishing could be better (I realise this as time goes by, and I make more clothes), but I made a top. I am on “top” of the world and feel so happy and clever. I never in a million years thought I’d be making an actual top! Its a little over 6 months since the idea popped into my head and now I’ve actually done it( its all thanks to Miss P. You can find her blog here). This is absolutely huge for me. I’m so happy that I’ve discovered the joy of sewing and dare I say it? I feel like I might have a bit of an affinity for it. I just feel so happy whenever I’m in my sewing room. And no matter what part of the process I’m undertaking I enjoy it. Even if I think I’m not, I am, I truly truly am.
There will now follow some pictures of said top! Please forgive the headless modelling pics, I do not generally photograph very well, unless properly posing. And I usually take the pics of finished articles right after finishing, so I usually look a mess anyway, and no one wants to see that!
Ta dah!
February 9th, 2014
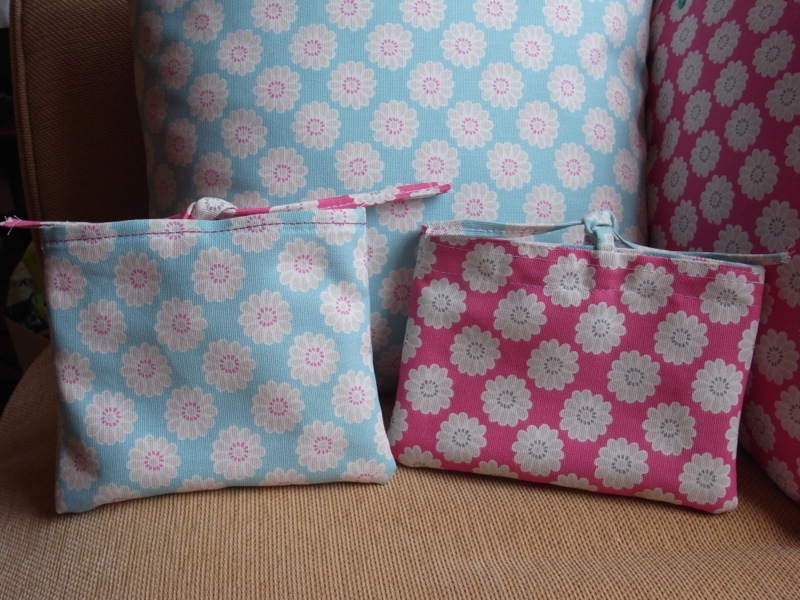
Here’s a couple of pretty little pouches that I made. Wasn’t sure what I was going to use them for. I gave the pink one to my friend Amanda, who uses it in her bag to keep her iPhone safe and handy. And I kept the blue one, which I keep my camera and its spare battery and memory card in. Keeps them all together and safe in one place. Very handy and I love it. Must make some more…………
so pretty
February 7th, 2014
July 2013, don’t be fooled by the amount I’ve sewn so far. I am still nervous, and get sweaty hands and a headache whenever I sit down at the sewing machine. At the moment I’m loving the preparation more than the sewing. I take real pleasure and pride in marking out my fabric and plotting where best to mark the fabric to get the best showing of the pattern that I’m working with.
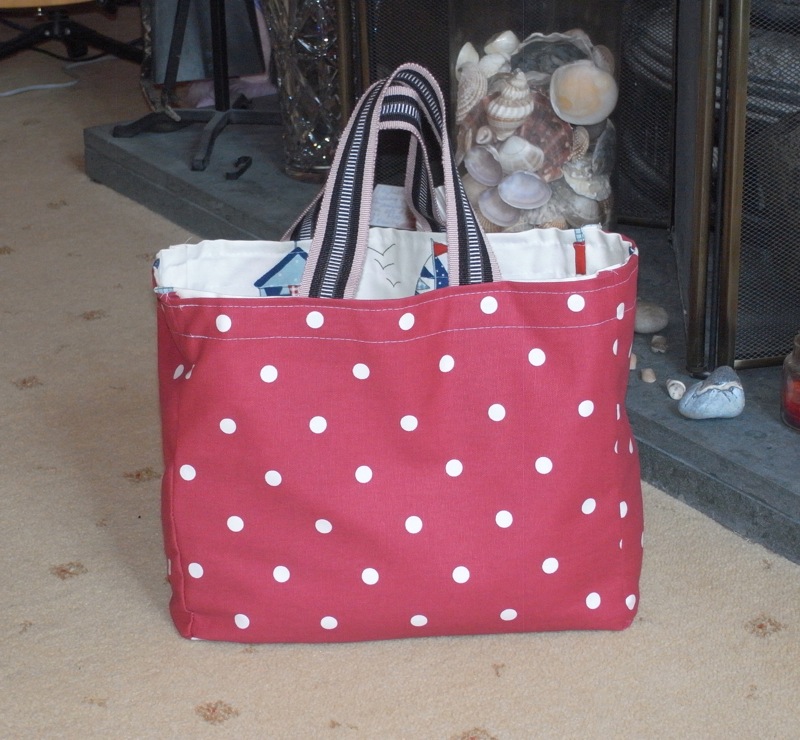
I’m also experimenting with sizes and dimensions of bags. 19th July 2013 I make a lovely red spotty one which I am initially very happy with but after using once realise its not quite right. Why you might ask? Well the handles are too short and its not got enough depth/width, too narrow. And it really doesn’t work. So I remove the handles, not letting them go to waste and I use the bag for my scrap materials.
This is the rubbish one that didn’t work!
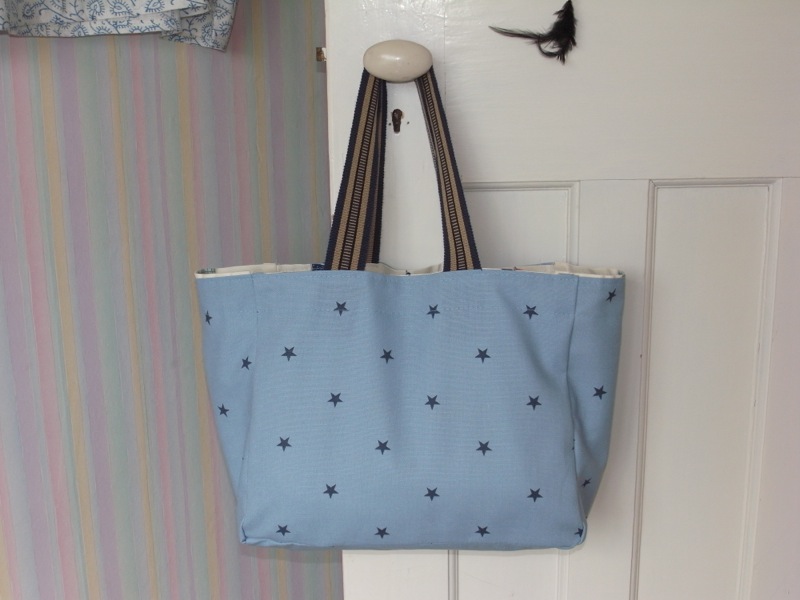
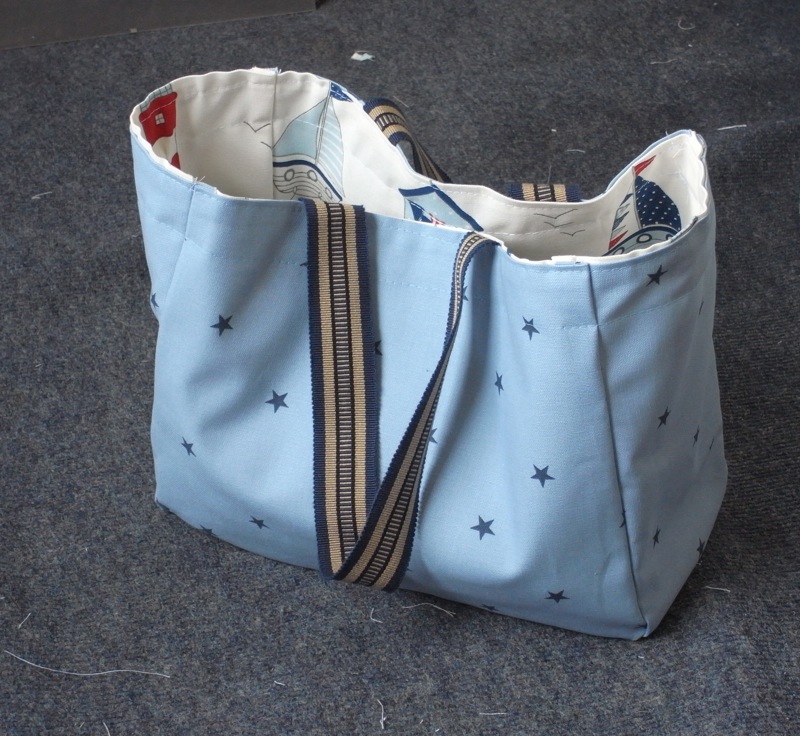
27th July, I alter the dimensions of the bag, making it deeper and the handles longer again, no major changes but it makes a hell of a difference. I’m so so happy with this one. I love the fabric too. I use the beach hut and boat fabric for the inside, however the bag is reversible so this could become the outside, but I love seeing it when I look in the bag.
February 4th, 2014
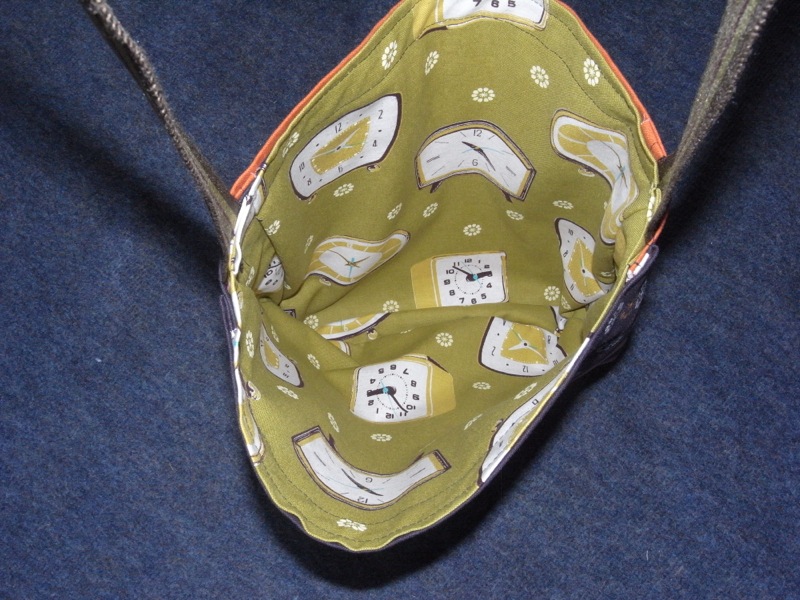
It is now July, and I’ve been thinking about it for a few weeks now, and avidly reading the blog of Lauren Guthrie from the Great British Sewing Bee, (guthrie-ghani.co.uk) and her tutorial on making a weekend bag. I fell in love with the fabric she used and found some on ebay and promptly bought a meter of it. I also bought a meter of the clock fabric from Lauren’s online shop, and some other beautiful fabric too. Oh and I bought the webbing that she used for the straps (oh yes people I am an original thinker!). Just realised all that doesn’t mean a thing if you don’t go look at Lauren’s blog and her tutorial! Oh well if you want it to make sense you’ll have to go look.
Now obviously I decide that the bag in the tutorial is a bit too scary for me to take on for my first attempt (surprise surprise) and so I adapt it so it is less scary for me. I make it smaller, and leave out the pockets, and the magnetic snap fastener, and all the padding. Oh and I also end up using totally different fabric as the newly purchased fabric is far too nice and pretty to be cut up just yet (otherwise known as, I’m too scared). I’ll just sit and admire it for a while. Yes I will!
I bought some different webbing to use as straps from the lovely lovely Merchant & Mills in rye and used this instead, and found that I had enough fabric left over from the cushion making to use. I felt justified in using this as I felt it would be no biggie if I messed it up, so to speak. I’ll try not to bore you with too many pictures but I was so damned proud of the finished product that I took about a squillion pictures of it. I’ll narrow it down to the best ones. Or will I?
Naff modelling pic
- Inside. Reversible.