I bought the Merchant&Mills Trapeze dress pattern back when I first started sewing, thinking it looked plain and simple and that it would be easy to do. I was so very wrong. I sat and looked at the instructions and didn’t know where to begin (probably largely because I didn’t know what the hell I was doing), so I didn’t. I put it on its little hanger and hung it on the back of my sewing room door! And thats where it stayed for about a year.
In july of this year I bought some black dress weight denim from my favourite M&M. Very reasonably priced at £6.75 a meter, I bought 2 meters. And I once again looked at the Trapeze dress pattern, thinking this fabric could be perfect for it. I looked again at the instructions, understood them a little more this time. And decided I would have a go. I wasn’t particularly fond of the round neck shown in the pattern so I adapted it to fit my slash neck/boat neck style that I’m partial too (A: because its easy B: because its easy). So this is my version of the Trapeze dress.
One of the many things that put me off trying this pattern in the beginning, was for me the lack of space, my sewing room is basically the box room of a 3 bedroom semi, so not very big at all. I’m not complaining as I know how lucky I am to even have a sewing room all to myself. But it means my cutting table is the same one the sewing machine sits on and I have to move it to different places when I want to mark out and cut the fabric and then move it back again when I need to sew. So the table can’t be too big and bulky, and therefore its quite small and the amount of fabric needed for the Trapeze dress pattern is too much for my little table and indeed my little sewing room. I had to get creative. I ended up laying the fabric out on my living room floor and cutting out the pattern pieces there. This was not easy, but it worked.
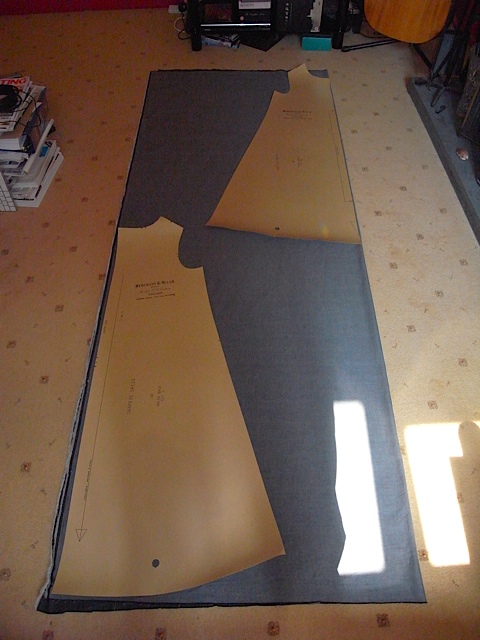
Like so!
I don’t know if others find this, but one of my biggest problems is trying to get the fabric lined up evenly. I find more often than not, its not cut in a straight line when I buy it, which always makes lining up the edges interesting (headache inducing) not quite so much a problem with plain fabric, but when its patterned it can be a bloody nightmare!
I would like to take more pictures of the process when I make something, but I forget as I get so engrossed in thinking about what I’m doing and also I worry about it all going pear shape! So I take pictures when I think about it and I’m happy with something.
Once I’ve cut out the fabric I then marked out the seam allowances, zigzagged stitched the raw edges to help stop the fraying and then started to sew the pieces together. I really enjoyed making this dress. And was really really pleased with the out come.
Showing my adapted to suit my simple sewing neck line. Please excuse the wallpaper. Need to decorate……
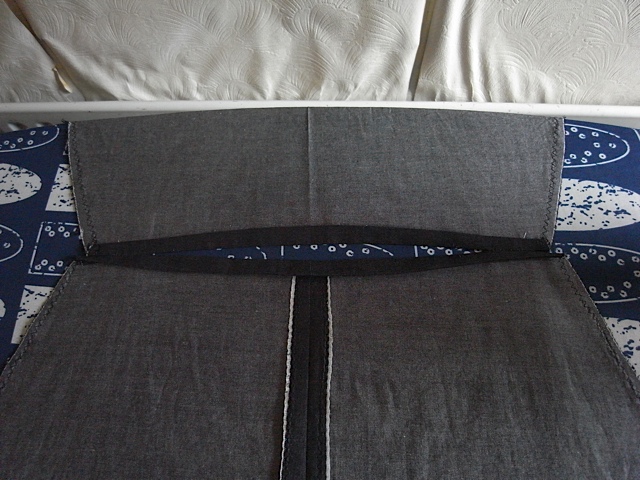
This shows the hem and I was trying to do a contrast hem, sadly didn’t work. Think it would have looked amazing.
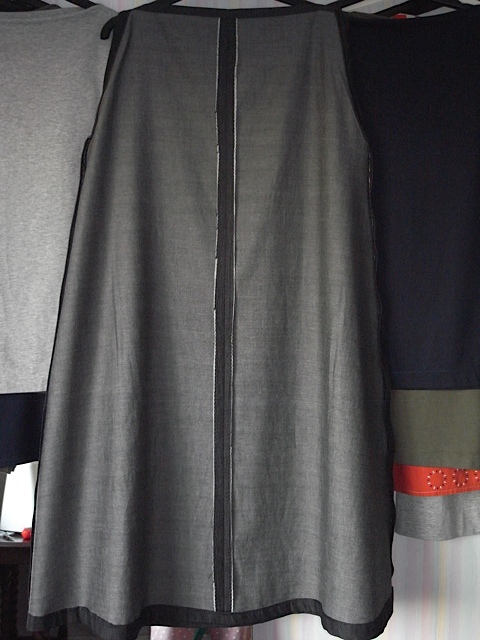
Inside out looking at the centre back seam. I was very pleased with this.
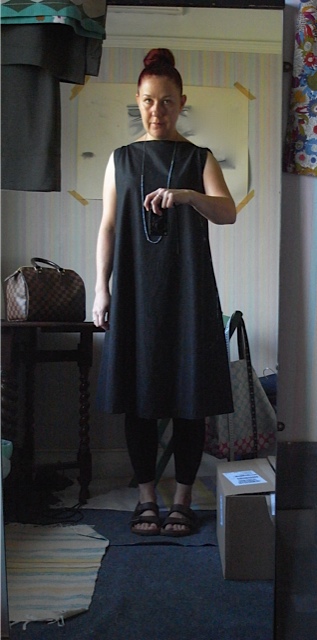
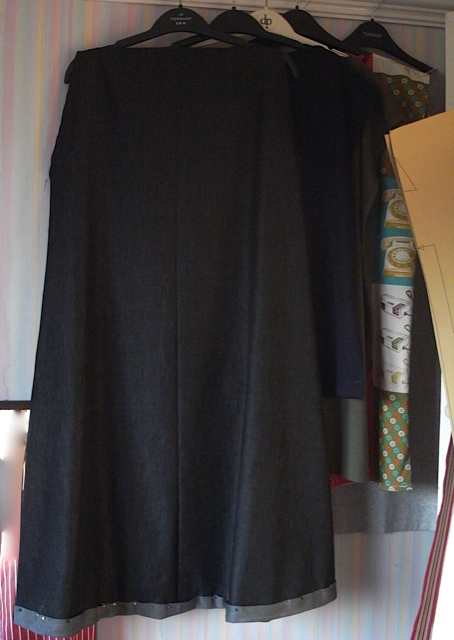
Here’s me wearing it. I love it and am so pleased I finally had a go. Look a bit like a psycho here. Sorry!
I was right about the fabric being perfect for this dress. It drapes beautifully and you get a lovely effect at the back when worn, I’m sorry I don’t have pictures of the back. Must try and enlist the Husband to take pics sometimes.
I had a wonderful complement while wearing this dress, a lady in a shop said she LOVED my dress and asked if I made it, and then proceeded to tell me I should make them to sell! I was very flattered and was on a high all day.
As a side note, I made this dress in the size 10, and I do believe I have enough fabric left over to make another one. The fabric was 2 meters in length and is 140cm wide.
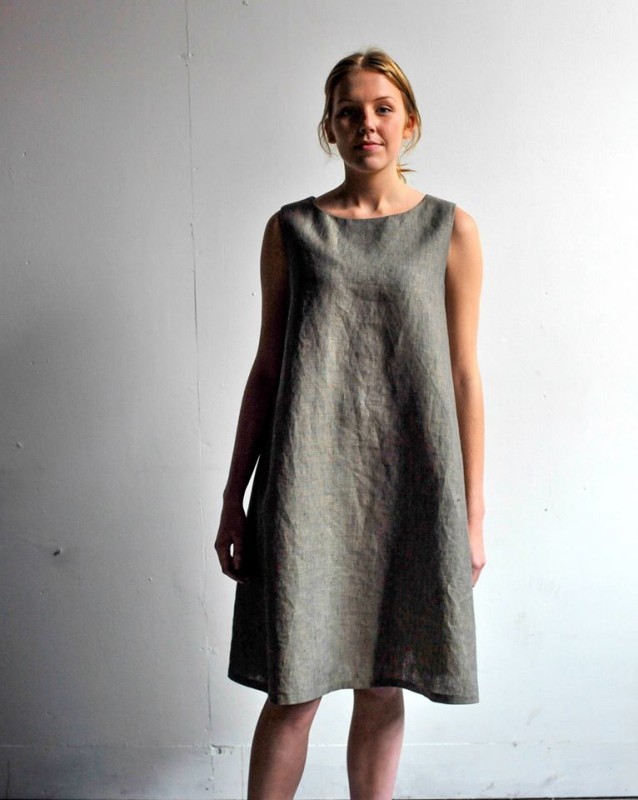
Just for reference, here’s how it looks when the pattern is followed properly. I also cheated with the armholes. Picture taken from the paper pattern packet.
Thanks for the inspiring blog. I have cut out a trapeze dress and am now going to sew it together, seeing yours and reading your comments made me less scared to try, best wishes, Alison x
Thank you, and I’m glad you like my blog. Good luck with your Trapeze, it really is a lovely pattern to make.
Trackback this post | Subscribe to the comments via RSS Feed