November 12th, 2015
Or dress for that matter?
After the disappointment of the Top 64 I decided I was going to make the Merchant & Mills Trapeze dress, properly. I bought this pattern in the pre-cut cardboard, size 10, about 2 years ago, when I first started sewing as I thought it looked nice and easy. And after getting it home and reading the instructions I realised it was far from easy, got scared and put it away. And then I made a simpler version of it (although I don’t think I can remember how I did it).
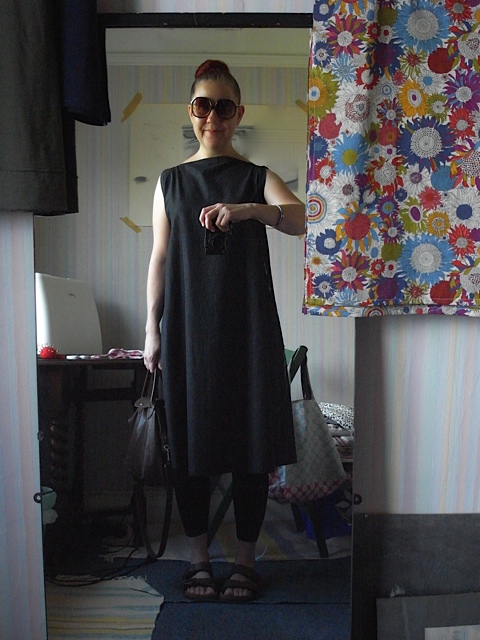
Now, more than 2 years later i’m finally ready to give it a proper go. I’m using the cotton canvas I originally bought for the Top 64, I think it might be a little thick for it, but I just have to use it, I have a feeling it will work.
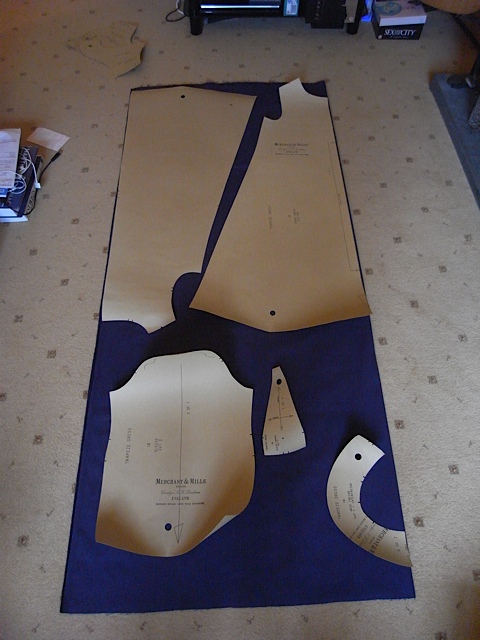
The pattern pieces laid out. I had to put the back on upside down to fit. Yes it does mean the nap on the back runs different to the front but its not too noticeable.
I loved how quickly this came together. I’m making the straight sleeve version, decided not to put the added bit in the sleeve which makes it flared, I think they’re a really lovely shape as it is. So there are only 4 pieces to cut out which is always a bonus. In the instructions they suggest laying out the pieces on the fabric and drawing round them but as I don’t have a large enough hard flat surface I’ve opted to just cut round them, using tins as weights.
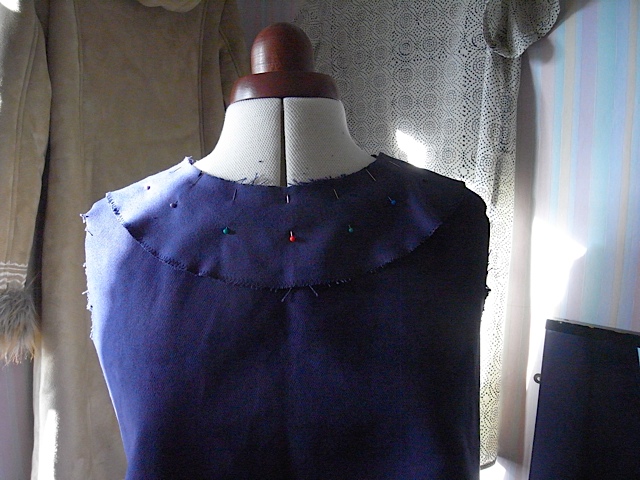
Neck facing.
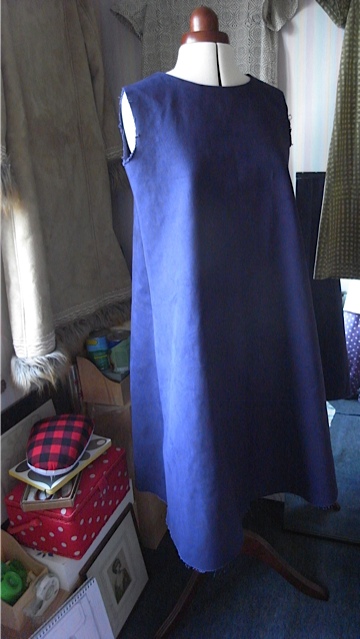
This came together so quickly, I reckon if I’d started at 9am I’d have had it finished by 5 or 6pm that day.
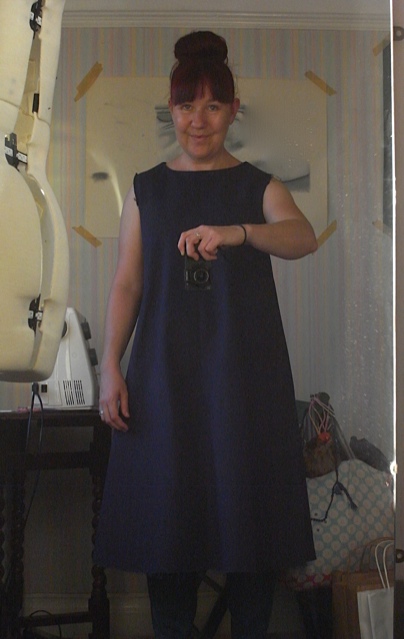
Looks a bit like a tent at the mo…
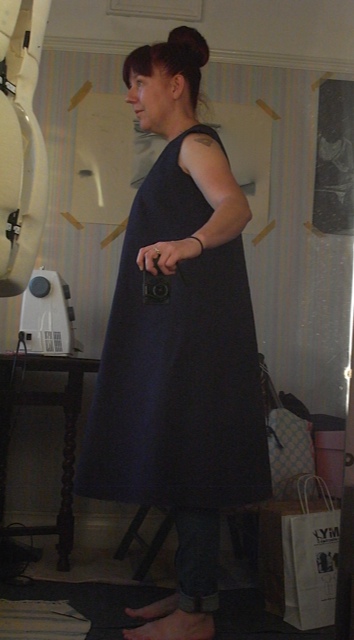
Even more so from the side.
The next day I put the sleeves in. They went in beautifully except they are supposed to be smooth and mine didn’t work out quite like that. The thread snapped when I tried to gather in the sleeve head so left me no choice but to make them puffy. But I quite like them like that.
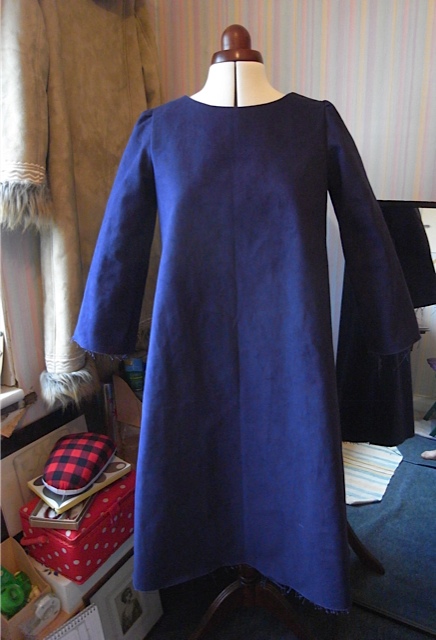
Sleeves in.
Next came hemming of sleeves and skirt hem! Sleeves were painless, but the skirt hem was a little trickier, because of the curve and the amount of fabric you have to fold up. I looked up several different methods for doing it neatly, but ended up not using any of them. So whatever you do if you see me wearing this dress don’t look at the underside of the skirt hem, please.
I was a bit worried before I hemmed it that it was looking a bit too voluminous, but once hemmed it looked so much better and hangs beautifully. I love the structured shape the fabric gives it.
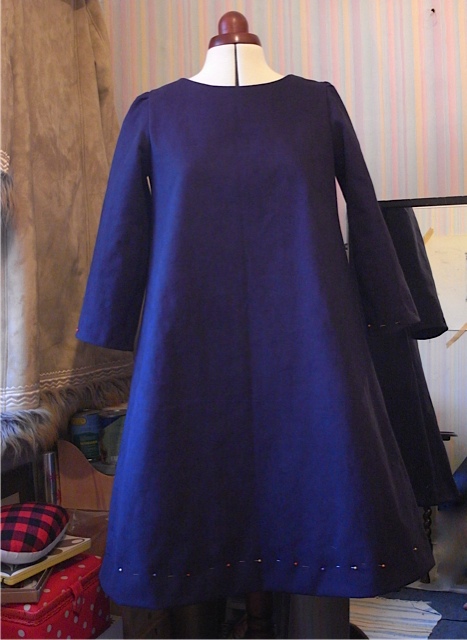
Pinned in place.
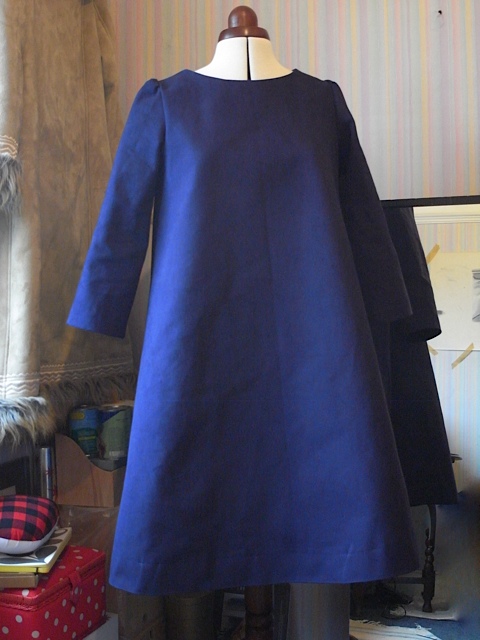
Finished.
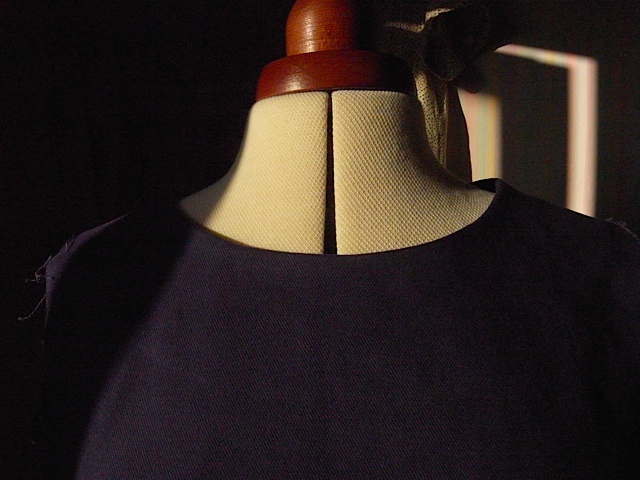
Just look at that lovely neckline. One of the neatest facings I’ve ever done.
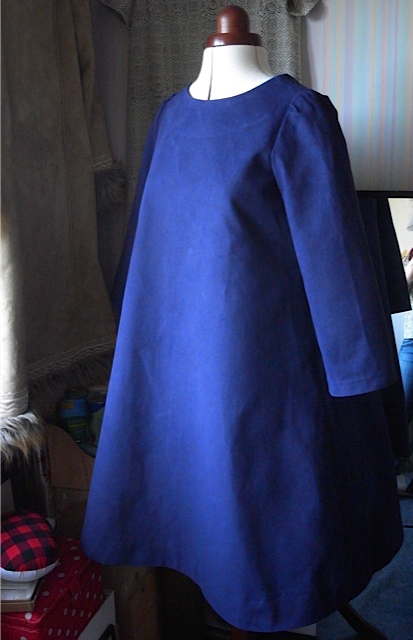
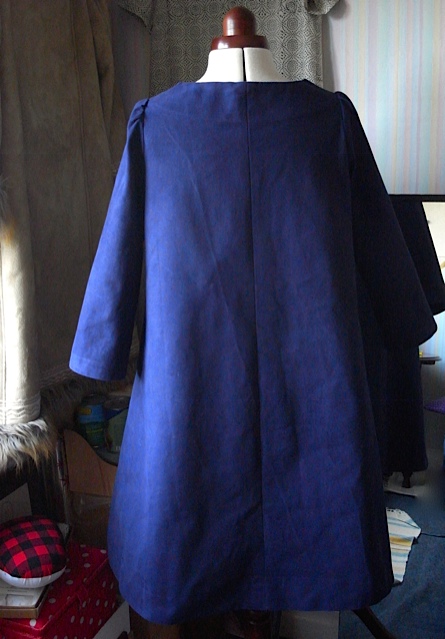
The fabric looks quite creased here, I have worn and washed it already.
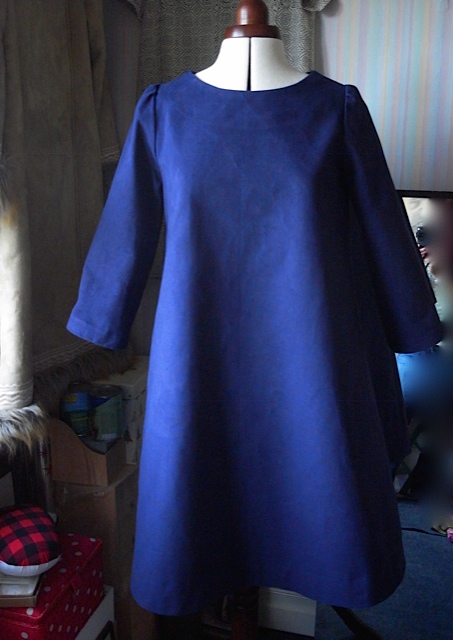
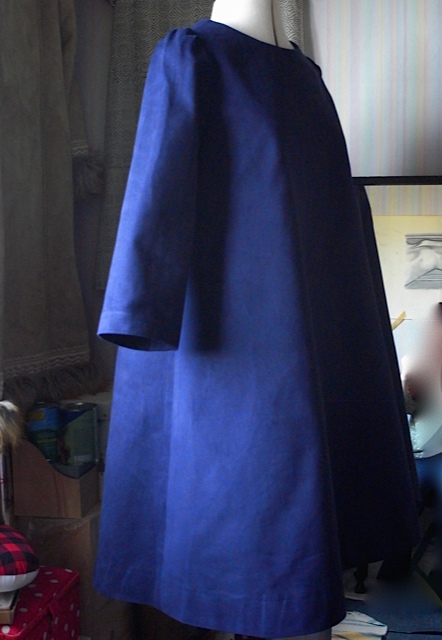
I really really love the shape of this dress.
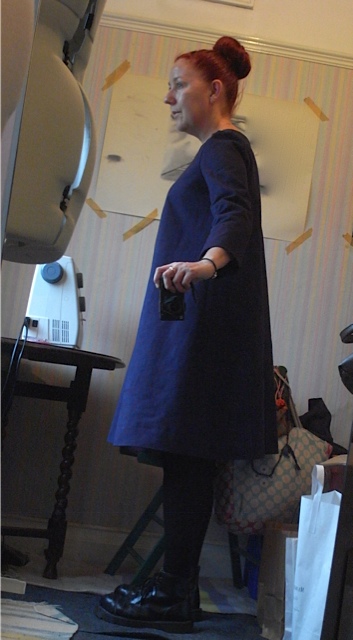
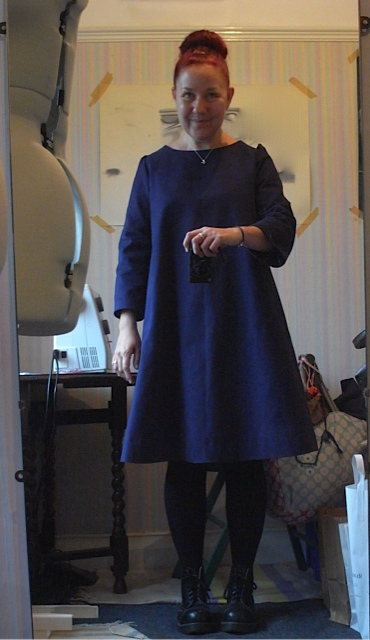
Happy happy me :0)
I thoroughly enjoyed making the Trapeze dress, the fabric was a dream to work with (am now thinking the Strand coat in this fabric would be divine) and the pattern was also a joy to put together. I needed a good project after my last disaster and this was perfect. I. Will. Be. Making. More.
Would like to attempt the sleeveless version sometime but that does look a bit complicated believe it or not. And even though M&M say this dress is good for beginners, there is an awful lot of fabric to handle which can be a bit daunting if you are new to sewing. Or maybe thats just me.
November 4th, 2015
I suppose its not so much a sewing fail but a style fail. I hate it, I really do!
I wanted to have a go at something different. So I bought the Merchant & Mills Top 64, pattern. I also bought some top quality cotton canvas in blue for it. However I decided to make it up first in a dress weight denim also from M&M. And boy am I glad I did.
It wasn’t a complete fail I suppose, I enjoyed the making of it, and I learned some new things about construction. And this was completely different to my usual tops.
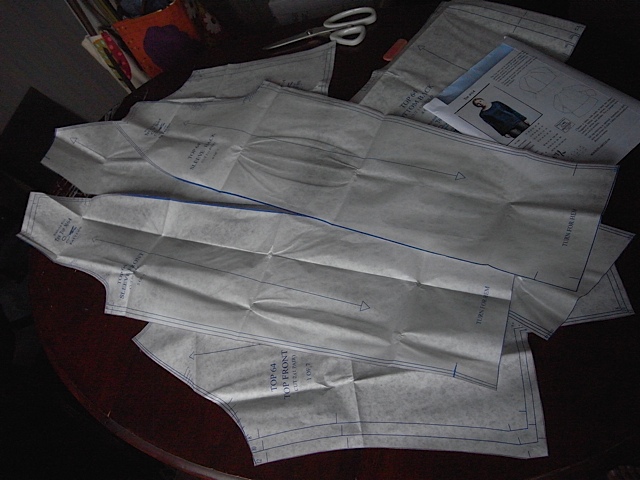
The pattern pieces all cut out and ready to go.
I cut out the size 12 after trying on the size 10 at M&M in rye and very nearly got stuck in it. The size 10 in their shop is made up in a waxed cotton canvas and has no give whatsoever! I knew I shouldn’t have put it on but I really wanted to know how the 10 would look. After nearly dislocating my shoulders to get out of it, I talked to Michelle who works for M&M and she advised me to make it up in a size 12, even though I’m usually a size 10 in their patterns. As she said that is what she does and she’s usually a size 10 too. So thats what I did.
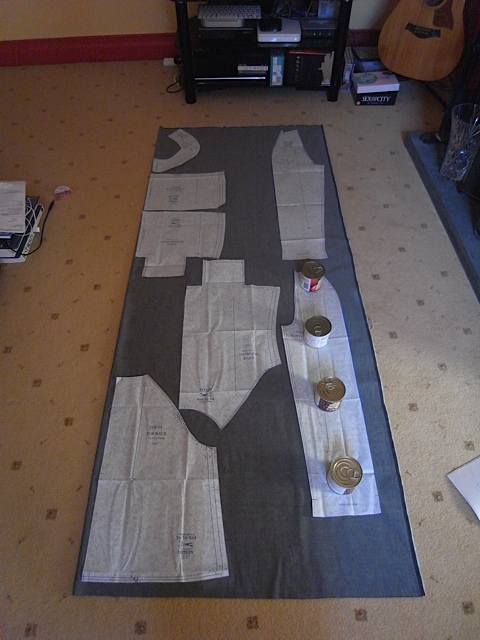
Pattern pieces laid out on fabric. And I now mostly use tins when I cut out.
Like I said I enjoyed the actual making process but I hate the finished product.
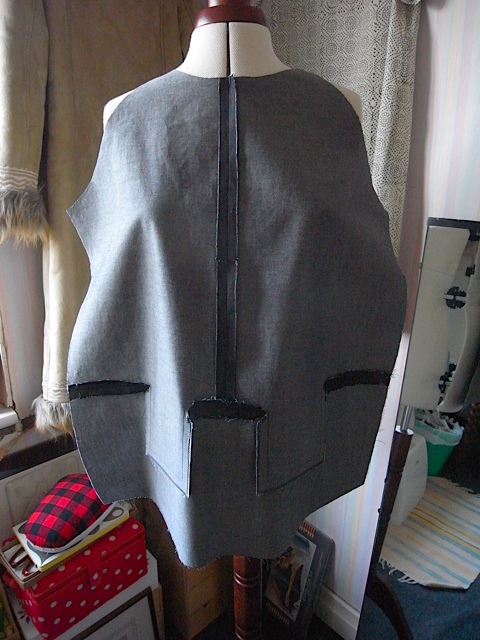
Inside of the front.
I decided against top stitching the seams, and I’m glad I did. Would have been a monumental waste of time and cotton.
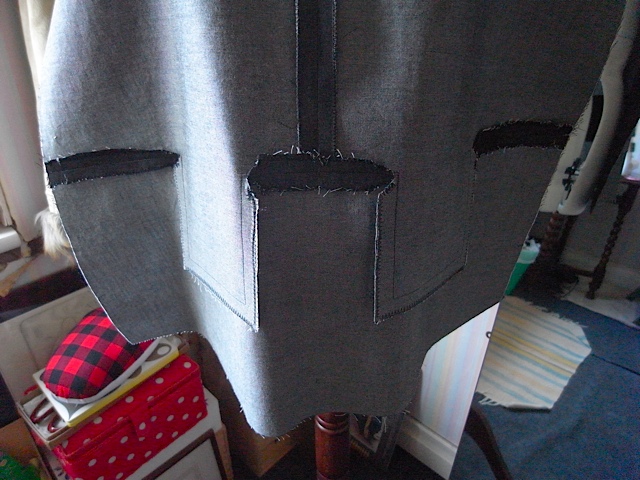
Close up. Quite impressed with the straightness of my sewing.
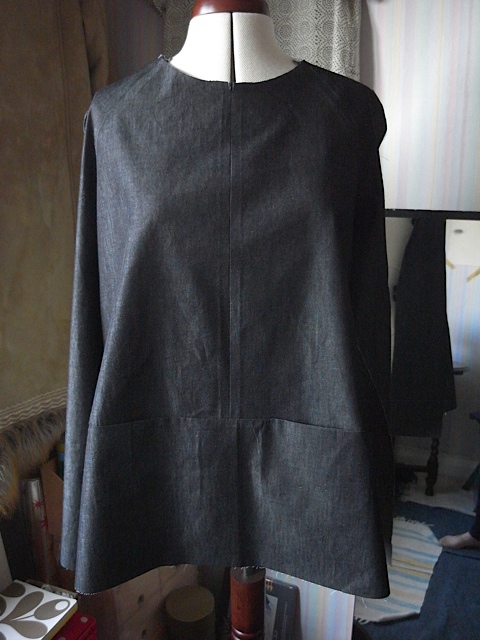
This is what the front looks like before I attached it to the back.
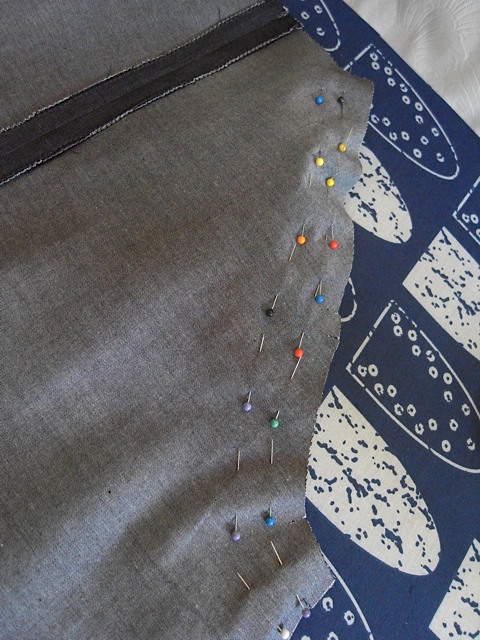
Pins for the raglan sleeves.
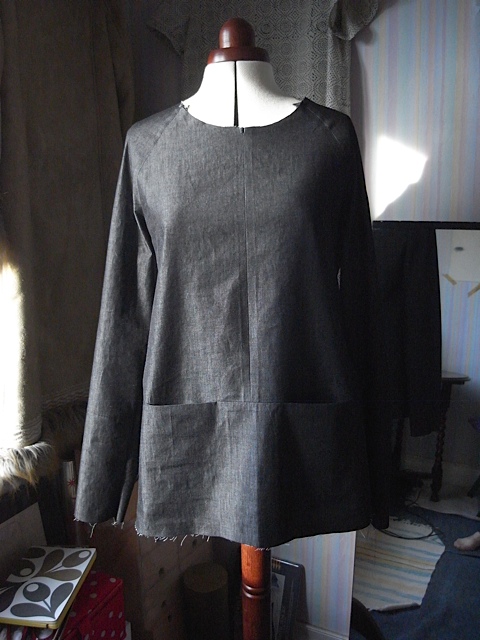
front and back joined together.

Not used to doing the neckline facing after putting garment together. But it works really well and looks super neat.
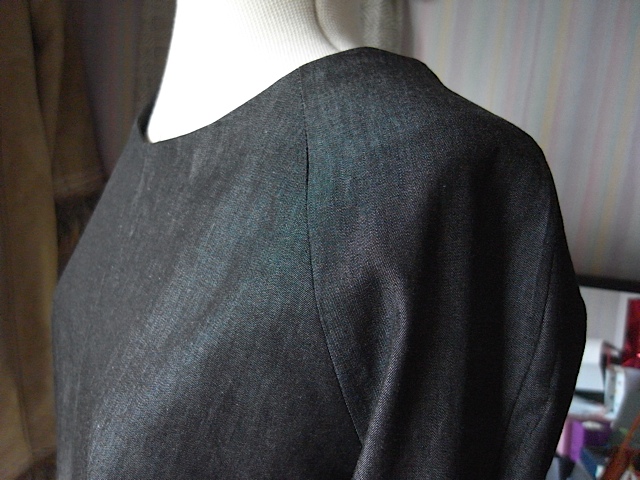
Sleeves/shoulders.
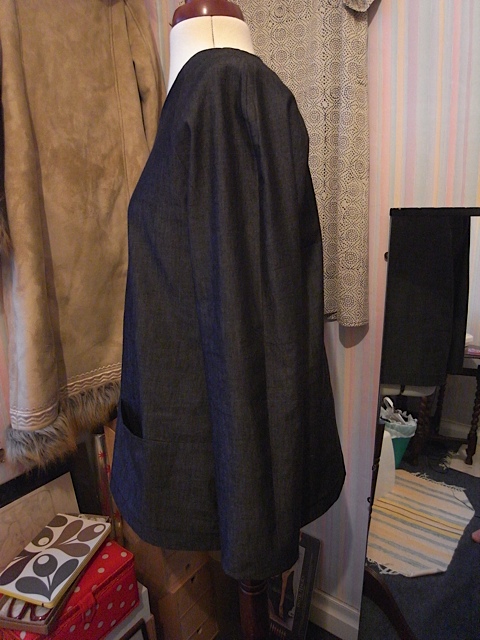
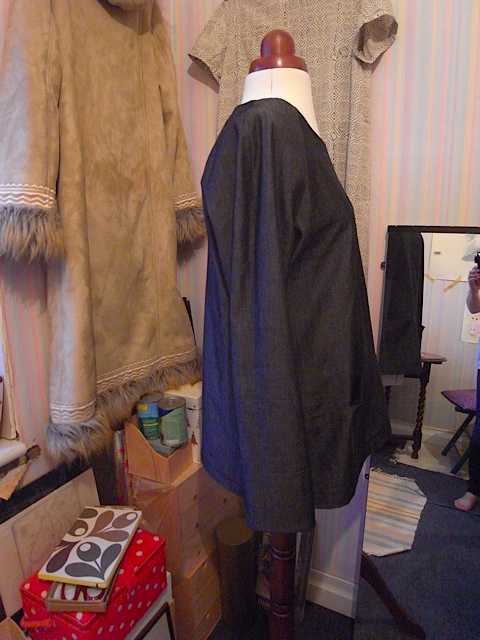
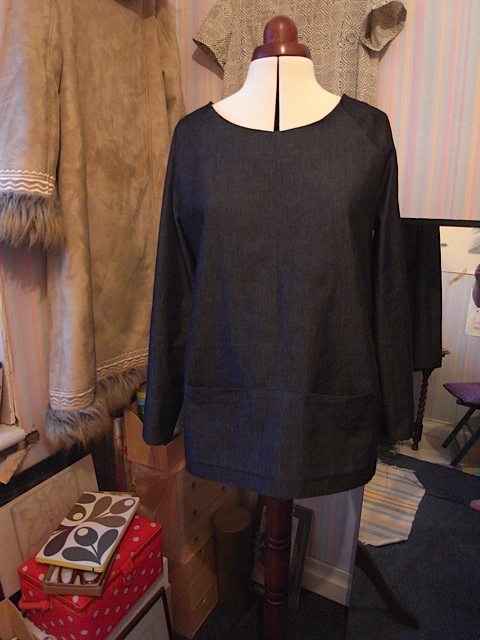
Hangs much better on the dummy than me. I’m pleased with the quality of my sewing on this but it just looks awful on me. Hangs funny, the centre front sticks out and just looks wrong. Don’t know why? Could be that the fabric isn’t sturdy enough, I just don’t know.
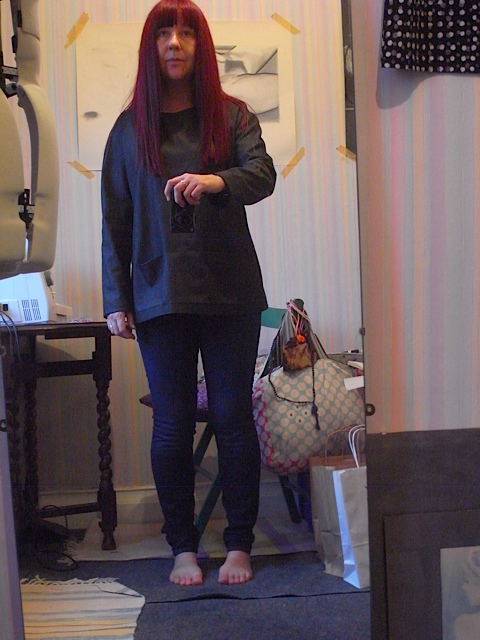
Can you tell I’m not happy? Please excuse the nude in the background, its not as rude as it looks. Its from my life drawing days.
I’ve put it down to experience, and like I said I’ve learnt new things. Who knows I might try it on again in a few months and decide I do like it. Never say never…
September 11th, 2015
As I love the last jersey top I made so much I decided to make another. You might remember though that I hated the making process very very much! But I decided it was worth the pain. And then I started making it and quickly decided I really really hated working with jersey and this better be worth it once more…
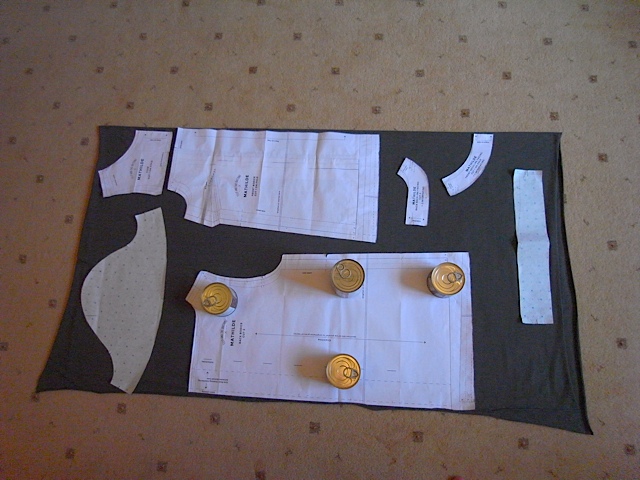
I’m using the last of the jersey I bought from Merchant & Mills some time last year. And I’m very glad they no longer sell jersey as it will stop me being tempted to buy more.
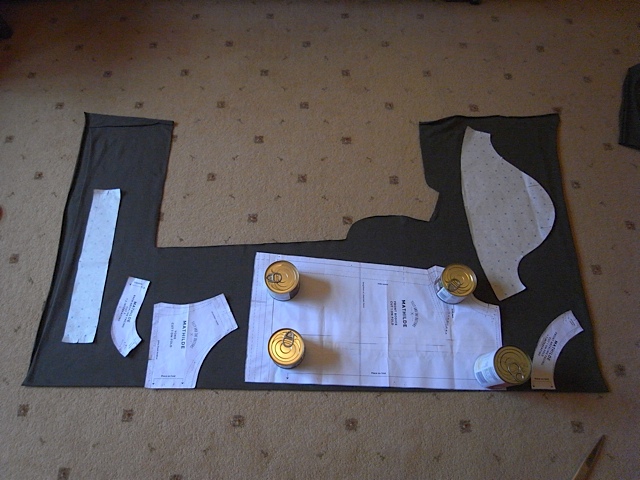
As you can see I’m using tins as weights to hold the pattern whilst I cut round it. This is proving to be the best method.
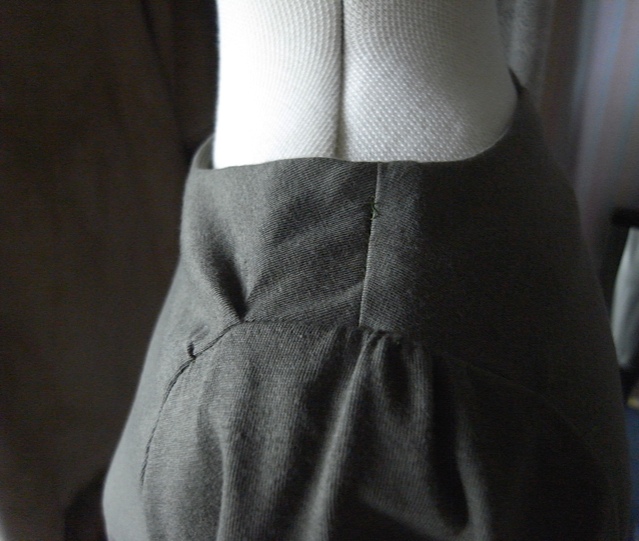
Once again some problems with puckering at the shoulders, but I really don’t care.
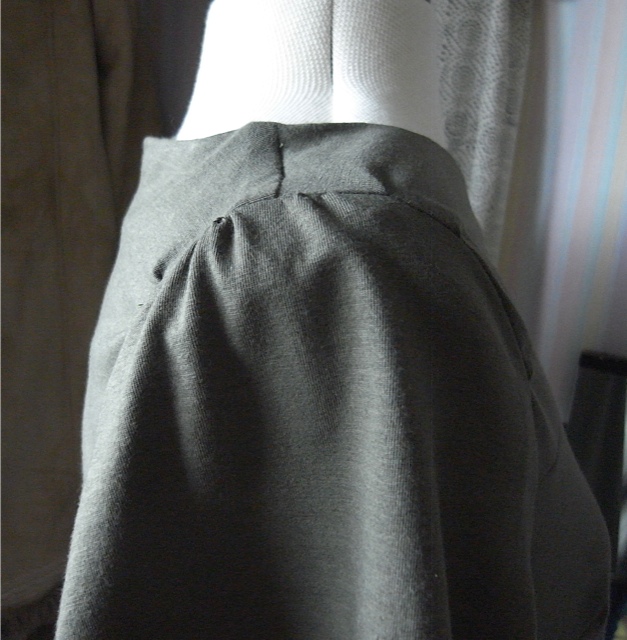
Both sides.
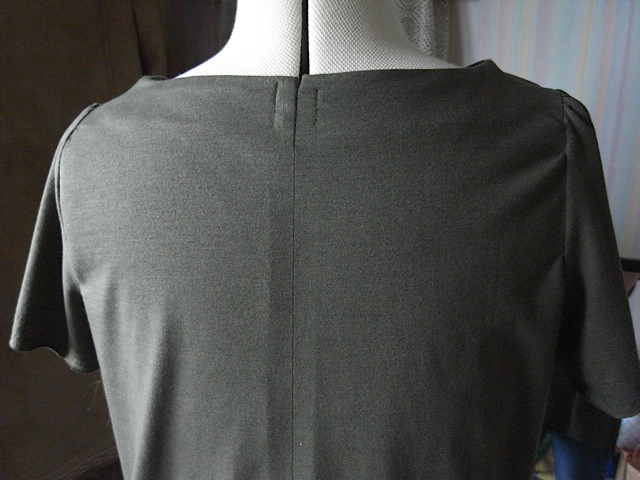
Looks a bit bad here at the shoulders.
I’m not too happy with the bust darts either, they seem to sit a bit funny.
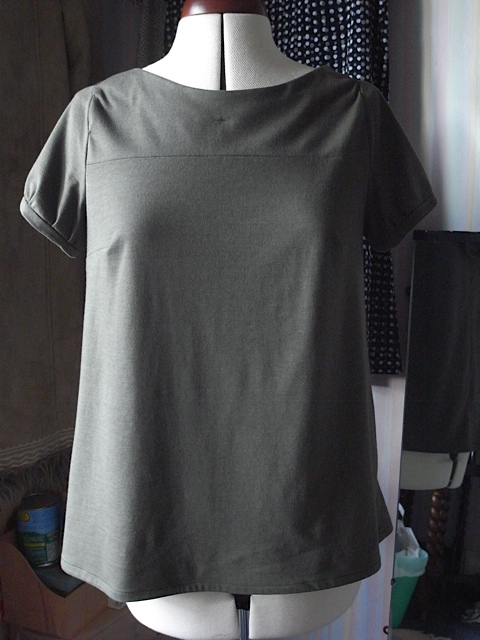
Doesn’t really show too much here. And doesn’t look too bad on. Its just that I know.
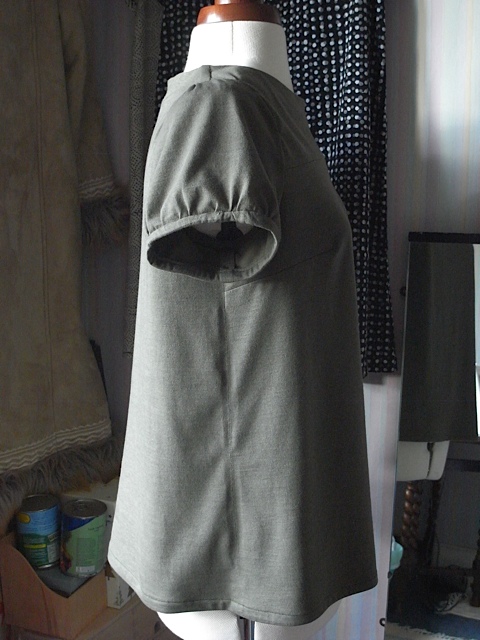
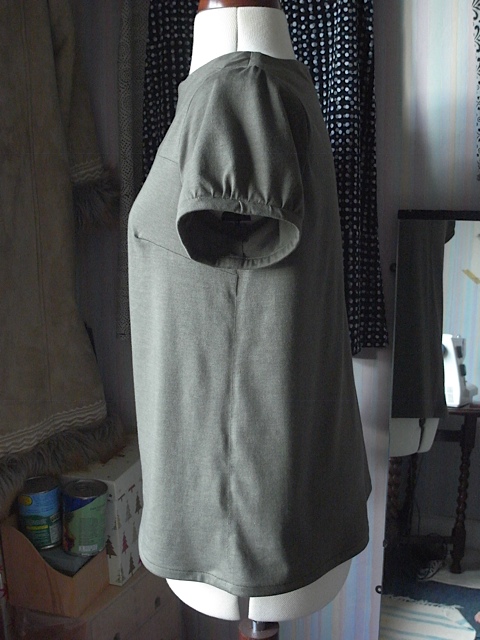
Side seams look a bit wonky, but once again doesn’t really show when being worn.
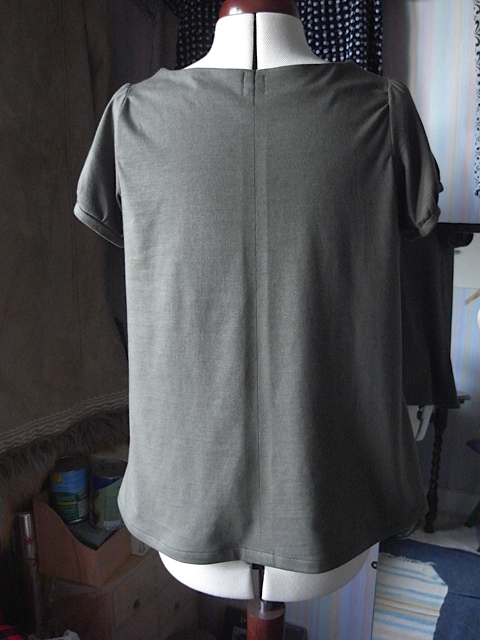
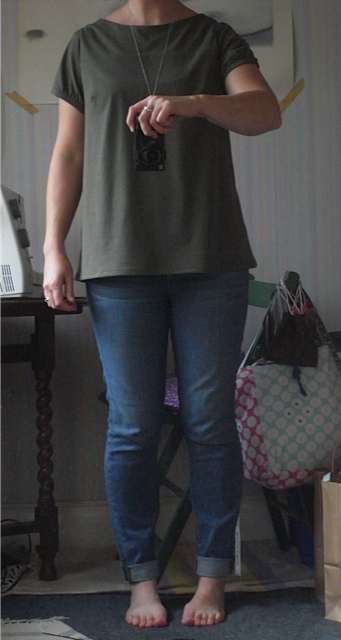
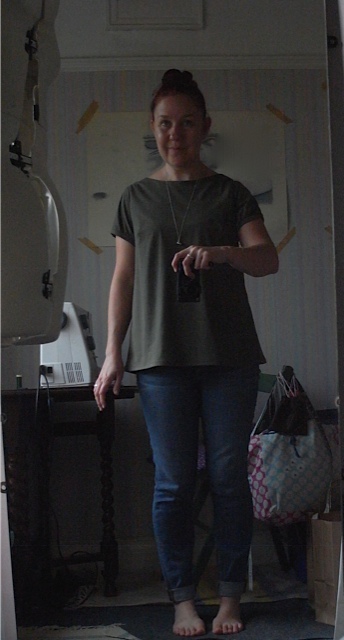
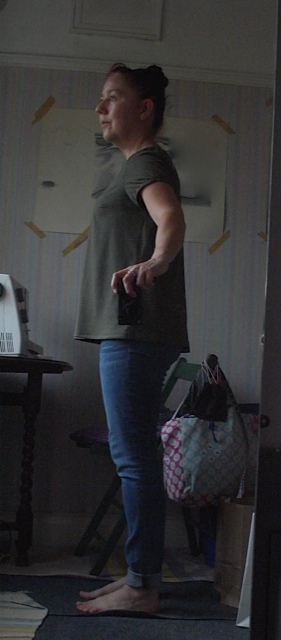
I think its safe to say I’m not overly impressed with it. I will wear it, and maybe I’ll grow to like it as much as I do the other one, but I’m not holding my breath!
(Sorry for the picture quality)
August 19th, 2015
Most of the people that know me well, know I’m not a very sociable person, and I keep a pretty tight knit group of friends around me. I may not see them very often but we know we are there for each other.
The work I do, involves meeting and mixing with lots of different types of people and having the ability to get on with them. Which I think is why I’m mostly quite happy with my own company. On my days off its quite nice to just not have to talk. Now don’t get me wrong, there’s also nothing I like more than a nice piece of cake and a coffee and good old gossip with friends too. Just not every day.
Since starting my little sewing journey I’ve almost become more of a hermit than usual. Probably because for the most part sewing is a very individual activity, and I’m very happy being at home and making my tops.
I started blogging to document my sewing for myself, so I can see how far I’ve come and what I’ve been doing. A personal record of my work, and if anyone reads it thats great, but I write it for myself so I’m not worried if nobody else reads it.
Which is why I was quite surprised at how happy I was when I got a comment from Poppyinstitches, she found my blog after searching for the Merchant and Mills Strand coat. It was nice to see a comment from someone I didn’t know from anywhere. So I hopped on over to her blog and found another lovely blog about all things sewing. I was ecstatic to find my blog added to her list of blogs she enjoys reading :0)
Well we exchanged comments on each others blogs and found we had a mutual love for Merchant and Mills, and one day she’d commented that she might be popping down to Rye to visit M&M. This comment floated round my little brain for a while and I wondered if she might like to meet me in Rye, I never so no to an excuse to visit. Eventually I plucked up the courage to ask her if she’d been to Rye yet and when she said “no” I took the plunge and offered to meet her if she did plan to visit. And she took me up on the offer.
About a week later I met up with her and her lovely daughter in Rye, and we went to M&M where she bought some lovely things (I’ll leave it up to her to say what she bought on her blog, can’t wait to see the finished result) and I of course also bought some more lovely fabric of which I didn’t need but couldn’t resist. We then went for lunch to one of my favourite places the Apothecary coffee house. Had a lovely chat, such a warm and friendly person. After that we had a another little wander and then parted ways. I’m so annoyed I forgot to take my camera and take any photos to share but trust me it was a lovely day.
And then blow me down during the following week I got a Tweet from the lovely “sewing parlour/La La Rookh workshop” (they changed their name the week after my visit to “La La Rookh” ) inviting me down to visit as they would love to meet me! Meet me! Well I was flattered beyond belief and of course said yes. and then self doubt crept in. why would they want to meet me? What on earth would I possibly say… and so on?
I went back and forth for the rest of week about whether I would go or not, but then on the Friday evening I made up my mind that I would go. Of course there was always time for me to change my mind, I wasn’t going till the following afternoon. Saturday came and I was still in the mind set that I was going. This was feeling good.
I decided I was going to wear the top I made from the fabric I bought from there last time I went. Thought it might be a nice gesture, and I love the top…
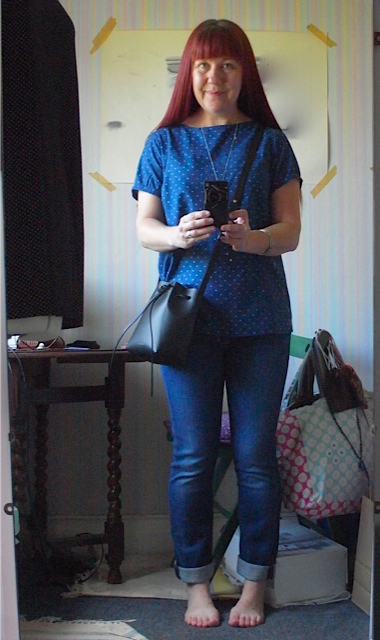
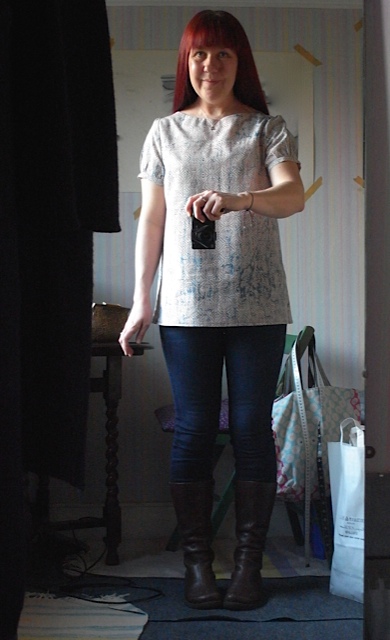
Here’s what I wore.
I was a little nervous, but I had a nice little walk along the seafront (not too far as I took the car, didn’t want to arrive all sweaty).
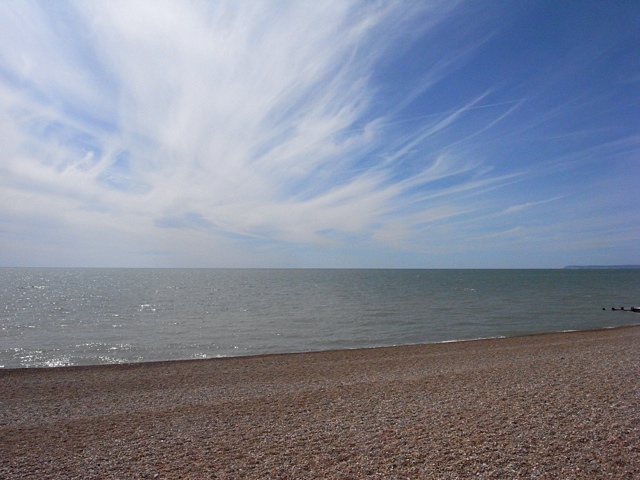
Had to take a pic of the sea and sky.
And then I arrived outside and thought it would be a good idea to take a photo of the shop front.
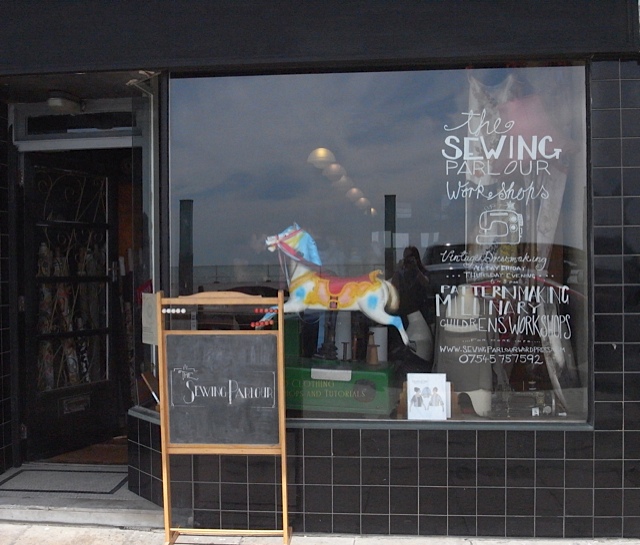
Of course it looks a little different now after the name change.
I walked in and was given the warmest of welcomes by two of the loveliest ladies you could ever wish to meet. Even though they were sort of in the middle of an informal meeting with a local entrepreneur and founder of Hastings Voice. I became included in their conversation. And very interesting it was too.
Afterwards I was invited into the workshop part of the shop and given coffee and cake. And we just sat around chatting about all sorts of lovely things. I would love to chat to Anna (owner of said workshop) more about her skills, I get the impression she’s a very talented lady but doesn’t really shout about it. And Lexie is a very talented lady too, take a look at her blog Those words she wrote, truly a gifted writer, she really has a way with the words. Together they are chatty and funny and I felt like I’d known them forever. Time passed all too quickly and I had to leave. Of course I didn’t leave empty handed, always good to have a look at the fab array of fabrics she has.
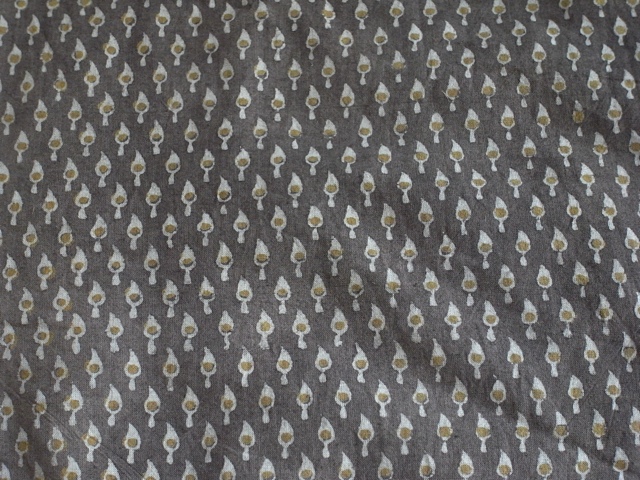
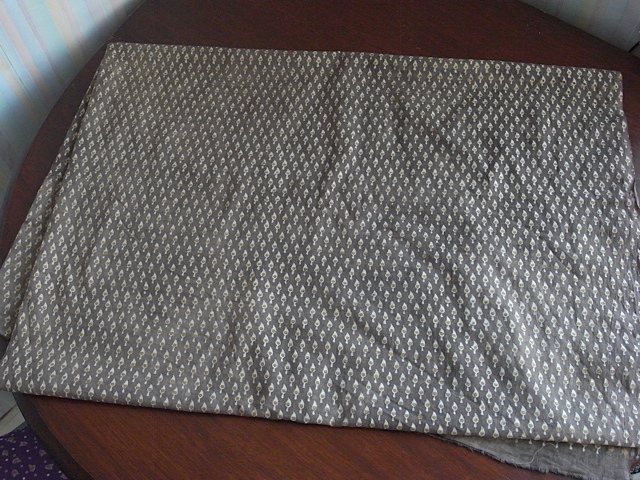
Always so difficult for me to capture the true colour. Another gorgeous Indian print cotton.
And here’s a pic of the two fabulous ladies themselves.
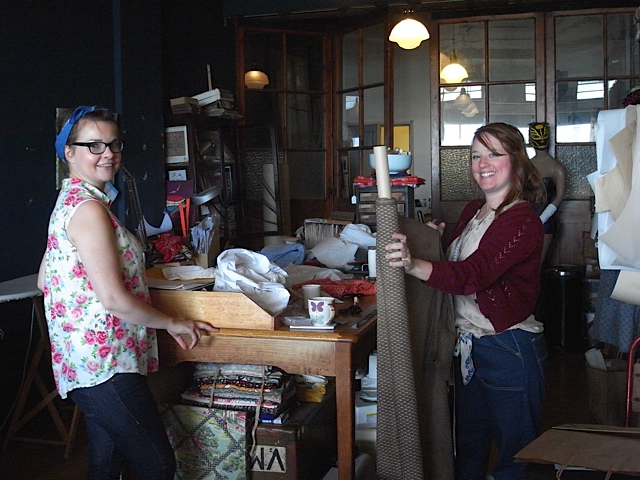
Anna on the right and Lexie on the left.
I can’t wait to go back again and hopefully get to know them a little better.
I think what I’m trying to say is, that sometimes its good to put in a little effort and meet new people. You just never know who you might come across. I’m still a mostly unsociable bugger but sometimes I come out of hiding!
July 1st, 2015
What can be better than a black and white daisy block print top? I’ll tell you, a black and white daisy block print dress thats what! Fabric from Merchant & Mills. I just love this fabric so much I had to have a dress in it. I think I bought 3 meters of it with the intention of making two short sleeves tops, but then I wondered if I might have enough to make a dress and a top. I don’t think I would have if I’d only had the 3 meters but I had some scrap fabric left over from when I made a previous top. So yippee!
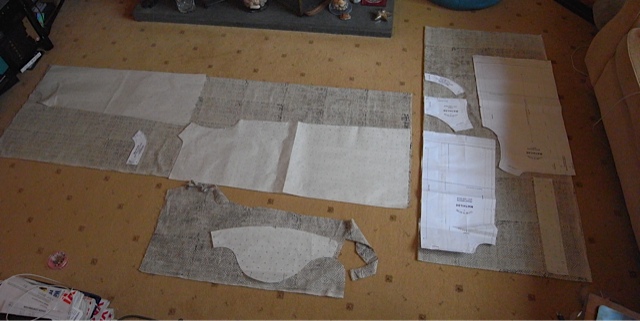
Showing the pattern layout for dress and top.

Pattern layout for the dress.
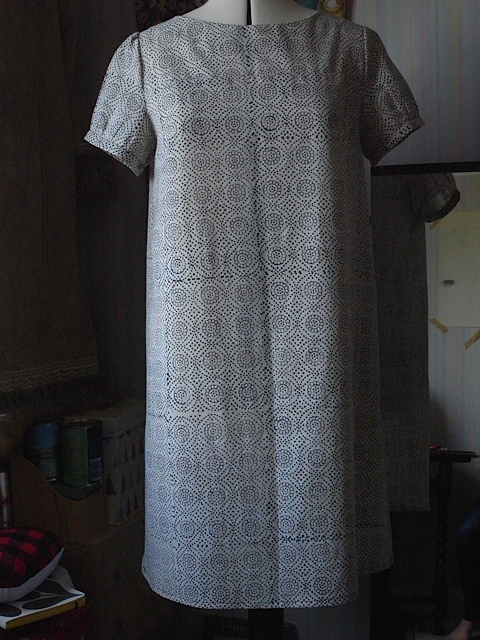
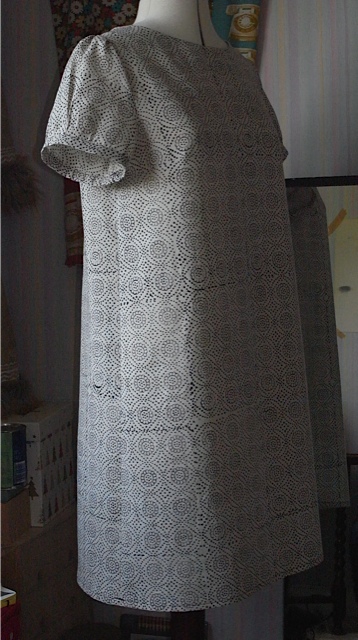
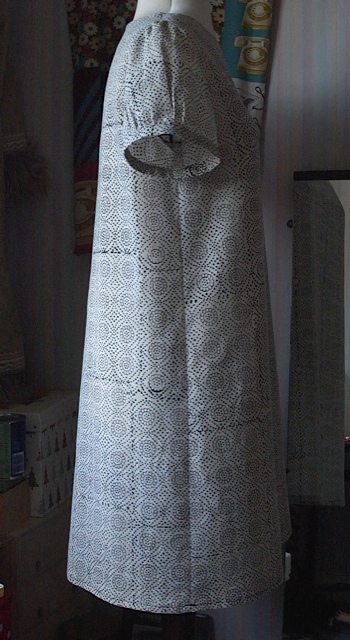
I made it a little bit shorter than the green dotty dress as I just didn’t think it looked right being the same length. I wasn’t happy with it at all. So taking off a about 2cm made all the difference. I think it might have something to do with the colour, something about it being lighter made it look not as good as the green one.
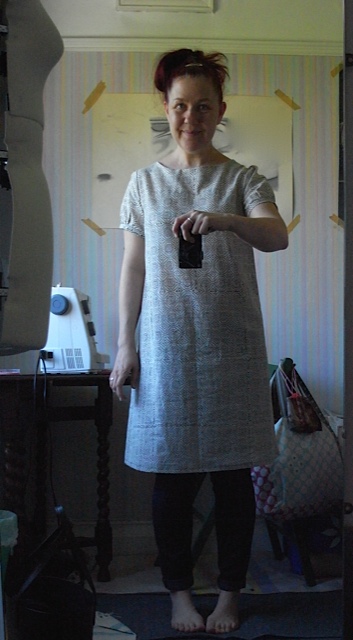
Longer version.
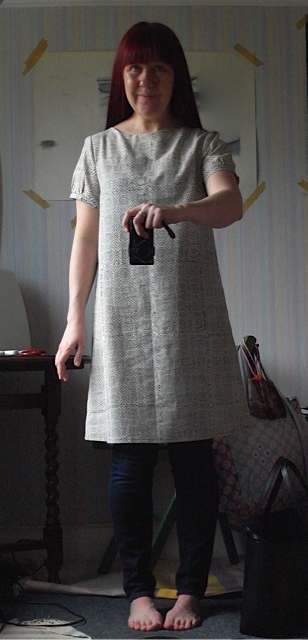
Shorter, only a little bit.
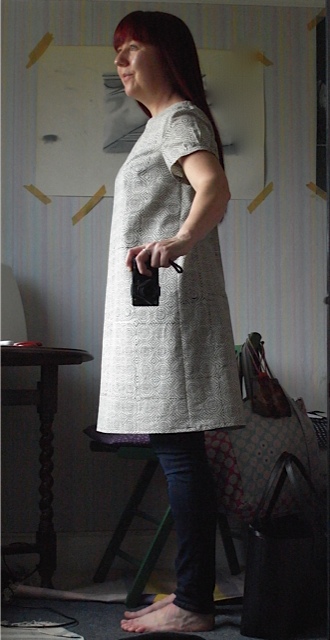
I said there would be more of these dresses…
May 13th, 2015
So I made one.
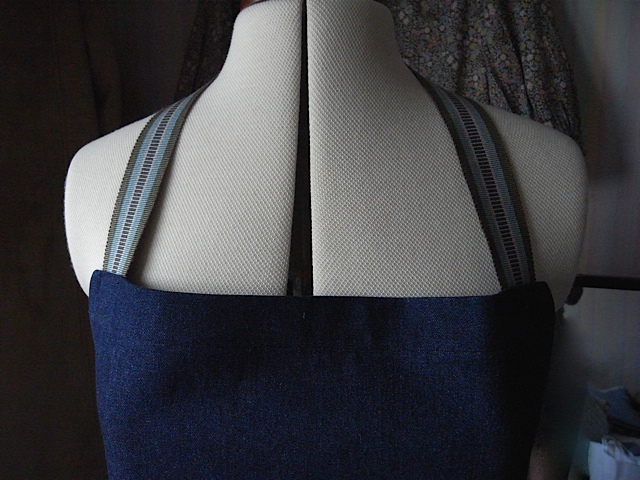
I don’t know about you but I can’t wash up or cook without wearing an apron, just doesn’t feel right to me. My old one was looking a bit sad and in need of a wash and I couldn’t find the other one with which to swap it. I’ve always wanted to make an apron as I love the shape and it looks like it should be easy. I remembered I had some denim fabric from Merchant & Mills left over from previous projects and wondered if I had enough to make an apron? I had a look, laid the old apron on it and yes I had plenty. I even had enough for the ties. I was going to use a different fabric for the pocket, a light blue cotton canvas with dark blue stars, but decided against it. So I cut out the shape, cutting round the old one, remembering to leave plenty of room for seam allowances. And cut out the neck and waist ties, after measuring carefully of course.
It was while I was thinking about the apron ties and neck strap and cutting them out that I realised there would be an awful lot of sewing to do with them, and again I remembered I had some gros grain strapping in my stash. I had a look and found the perfect match. Did I have enough though? It looked like I might not at first but after a bit of revaluation I had plenty. Oh happy day!
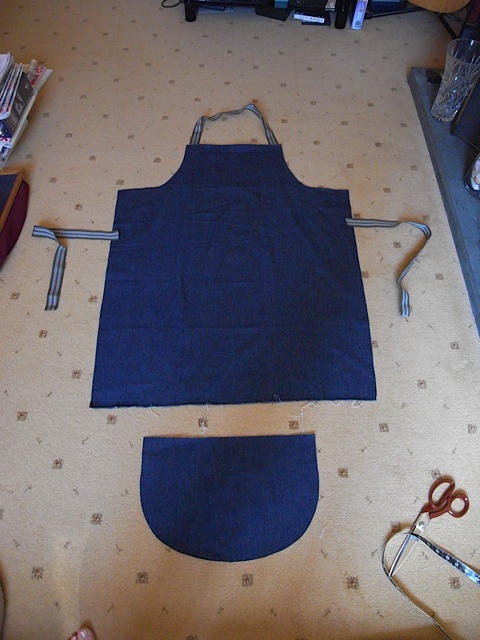
The unassembled pieces.
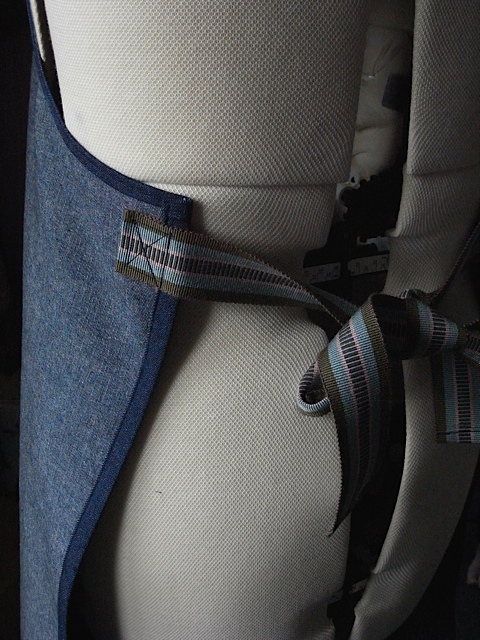
I was a little bit anxious about doing the curve at the side but it went a lot smoother than I expected it too. I first ironed the folded over edge and then folded it over again, ironed and pinned in place.

Like so.
Did the same the other side, sewed, and was happy with it.
Next up was the top of the apron and neck straps. I had a good look at the old one to see how best to attach the neck strap.
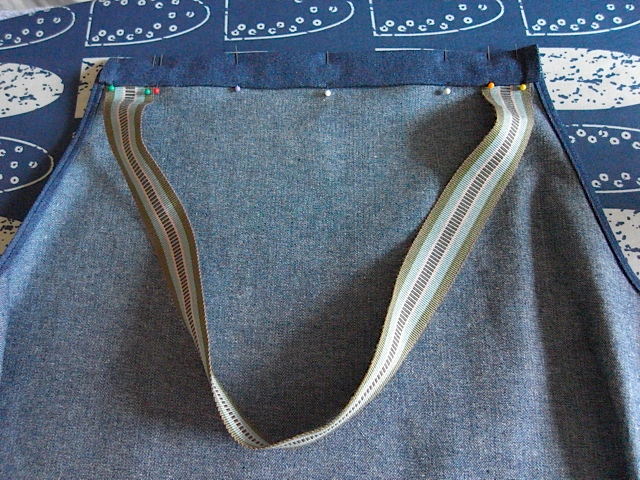
Tucked under folded over top, pinned in place, then sewn.
And then you turn the neck strap right way up and do some of that X shape in a square stitching. Think it might be called reinforced stitching or something.
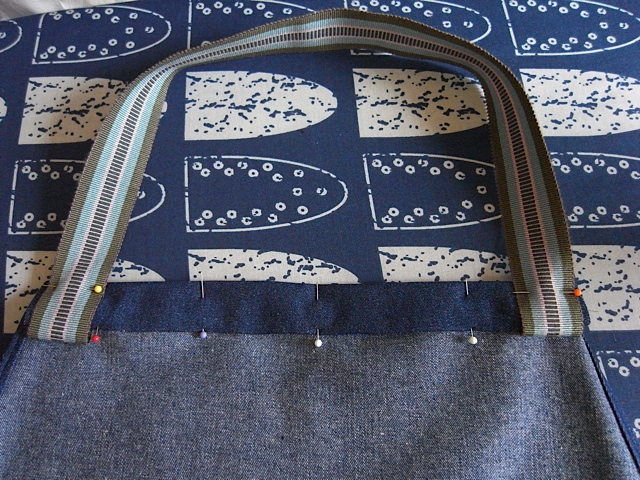
Pinned first.
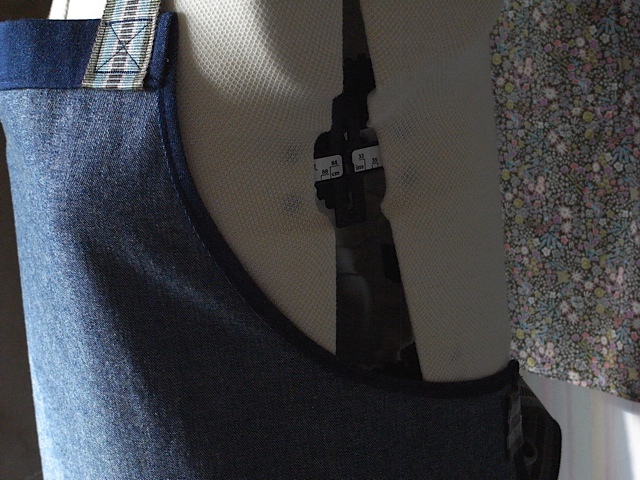
Then stitched.
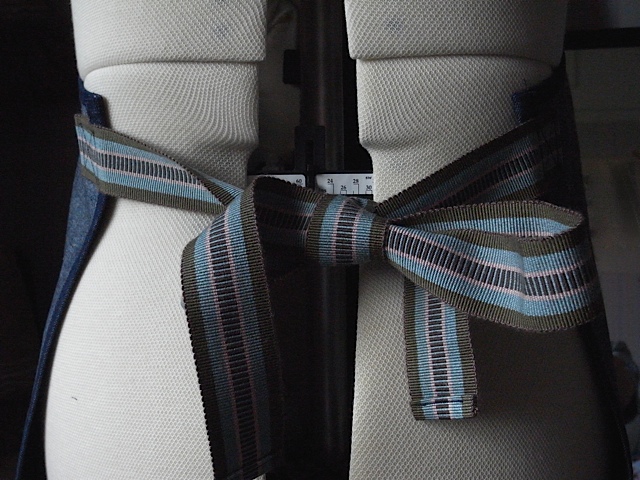
Then the side edges, again folded over, ironed then repeated. Sewn. Lovely. The waist ties were attached more or less the same as the neck strap.
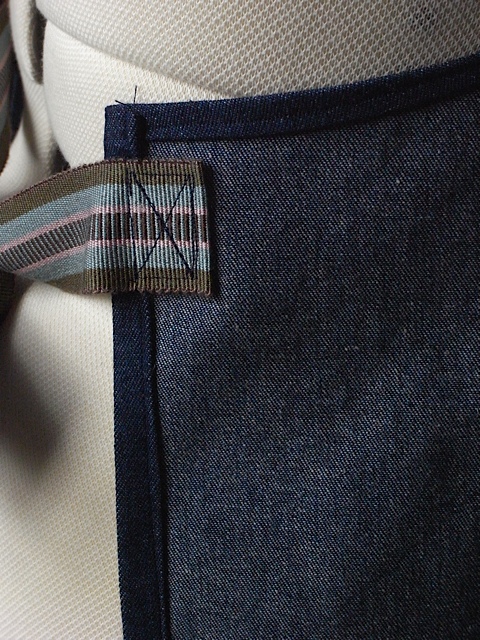
Waist tie attachment detail.
I found the pocket quite tricky. Folding the edge over it didn’t want to go nicely, so its ended up a little bit untidy. And my stitching isn’t brilliant either. Never mind though, apart from my husband, I’m the only one that’ll see it on a daily basis.

Doesn’t look too bad in the picture.

There we are…
Look at that for a stylish apron. I can’t believe how happy this makes me. I love it every time I put it on. The old one is a red and white stripe, nice, but not as lovely as this. More pics…
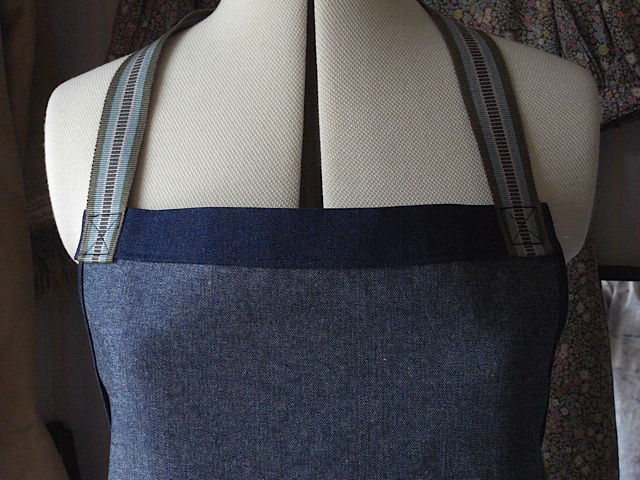
Love the inside
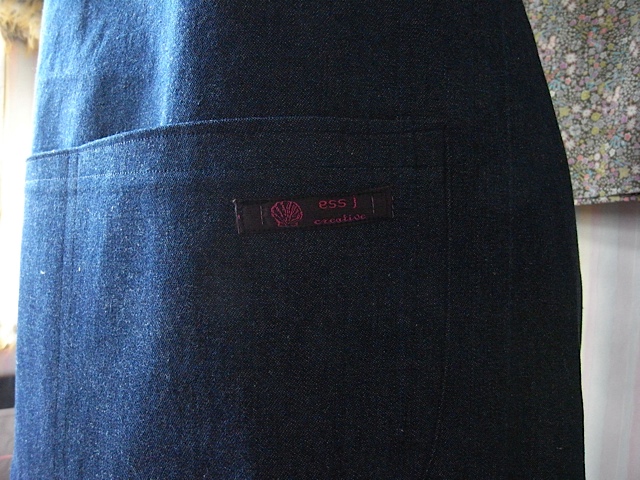
My little label.
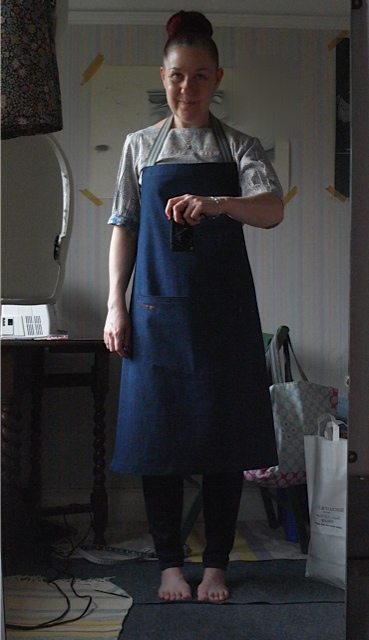
I love it!
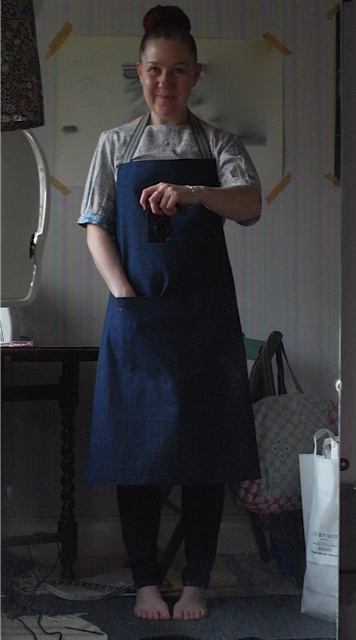
Pockets work.
I know I probably shouldn’t be this excited about an apron, but I am. Makes a change from a blouse.
May 4th, 2015
And cut off the excess 2cm from the bottom half of my Merchant & Mills Strand coat. Don’t know why I resisted, well I do really, I was scared I would completely ruin it, but I haven’t. I’m very happy with it now and wore it out today. I’m now thinking I might get some hook and eye fastenings so I can do it up too.
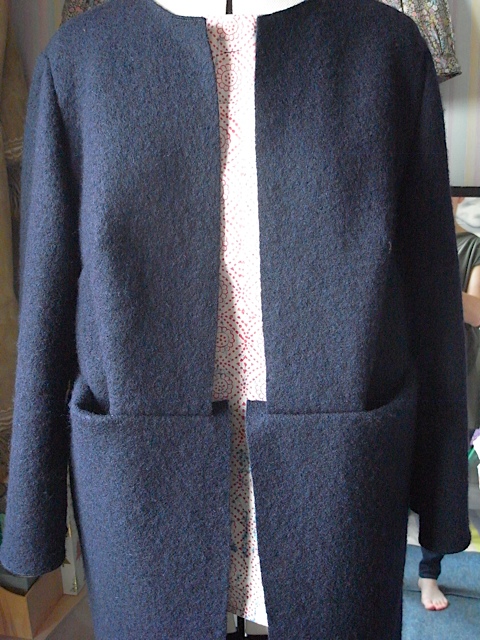
Before…
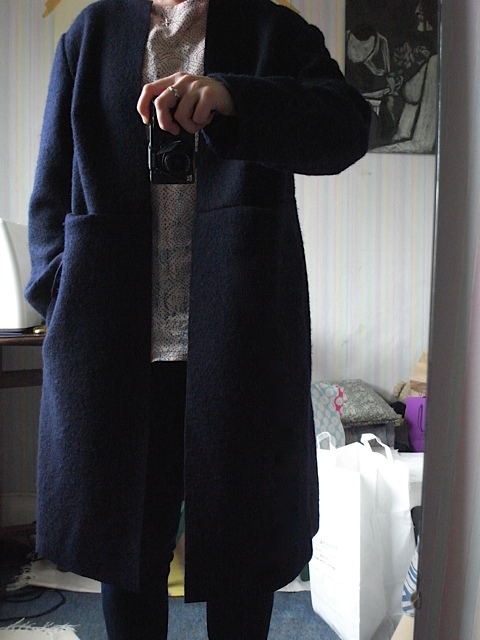
After…
Much much happier now.
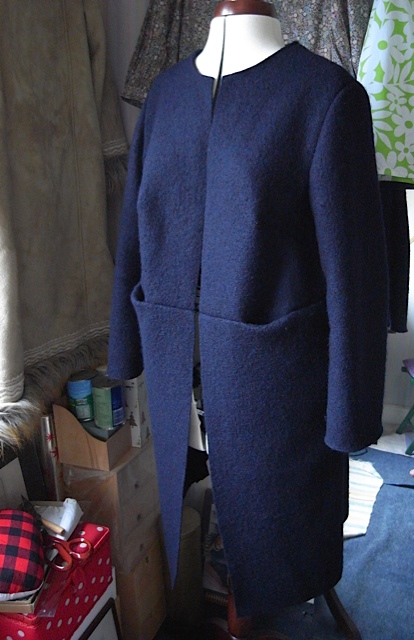
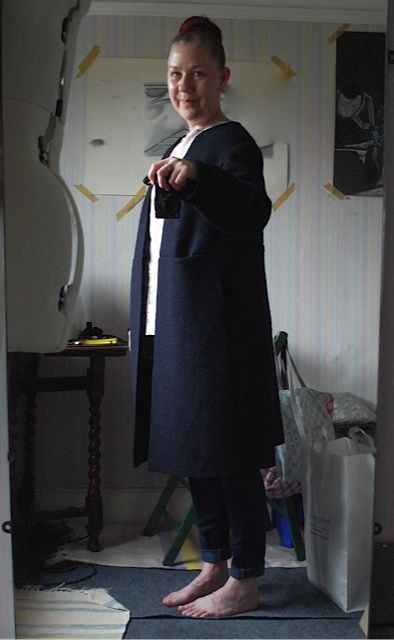
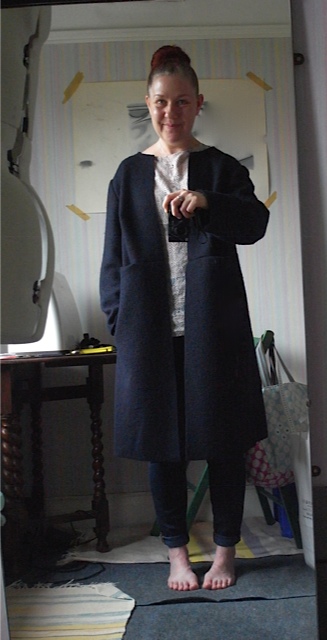
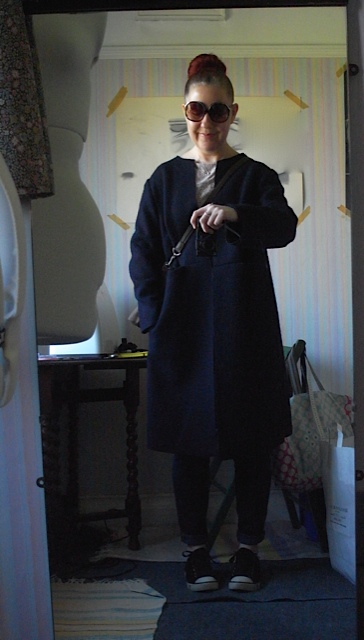
I had been thinking I would have to scrap this one and make another. I had just about resigned myself to doing just that and was thinking about which fabric I would like to use this time. So I had a little look at the Merchant and Mills site and found they have sold out of the Strand coat pattern, I was also thinking I would have to buy another pattern as I had altered the one I have. So when I saw they had sold out of the pattern I had another look at my coat this morning. 10 minutes later the deed was done. Should have done it weeks ago instead of trying to convince myself it was ok as it was. Doh!
April 29th, 2015
Its a sickness! I’ve made another blouse.
I bought 3 more metres of this gorgeous fabric from M&M, in the hope that I would be able to get 2 blouses out of it. As the fabric is just a mere 110cm wide it takes a bit of juggling. As you can see the back piece of the bodice is overhanging the fabric a bit, this doesn’t matter as I don’t have the button fastening down the back so usually end up cutting off several inches down the centre back seam anyway. I thought I might have to put the sleeve piece on sideways in order to fit it all in but happily using the shortest sleeve pattern piece I was able to get it on right way round. The picture shows the cuff piece (top left hand corner) in the sideways position but I actually managed to get that on right way round too. It is a bit of a tight squeeze with the bodice pieces but they do all fit onto just under 150cm.
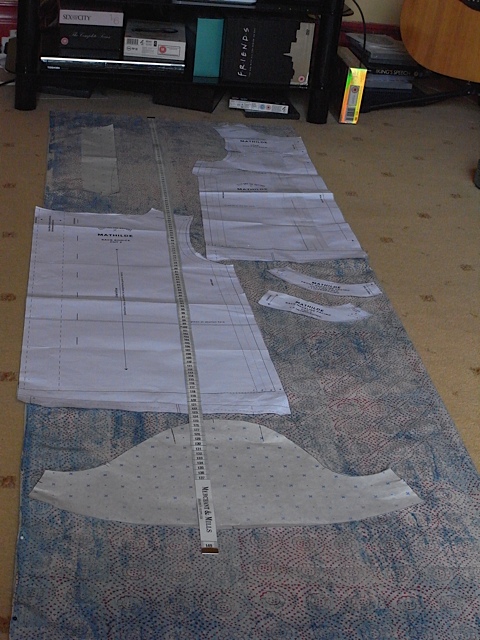
How to get two tops out of 3 metres of narrow fabric!
Now, I don’t have an overlocker but I am so far getting away with just zigzagging the edges. I have also gotten better at this each time I make a blouse. Getting pretty neat now.
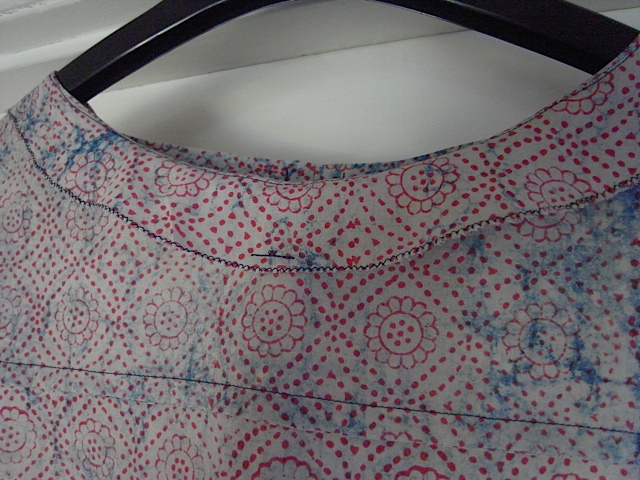
neck facing
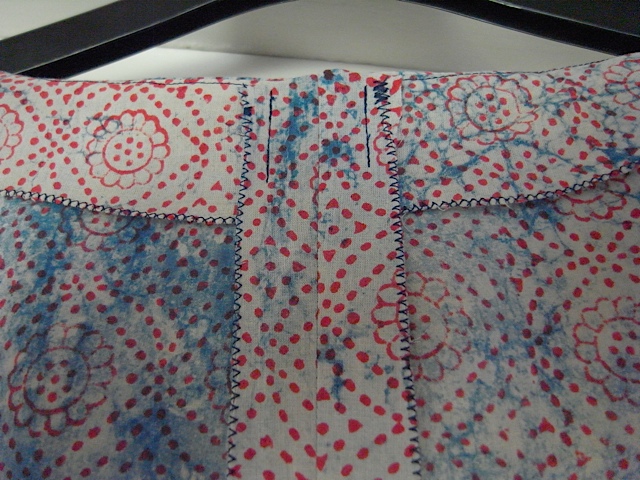
centre back seam. Looks better in real life than it does here!
I really like the inside of my blouses, the finish is quite lovely. Even if I do say so myself.
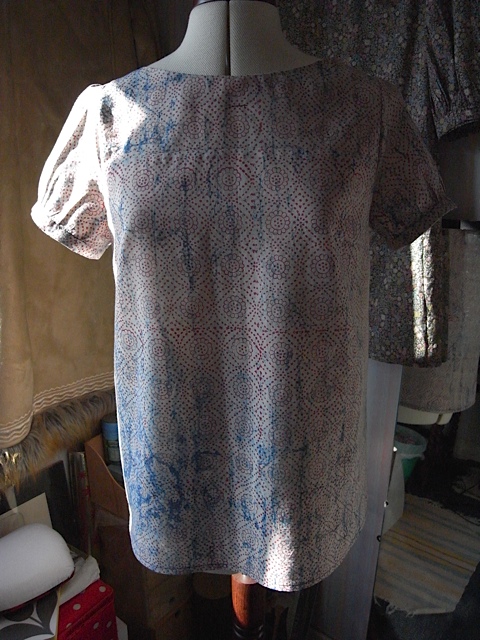
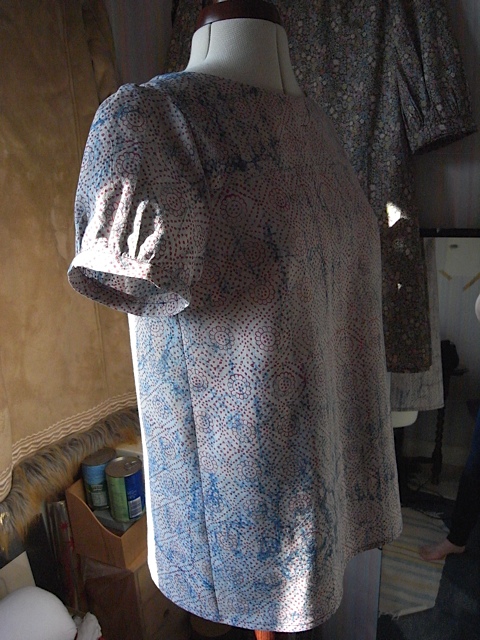
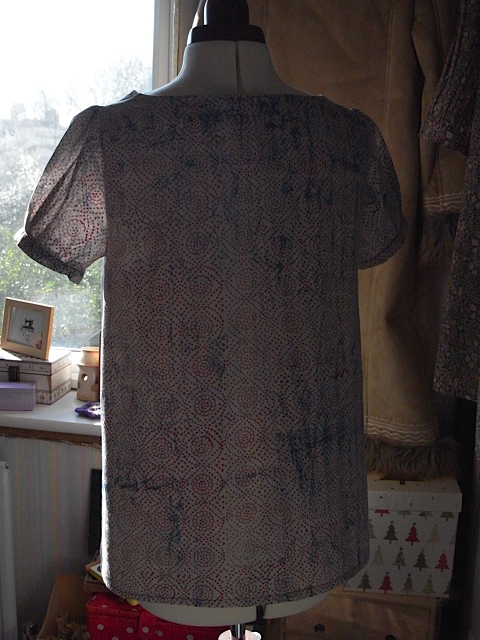
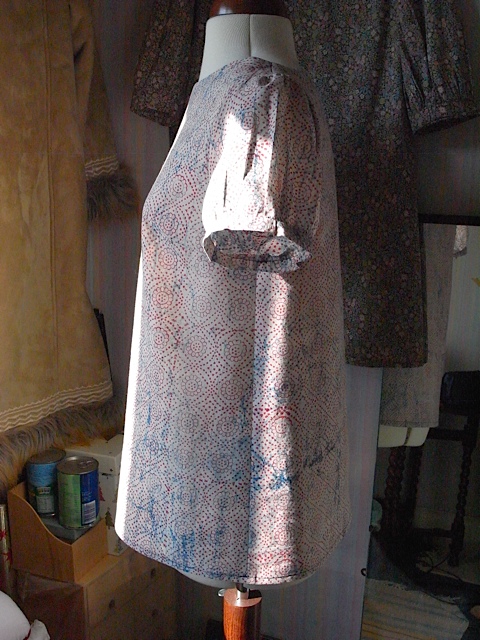
It is very similar to this one except the sleeves are shorter now.
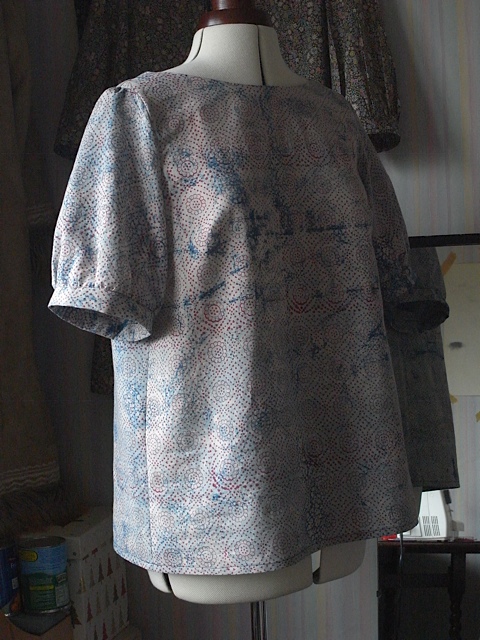
The sleeve cuffs gave me a bit of trouble on this one, but only on one sleeve. I just couldn’t get it to attach nicely, in the end I did what Anne from the first Great British Sewing Bee used to do with tricky fabrics and situations, and I talked very firmly to it, and it eventually went on OK. Not perfect but OK.
I have more fabric for more blouses, probably another four I think (and I’m thinking about buying some more of the white cotton eyelet), but I might need a bit of a break from making these for a little while. Lets see what I come up with next.
April 22nd, 2015
I have to confess something, something I’ve sort of been in denial about. I made a bit of a sewing mistake when I made my coat, yes I did. I touched upon it in the post about the making of the coat but I sort of brushed over it. its the 2cm I cut off the bodice. That was really and truly a mistake, although I did it intentionally, I now know I really really shouldn’t have. I thought it was the right thing to do, right up until I was attaching the bodice to the skirt piece. Thats when I realised that the bottom half was wider than the top.

Like so.
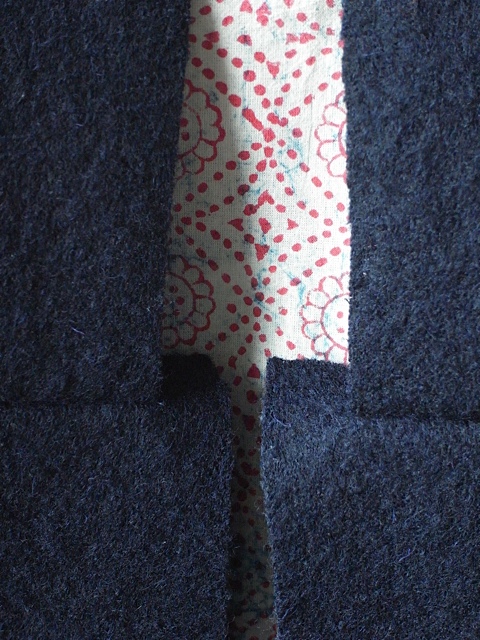
A close up.
Now, I can live with it, and I even quite like it. So what is the problem you might ask? Well I’m admitting to myself that its not supposed to be like that and that I MADE A MISTAKE! I don’t think I will ever wear it to visit Merchant & Mills, or to a “Strand” coat convention as they might laugh at me for making such a mistake, but elsewhere I think I can get away with it. I feel it lends a certain design element to the coat and I’m certainly never going to see anyone else wearing the same coat.
I wore it out Saturday evening and nobody laughed at me (that I could see) so I think I’ve gotten away with it. Yes it might be better if I hadn’t cut off the 2cm, it would mean that the edges of the front bodice would meet in the middle but thats all. I’m still debating about whether to cut off 2cm of the skirt part, I probably won’t but its always an option.
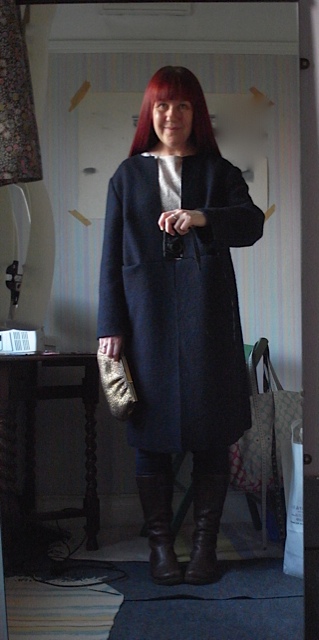
Anyway there you have it, I’ve got it off my chest and thats all I wanted to do. There will now follow some pictures of me wearing it to justify to myself that it does in fact look OK…
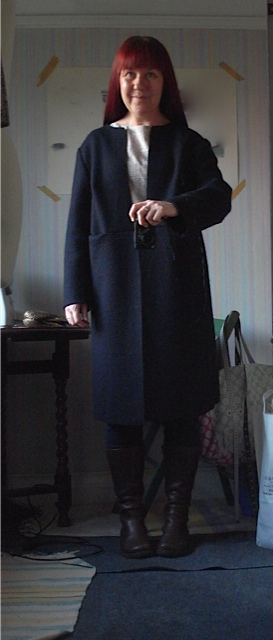
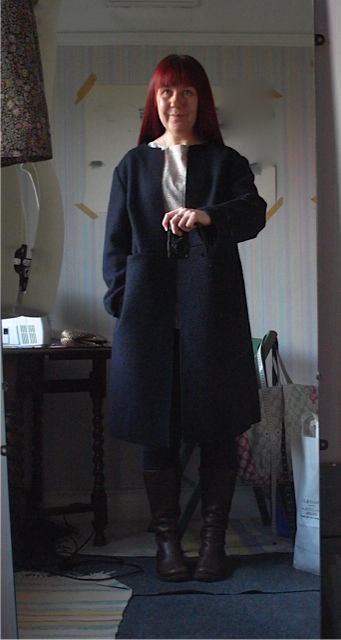
It just looks so right with hands in pockets.
March 28th, 2015
I really feel like I’ve come a long way from the rectangle tops I was making last year. I still love them, but I’m so happy that I’ve moved on a bit. I know I have a long way to go before I’m anywhere near as talented as half the sewing bloggers out there, but at least I now know I’m not scared of curves and sleeves or facings.
Anyway back to the subject in hand. After making the Liberty fabric dress, I wondered if I had enough of the Merchant & Mills black dress weight denim to make another dress. You might remember that I’ve attempted to make dresses with this fabric twice before, but that was in my rectangle days and they never quite worked out and would end up as tops. I was not daunted by having another go, now knowing the possibilities that the Mathilde pattern opened up for me. I checked my fabric stash and sure enough I had enough fabric to make a dress.
I then had the idea that maybe I would make the bottom section in a contrasting colour. Basically turn the fabric over. The other side of the black denim is a gorgeous light grey. So this is what I did.
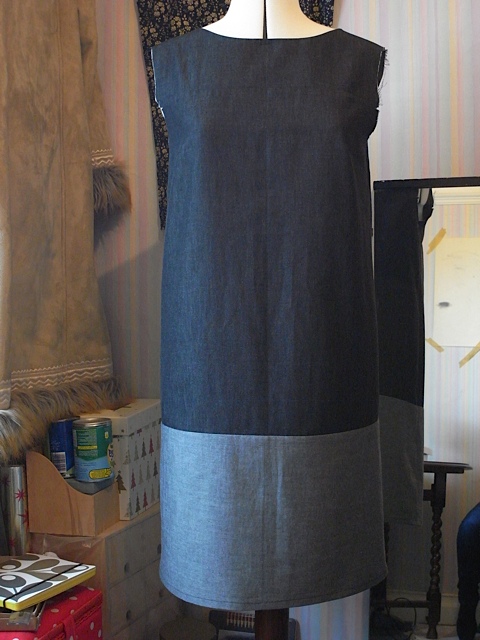
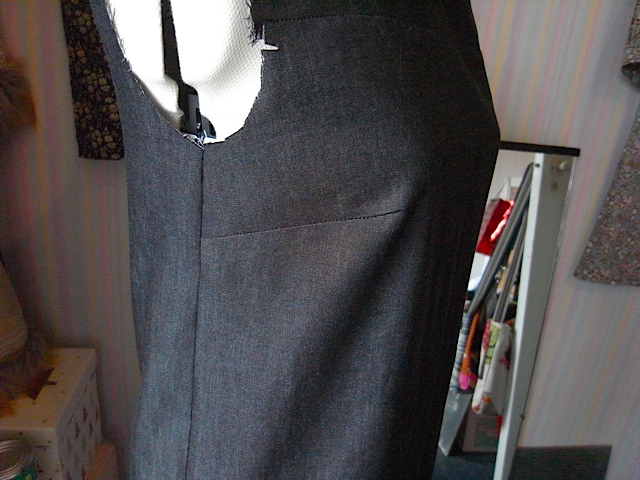
Nice pic of the bust dart.
After doing that I started having ideas that maybe the sleeves should be in the contrasting colour too. But I was also thinking I could be getting carried away and it might just look horrible. I ran the idea past a friend and drew her a little sketch, and we both agreed it could look really good. So I went for it.
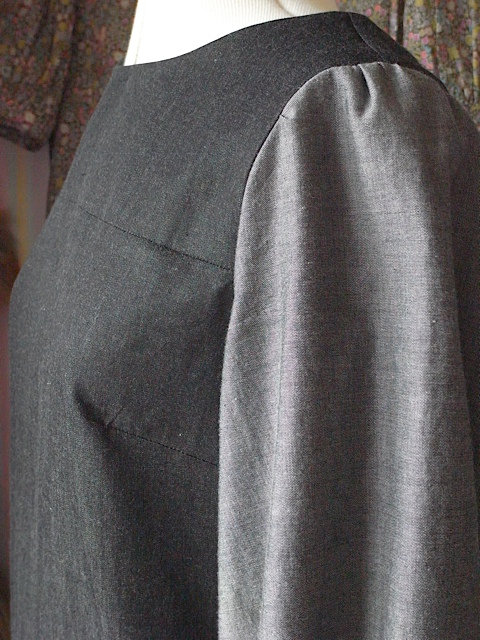
Oh yeah, looking good!
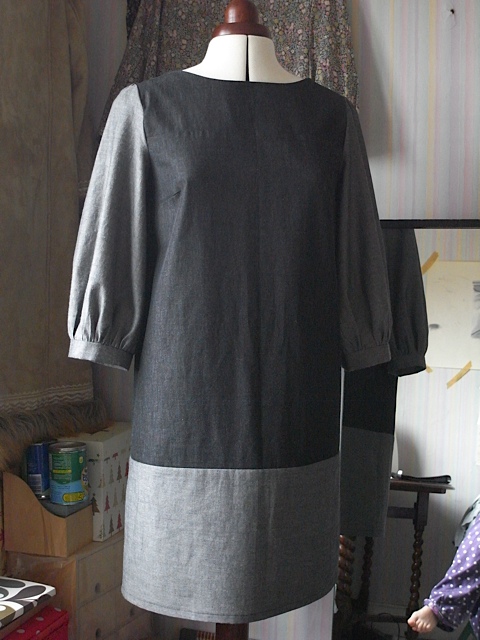
Loving it! Please excuse foot & PJ’s
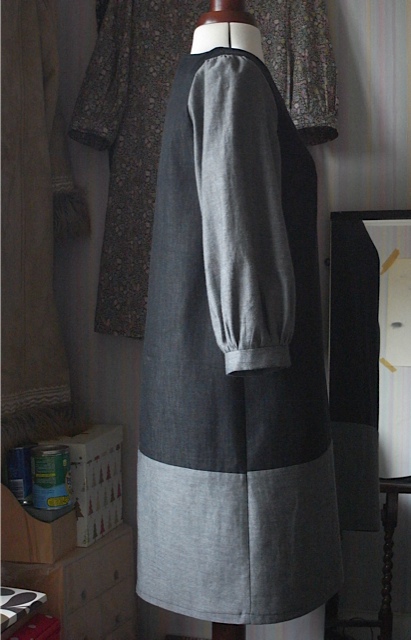
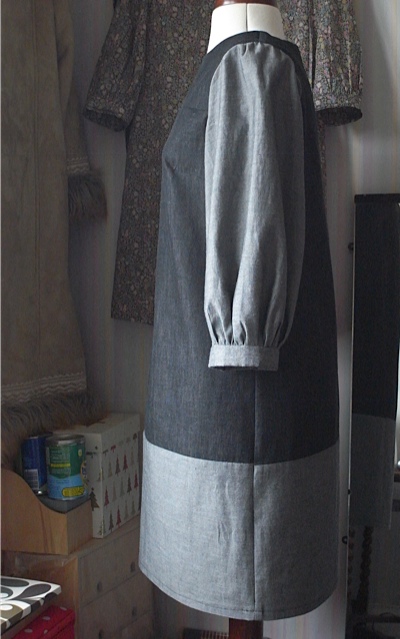
Bottom panels don’t match up exactly, but I think I can get away with it! May & Patrick wouldn’t approve i’m sure…
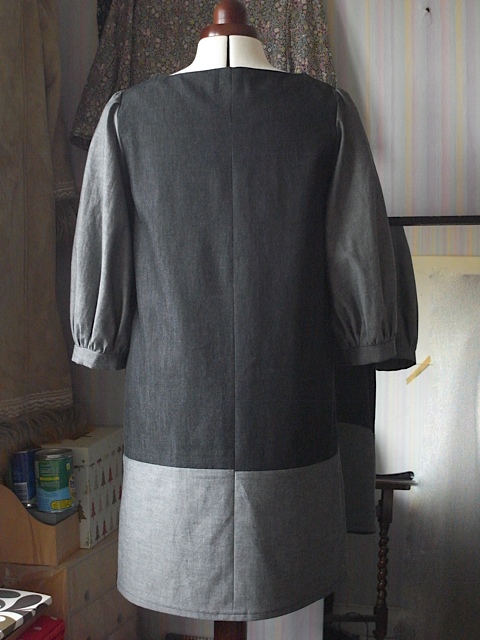
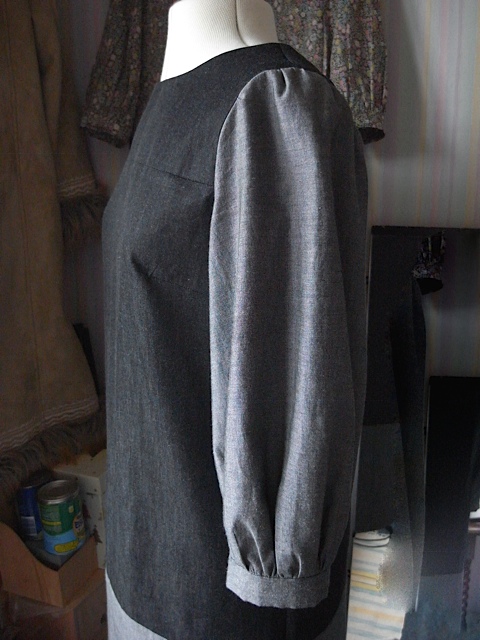
So loving the sleeves.
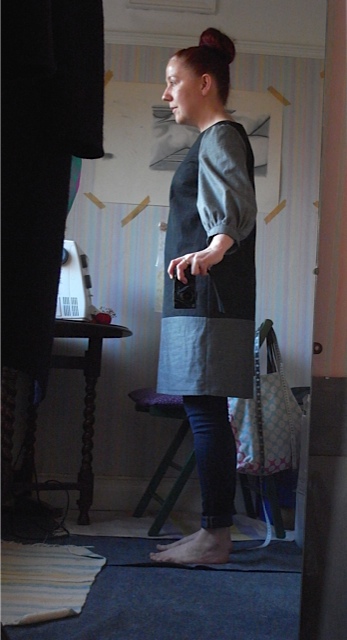
Modelling pic.
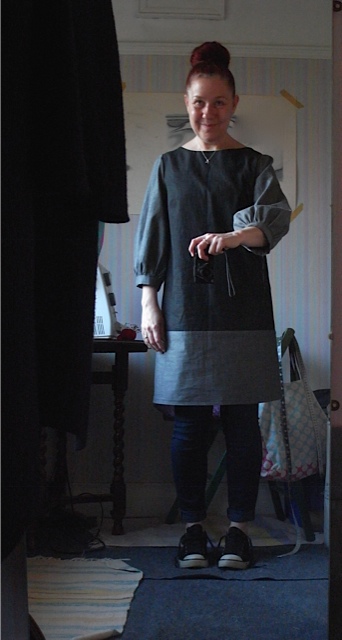
I am so pleased with this dress. Looks fab with jeans or tights and boots. Love it love it love it! When i first finished it, it didn’t look quite right to me. I felt it was just a bit too long, so I took off about 2cm and now its perfect.
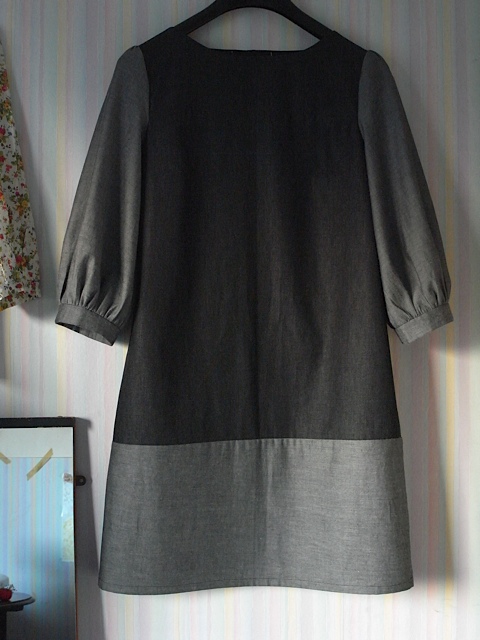
Even looks good on the hanger
