I’m just too damn excited not to post about this make today. I finished it today and seriously I can not believe I’ve done it, I really can’t! This is going to be long………
My friend Lucy gave me this for Christmas
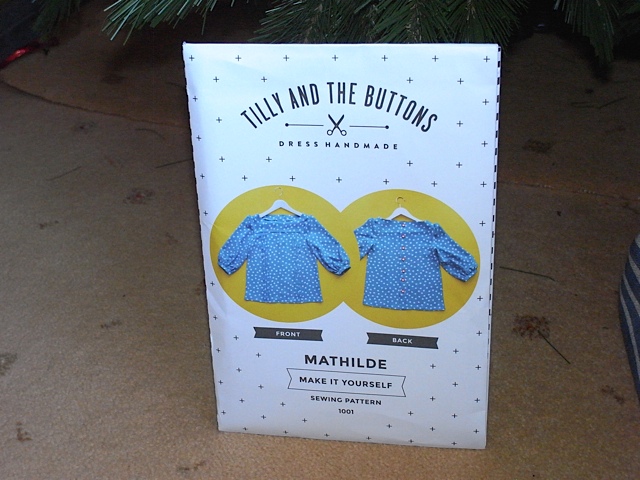
Yep, its a pattern. But I have an irrational fear of patterns don’t I? Why, yes I do! But something about this pattern was calling to me. I’ve loved this top ever since I saw Tilly make it, on “The Great British Sewing Bee”in 2013. It was my dream top. And I hadn’t even started sewing then. I got very excited when I saw you could actually buy the pattern from TillyandtheButtons web site, and then got disappointed when it was only a digital pattern, don’t have a printer. I then learnt how to sew, bought a pattern and didn’t like it. Didn’t understand it, couldn’t work it out, so I left it alone and stuck to drafting my own tops from two rectangle pieces of fabric( as you will be aware of by now, if you’ve been following this blog).
After making my OWN tops for over a year I started to get a little bored of the same shape. Although there were always slight variations on it and different fabrics meant a different outcome, but still I was feeling ready for a new challenge. I got very excited when I saw Tilly had started producing paper patterns, but when they first came out I still wasn’t ready. Back in November I went to London with Lucy and was going to buy the Mathilde pattern in Liberty, but they had sold out. So I was very happy that Lucy bought me one for Christmas.
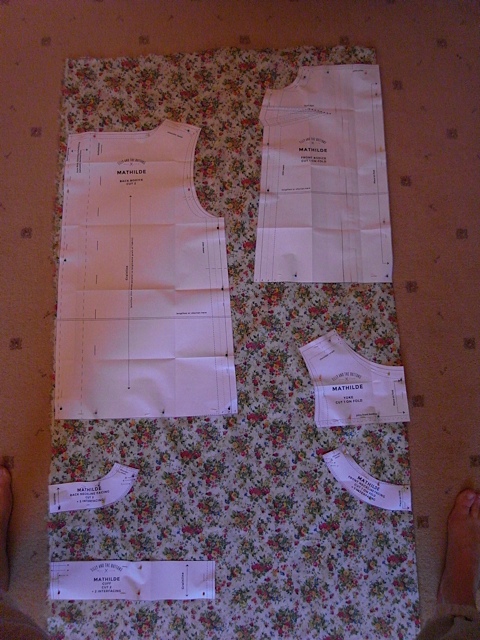
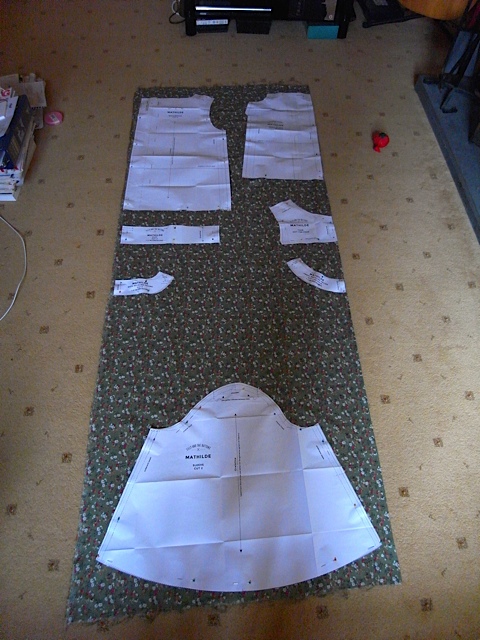
Then I looked at it! Read some of the instructions and got scared again. I decided the best way to tackle it was one step at a time, don’t look ahead, stay focused. I bought some fabric, (not the Liberty fabric I was going to order at £22 a metre) but some a little cheaper. Brought it home, put it straight into the washing machine. Next day I ironed it, then marked out the pattern for the size I wanted and cut it out, laid it out on the fabric and cut that out.
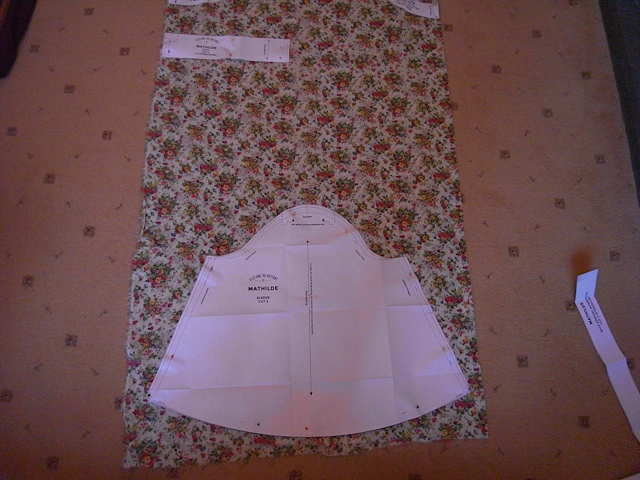
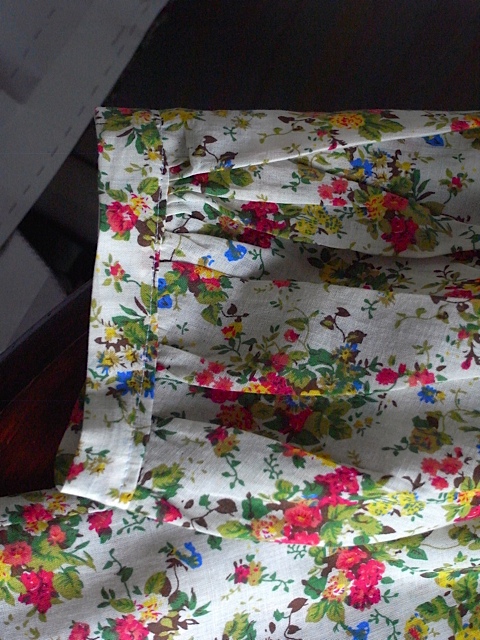
Can’t get over how much fabric the sleeves take up!
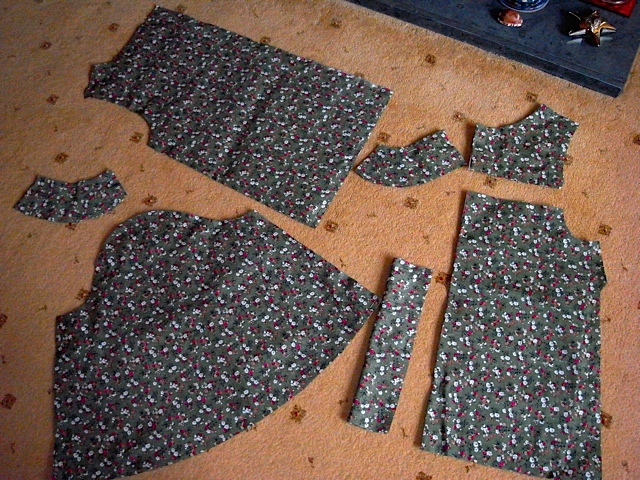
Some of the pieces
This took me about 3 hours to do, and by the time I finished my back was killing me so I took a break till the next day.
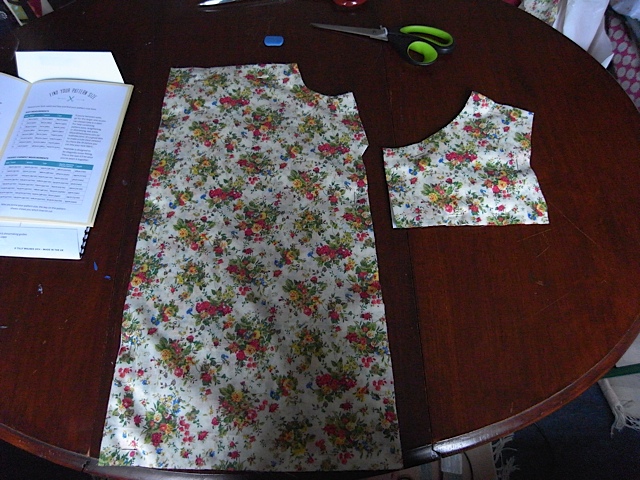
The next day was a first for me, I sewed darts and french seams.
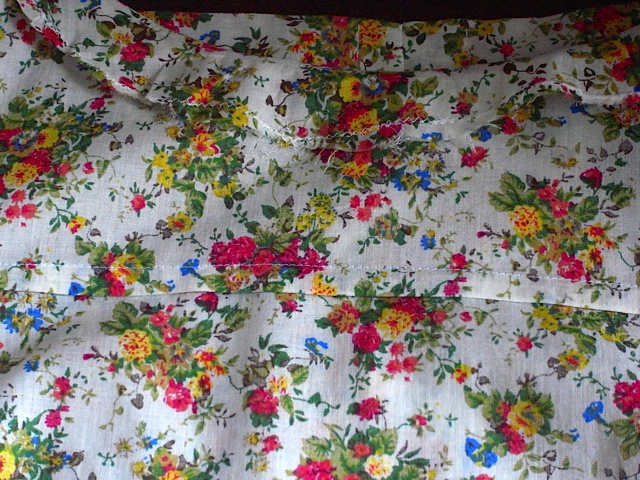
French seam, attaching yoke to bodice.
Beautiful dart!
After sewing the bodice to the yoke and attaching the back to the front at the sides and shoulders I again called it a day. See I’m taking it slow ( I usually like to start and finish in one day), this had taken about 3 hours again.
Here it is so far….. I’m very bloody happy with myself!
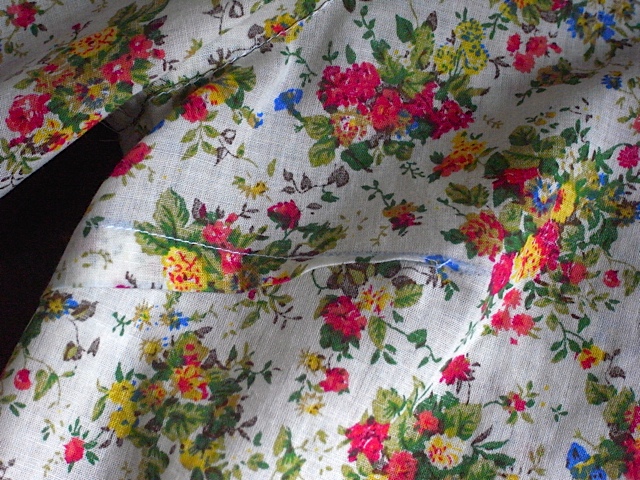
Next was about facings for the neck line and inserting sleeves! GULP!! I have done facings for a neck line before but it was a long time ago and I have since found a way round having to do this( although I’m learning its actually quite nice to do these things). I didn’t line the facings with interfacing, as I don’t have any and didn’t really think it necessary. My finishing of the facing isn’t perfect and would probably have been better with interfacing, but hey ho! It still worked, and I’m still really pleased with it.
This also shows the neck line facing!
I put a little stitch in at the front to help hold it down. Otherwise it wants to roll back out!
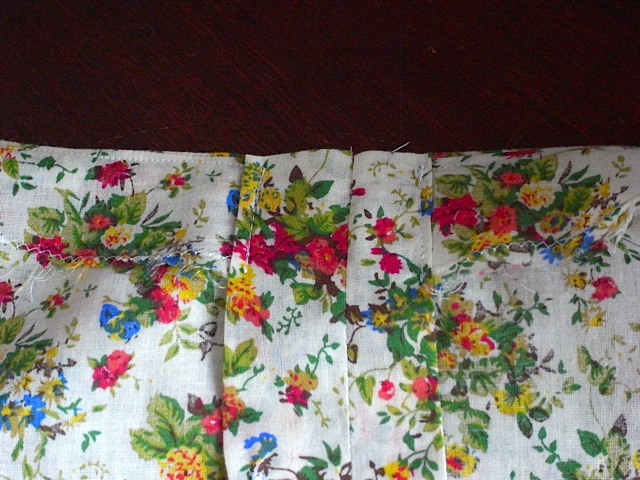
Now inserting sleeves was a bit of a head fuck! After sewing the 3 lines of gather stitches at shoulders and bottom of sleeves, you then have to insert the sleeve. This takes a bit of reading of the instructions and I found the web site more useful than the instruction booklet. Once I got my head round it and understood what I was meant to do, it wasn’t too difficult.
showing the shoulder seam and sleeve attachment, sort of!
Sleeves without the cuffs. You can just about see the 3 rows of gather stitching on the bottom of the sleeves. Wish i’d taken better pictures of these.
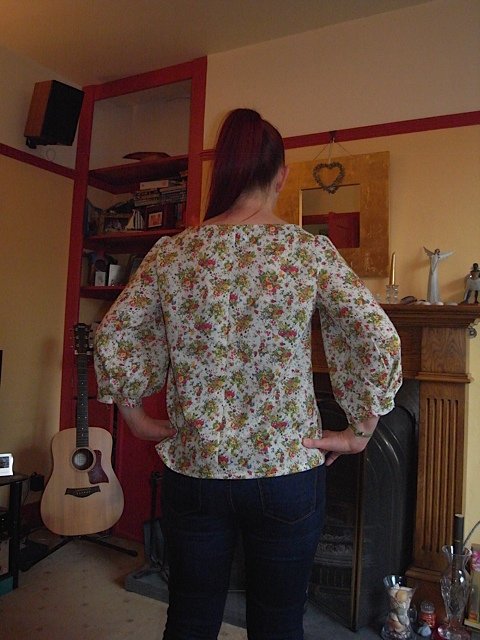
I forgot to mention that I left off the beautiful tucks that are on the front of the Mathilde blouse and also the button fastening for the back. I just sewed a centre seam down the middle of the back
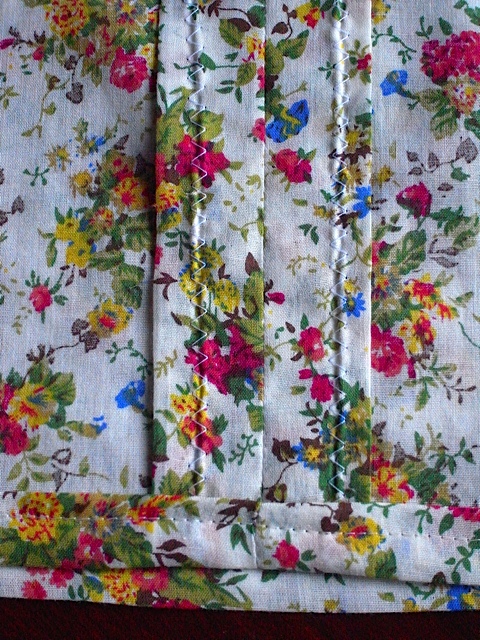
Bottom of back centre seam.
top of back centre seam.
I also hemmed it this day too. This all took me about 6 hours. So again I called it a day, although the temptation to just get it finished was strong, I resisted! And I’m flipping glad I did, as doing the cuffs was more complicated than I had anticipated.
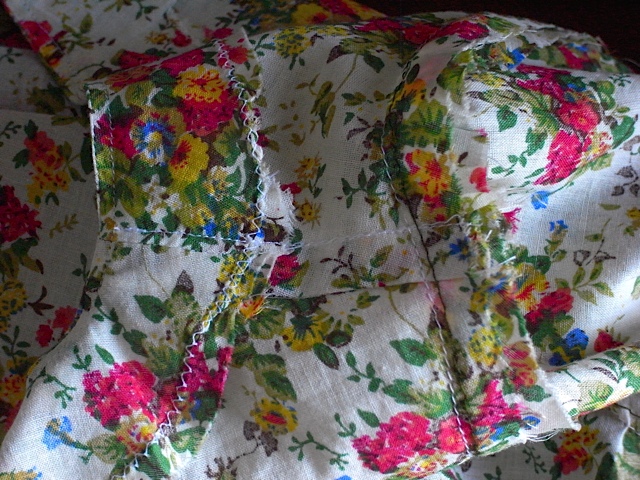
Yep doing the cuffs took me way longer than I thought it would and was quite fiddly, but happily I completed them. Took about 2 hours!
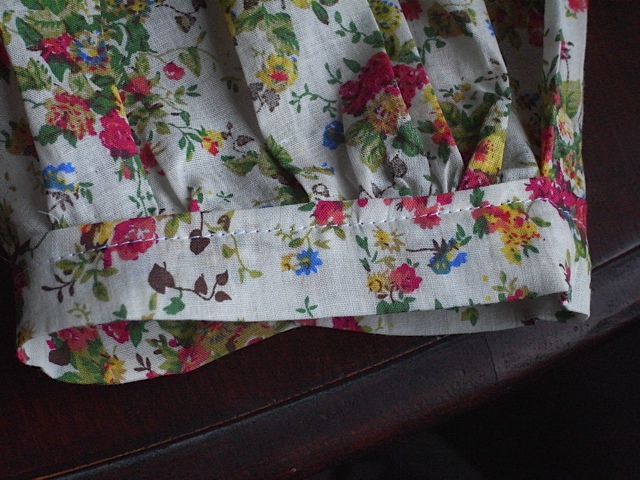
one cuff
other cuff.
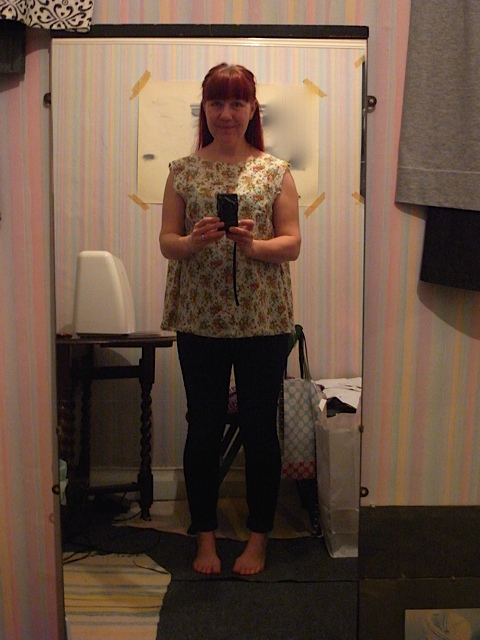
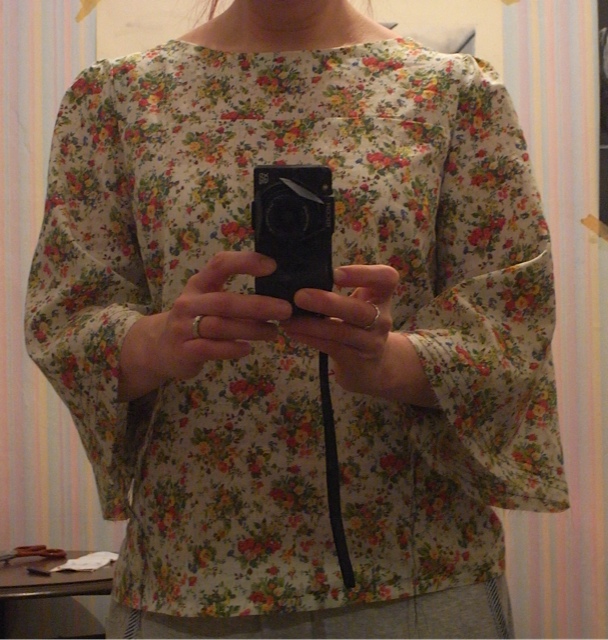
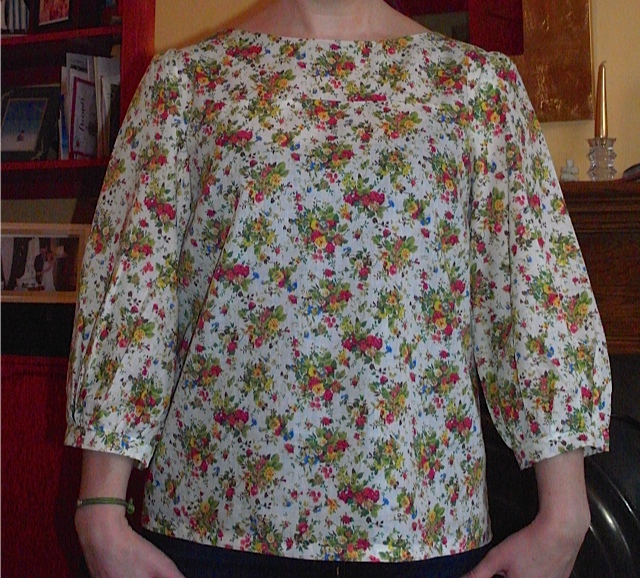
Finished!!! YAY!!!!
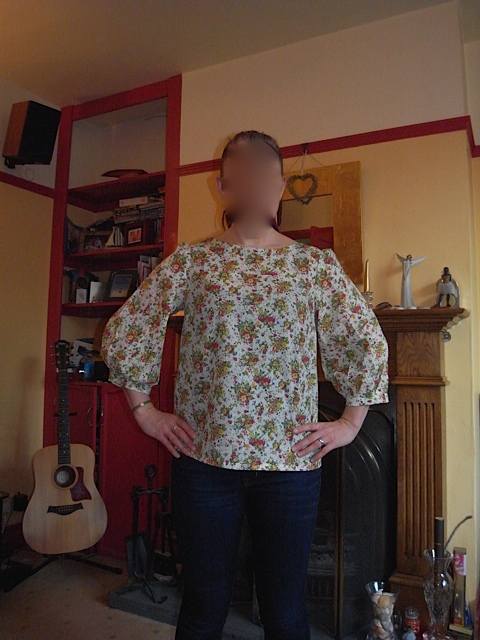
Cut head off as looked awful, and i am that vain!
How gorgeous is this? Top that is, not me!
I can’t tell you how happy I am that I’ve finally tackled a pattern. And inserted sleeves. I never in a million years thought I’d have the courage to do this without attending a class. I didn’t think it was possible, but it is. I’ve obviously taught myself enough that working out what to do, wasn’t too much of a problem. I’m extremely happy with the results and its currently hanging up in my living room so I can look at it and admire it! I am slapping myself on the back big time people! Yes I am!
I have started on my next one already too……..
The beauty of this paper pattern is, the paper used is sturdy enough to use again and again! So here’s to many more Mathilde tops in many different fabrics……..
Trackback this post | Subscribe to the comments via RSS Feed