So I thought it would be a good idea to buy some more jersey fabric. I found some on Fabricgodmother.com, its a rather lovely jersey viscose, black with little white spots. I thought it might be nice to have a go at making one of my tops in a different type of fabric for a change. Thought it might be nice, HA!
The making of this top was a bit of a nightmare to say the least. I knew it would be a bit of a challenge but little did I realise just how much of a challenge. After all, I’ve worked with jersey before, back in the day when I was making those rectangle tops. It wasn’t difficult and in fact they were pretty easy to whip up, could make one in about 5 hours or less.

Like this one.
So I set about laying out my pattern pieces. That was when I remembered the first problem about working with jersey, the fact that when you fold it, the edges don’t usually line up nice and neat. If you try to get them to line up neatly you end up with a twisted fold. Not what you want. Once I finally got it to fold in a satisfactory manner, I set about placing the pattern pieces. As this fabric was 150cm wide I was able to get away with 1m of fabric, but only just.
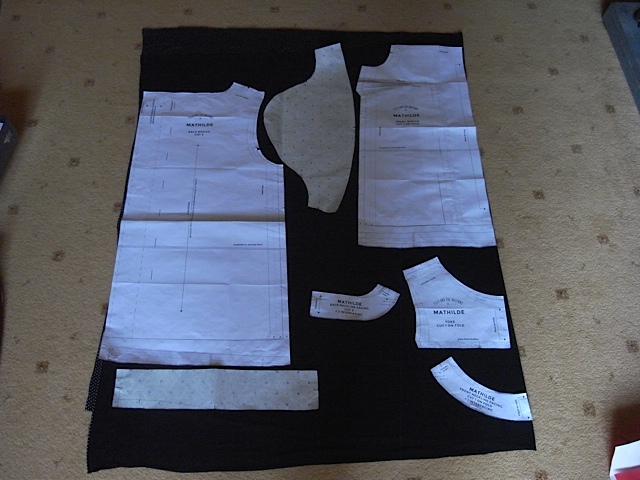
Had to place the sleeve piece length ways. You can just about see at the bottom that there’s quite a bit of excess fabric, compared with whats underneath. And its the same at the top. Had to juggle with the layout a bit.
Instead of pinning the pattern to the fabric as I usually do, I weighted them down with tins. I found this to be the best method. Though I had to keep reminding myself to cut the notches, as to forget would have been a pain in the arse.
One of the things I hated about working with this fabric was its slipperiness. It just wanted to slip and slide all over the place, and once I had one of the back pieces attached to the front it made the fabric want to drape over the edge of the table and was pretty difficult to try to keep it on the table and not stretch the piece I was working on out. I hope that makes sense.
I encountered my first major headache with it though when I sewed the second bust dart. It would seem and you can correct me if I’m wrong, that a stretch stitch does a little back stitch as it sews. At least thats how it looks to me. When I did the first dart I did my usual back stitch and it was Ok, but when I sewed the second and attempted to back stitch well it went horribly wrong and my machine tried to chew up the fabric. It must’ve taken me at least twenty minutes to free it from its jaws. And then when I tried to unpick the stitches well nothing it would seem was going to prise those babies apart! In the end I decided I didn’t need to unpick and could just carry on where the stitching left off. This was after a lot of prolonged swearing and I’m ashamed to say having a major hissy fit at the fabric and chucking it on the floor. Yes I behaved like a two year old!
I was not going to let the fabric win though and was determined to make it into something wearable if it killed me. Lets just say though that this was one of the worst sewing experiences I’ve had so far. I hated every minute of working with it. And was pretty sure I was going to hate the finished garment as a result.
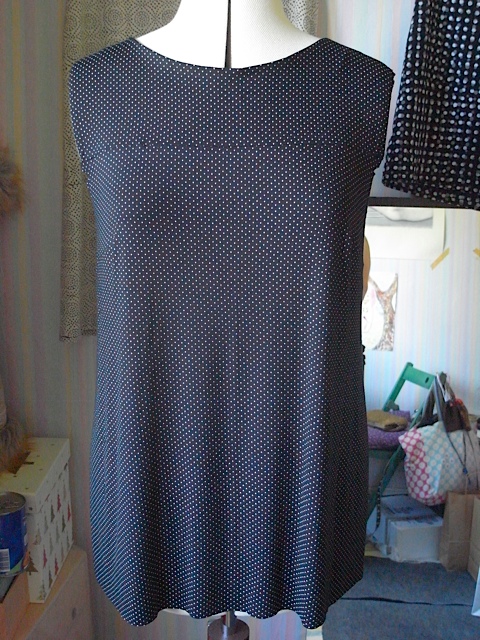
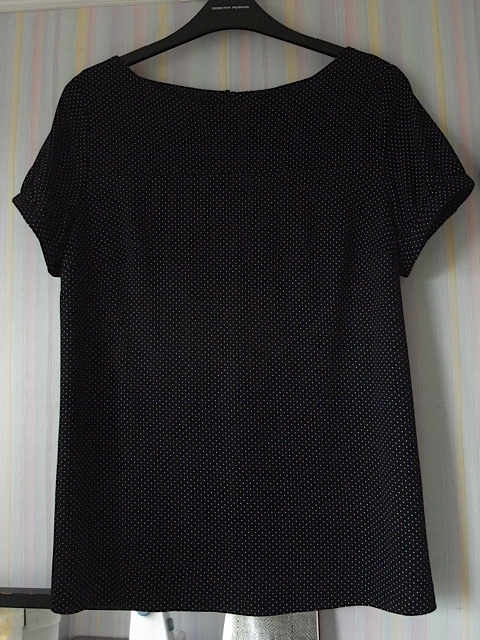
Here it is without sleeves but otherwise intact. and not loving it, as is usual at this point.
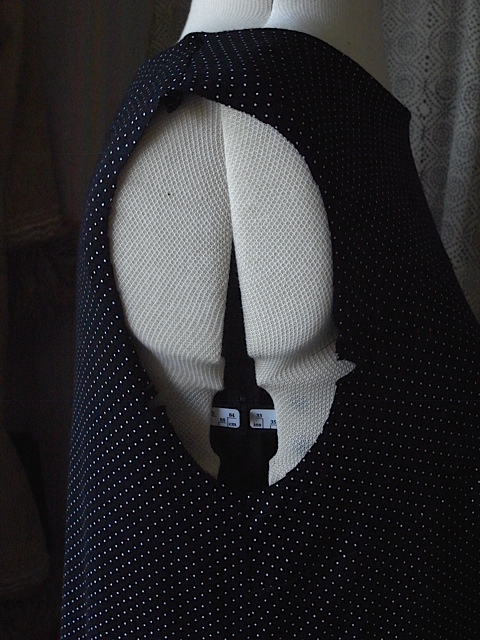
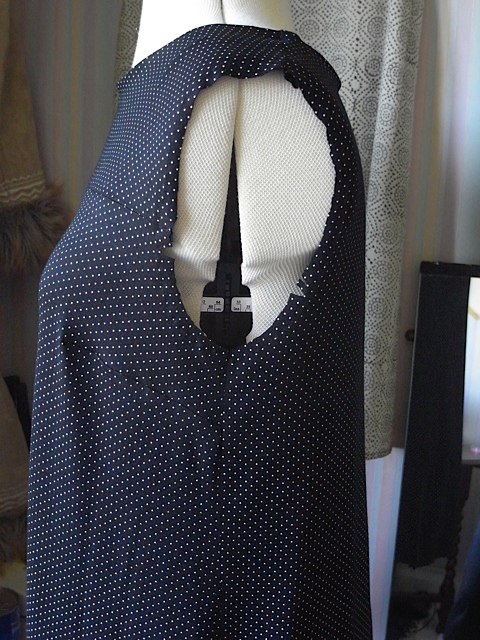
Look at how the armholes appear to be stretching out of all recognition. I decided to stay stitch round the armholes and I’m glad i did.
Really not loving how it looks at the moment.
I put off doing the sleeves for a few days as I knew it wasn’t going to be straight forward, but as it happens the sleeves went in relatively painless. They are by no means perfect and had I been using my usual cotton fabric I probably would have unpicked and done it again, but there was no way I was unpicking or even attempting to unpick here. So imperfections be damned!
I also had to do the hem a couple of a times. The first time I used the stretch stitch and it just didn’t look right and was too long.
first hem attempt.
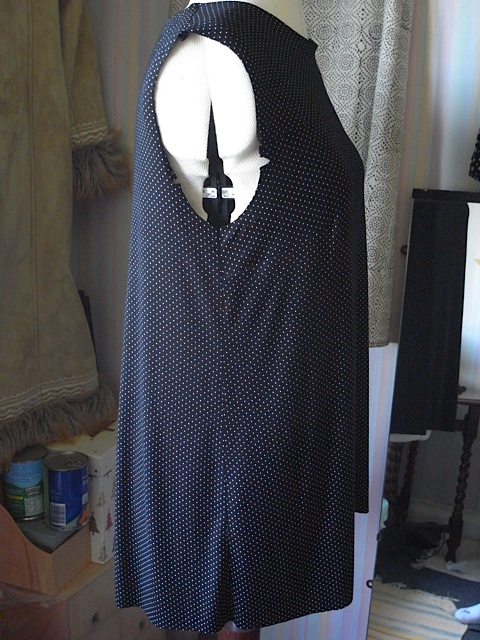
And from the side. Sort of looks Ok looking at it now, but I wasn’t happy.
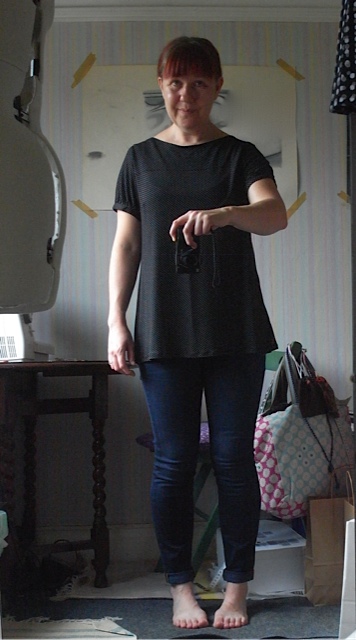
Here it is finished.
Doesn’t look too bad here but the neckline looked like it wouldn’t sit right either, but it actually looks Ok on.
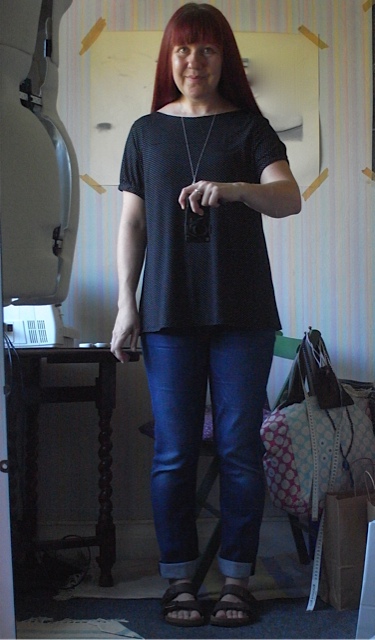
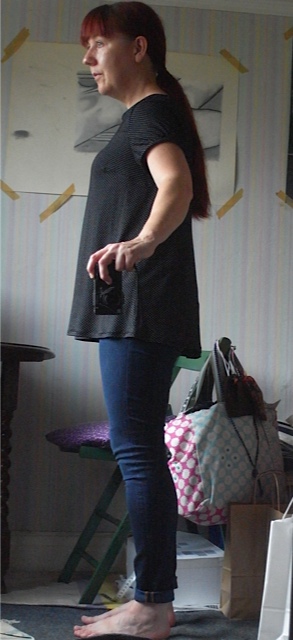
Shorter now and I’m happy.
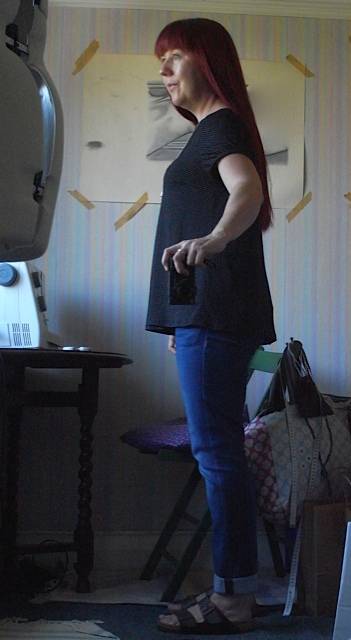

With the front tucked in, which is how i like to wear it.

Whilst this wasn’t my favourite sewing experience I am happy to say that I do like the top. Its very comfortable to wear in the jersey. And it doesn’t need ironing after washing either which is a big bonus in my opinion. So, once made up into the finished garment the jersey fabric is a delight, but the actual process is horrible. I must be a glutton for punishment though as I’ve just started another jersey top…
The top does look great and worth all the agrovation! Have you ever used a walking foot on your machine? I found it really helped controle the fabric and for heming, have you used a twin needle. The twin needles is stitched on a regular straight stitch and will stretch, the reverse looks like a zigzag.
Thank you, it really was a nightmare to make! I have used a twin needle before, comes with its own headaches I found. Have not tried a walking foot though, shall look into that. Thanks. Xx
Trackback this post | Subscribe to the comments via RSS Feed