Last September I bought some gorgeous Japanese double gauze cotton from Merchant and Mills. It was quite expensive and I wasn’t really supposed to be buying fabric for me at that time, but it was just too divine to pass up. I bought 1.5metres, I can’t remember exactly how much it was a metre but it was around £22, so it cost me over £30, I haven’t bought fabric that pricey for a while and remembered why when trying to decide what to use it for. Needless to say it sat in my stash for a good few months. And then Imogen came along and I knew what I must do…
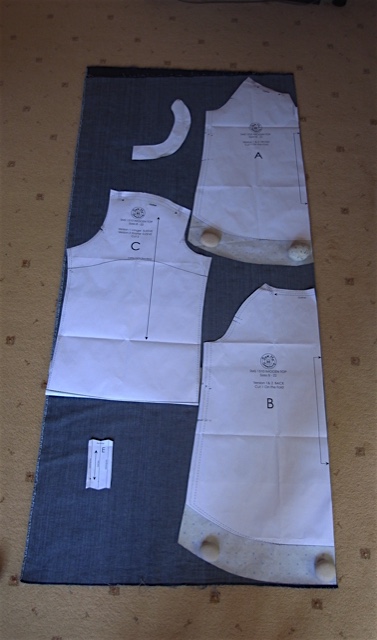
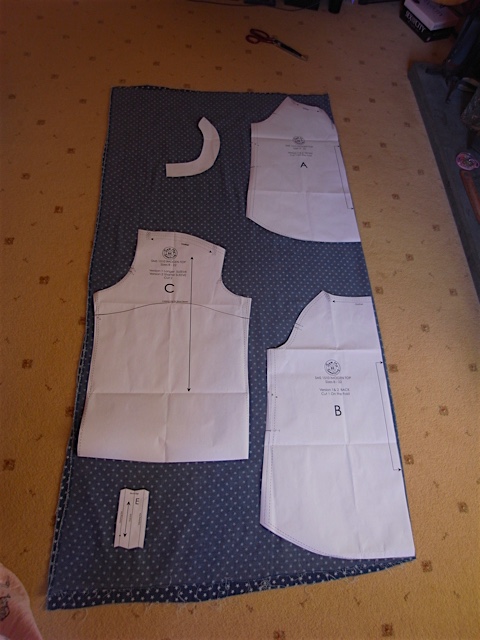
Not too sure how wide the fabric was but it obviously wasn’t as wide as the star fabric I’d previously made Imogen out of and it was really really tight getting the pattern pieces to fit. I had to compromise and use the original shorter sleeve pattern piece otherwise it just wasn’t going to work. As it was I literally had mm to spare between pattern pieces, had to be really economical with my cutting out.
At the moment I tend to make this pattern over 3 days, as I find it quite demanding in places. I usually cut out the fabric and attach the interlining to the relevant pieces, and then if I’ve started early enough in the day I might do the zigzagging of the neck edges and bottom edges of both bodice pieces and sleeves followed by the gather stitches. I will then start again afresh the next day.
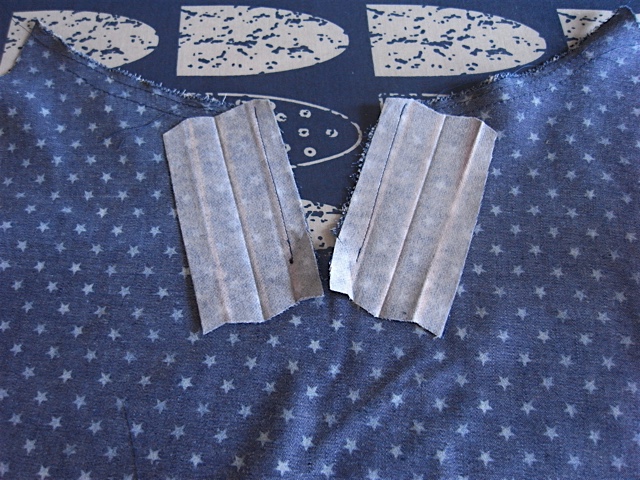
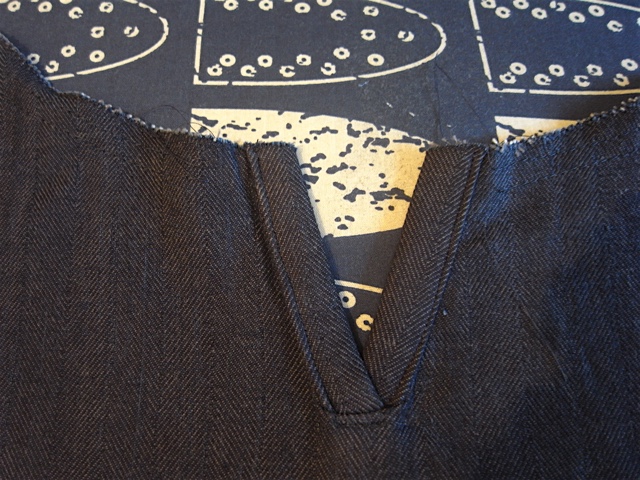
There will now follow some pictures that I hope will help with the inserting of the placket.
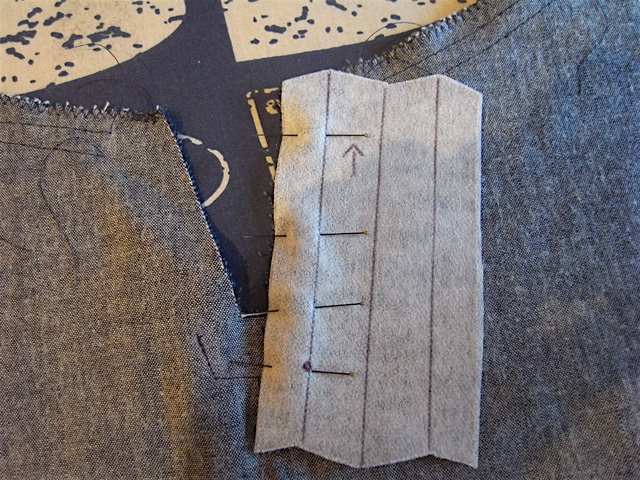
Make sure your pieces overlap before sewing.
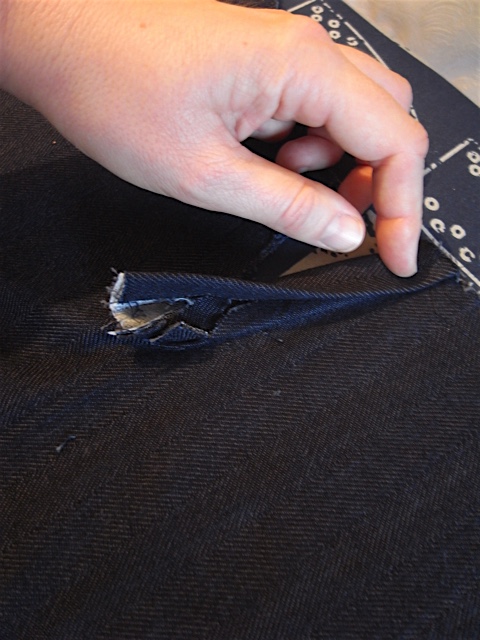
The pictures below are where it gets tricky. And I have to say it was particularly tricky with this fabric as it got pretty thick in places and I really wasn’t sure if I was going to get it through the sewing machine!

I honestly thought at this point that it wasn’t to work and that I’d made a major waste of this beautiful fabric! However it would seem I don’t like to give up too easily, especially when I love the fabric. So I persevered…
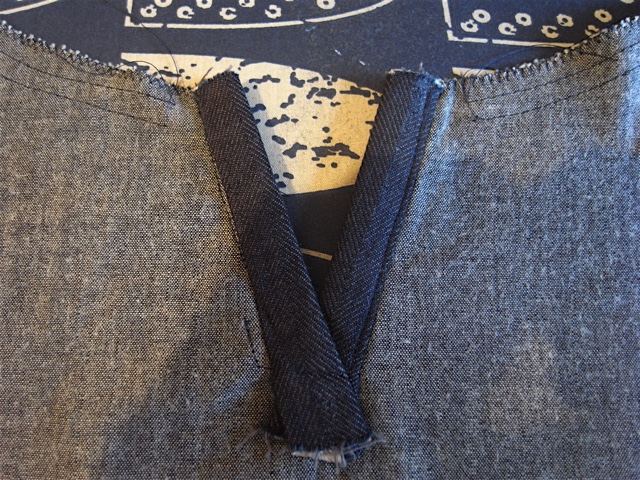
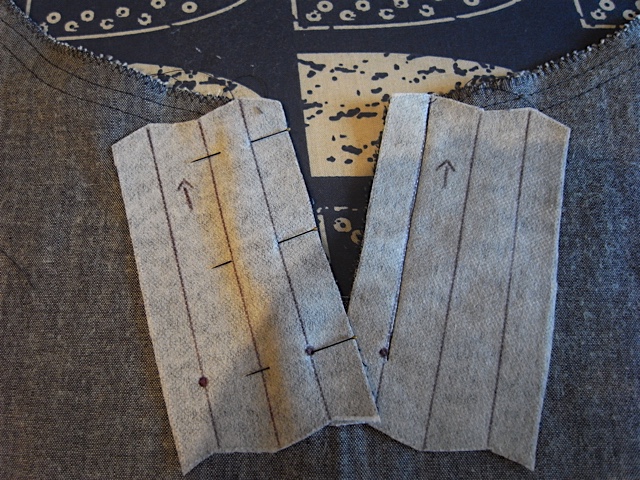
Look at that beautiful placket. I am so proud of this bit and I can’t believe it actually worked out!
After the plackets done, you then hem the back and the front pieces.
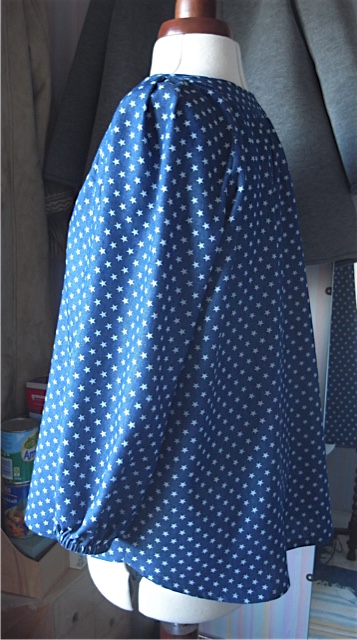
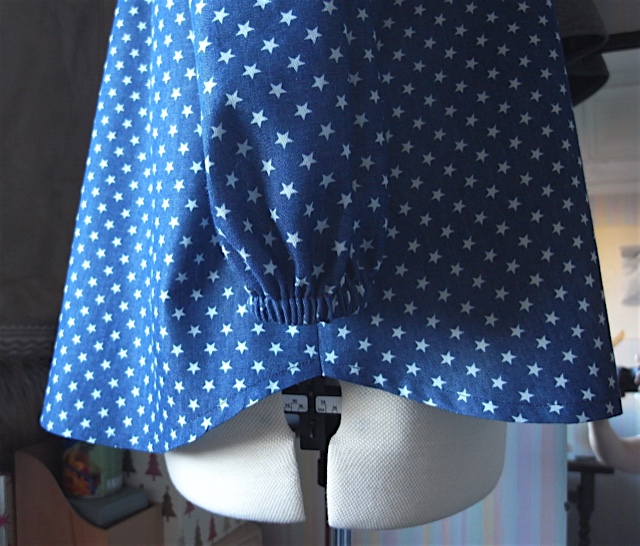
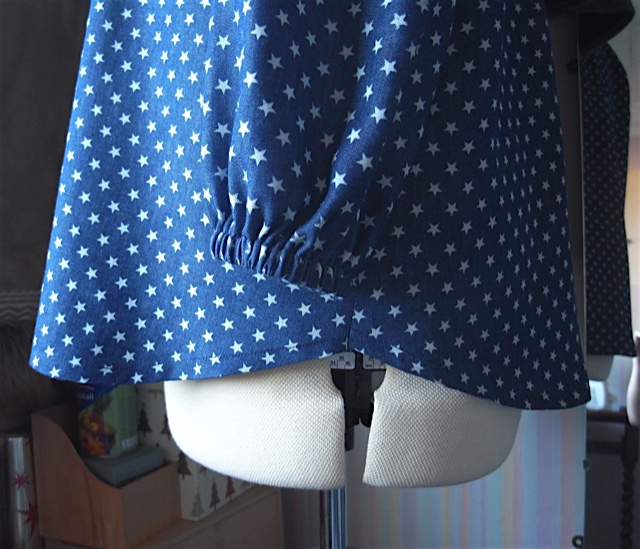
After that you attach the front and back at the side seams. And then comes the sleeves. This was also a little tricky as the fabric was so thick after turning up the sleeve hem twice that it was quite hard pushing the elastic through and took me way longer than previously. I left it after that and picked it up again the next day. Have to say if I didn’t have housework and washing and cooking to do I’d probably be able to make it in a day.
After making the sleeves comes the attaching of the sleeves. I’m always a little anxious when I put in the sleeves, have had many a sleeve insertion go awry. Happily this went smoothly.
Next up attaching the collar, I quite enjoy this bit as I love the gathering and getting the body to fit the collar. Again though it would prove quite difficult with this fabric due to its thickness. The gather stitches didn’t want to run smoothly through the fabric and I had to pull quite hard. I used lots and lots of pins. And I can’t recommend the entomology pins from Merchant and Mills highly enough. I leave them in the fabric as I sew and sew over them, they are fine enough to get it away with it. Have had the machine needle hit one a few times, usually makes me jump but haven’t had any major problems yet. Obviously I’m not recommending it as such but just saying it works for me.
Below is the outer collar piece
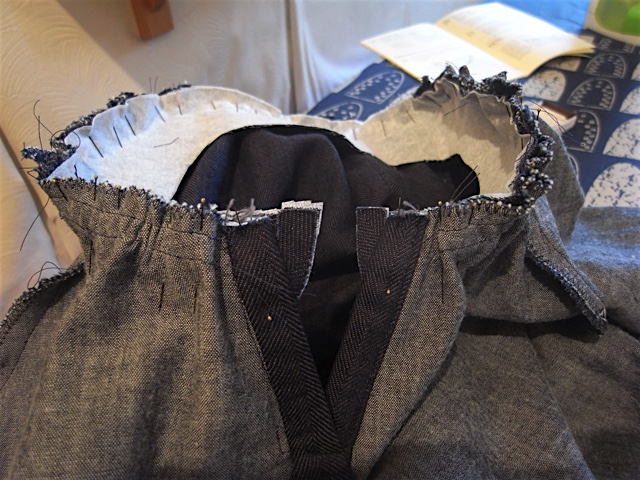
And below here is the inner collar piece being attached to the outer piece.
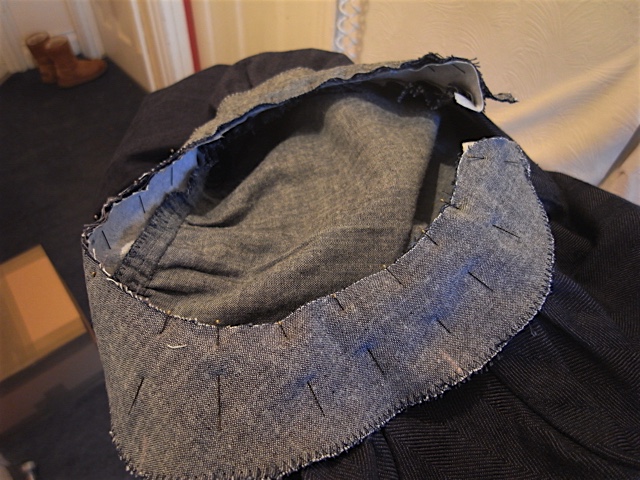
After both collar pieces have been attached comes the top stitching at the base of the collar. Now I did have trouble with the opening parts of the collar, I simple could not get it through the machine. I even tried hitting them with a hammer to see if that would help. It flattened them out a bit but not enough, so I just had to leave them unstitched at those two points. Doesn’t seem to be a problem though. Phew!
You can just about see in the picture above where I’ve had to leave it unstitched. Oh and the top stitch did go a little wonky in places, but I can live with it.
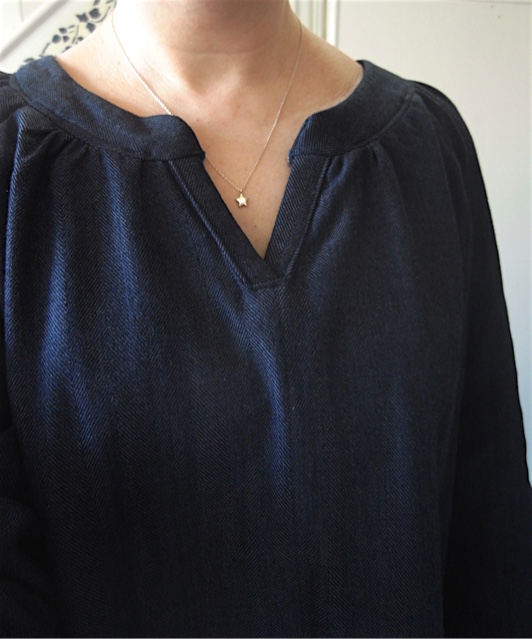
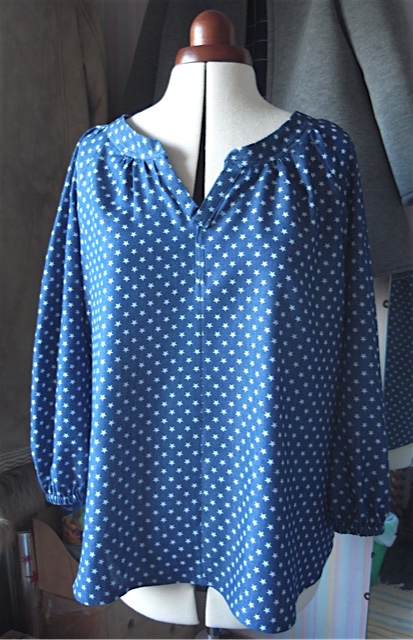
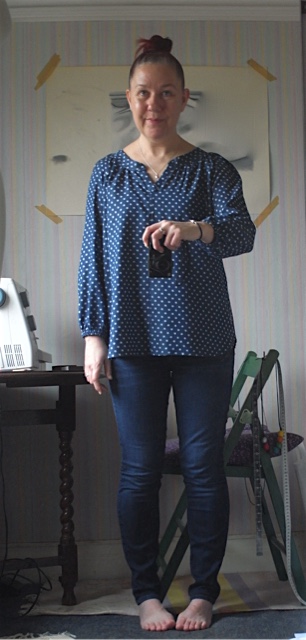
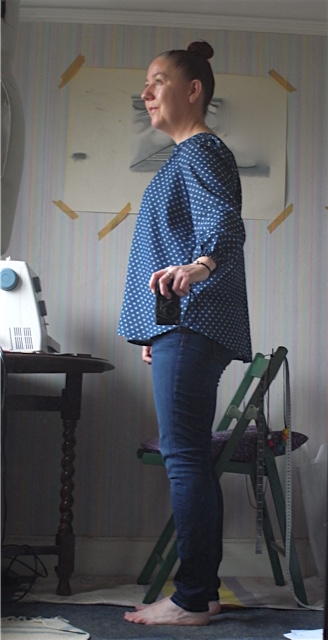
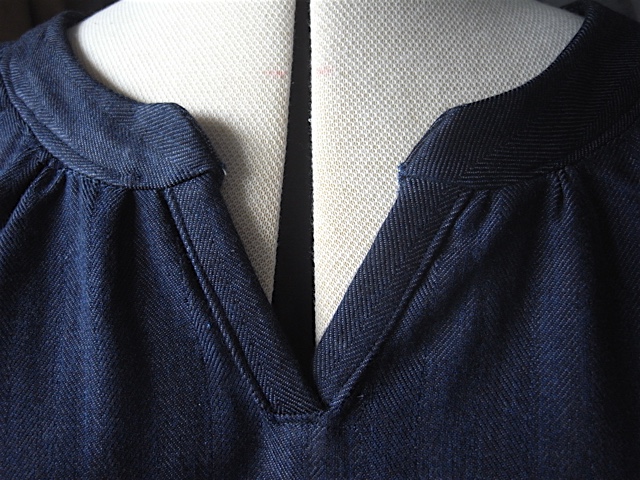
I really do love the neckline on this top.
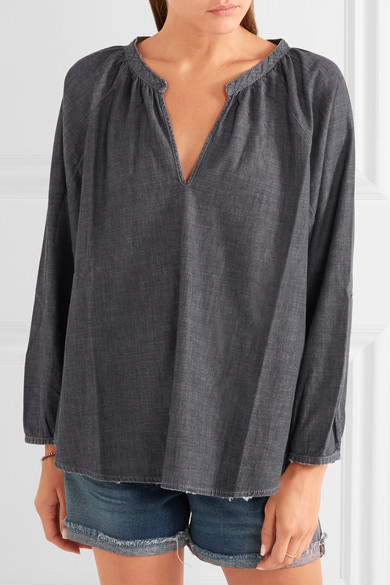
It reminds me of this top, which is designer and quite expensive, so I am so happy to be able to make it for myself. And I think it looks just as good if not better if I may say so myself! I like the fact that the Imogen doesn’t have such a low cut neckline.
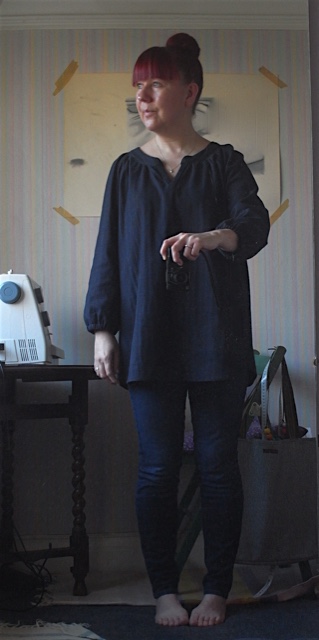

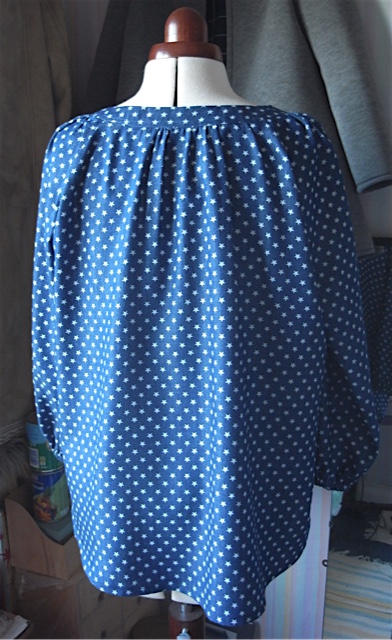
With the thickness of this fabric its a little more structured than the previous 3, but I like it. I think it worked quite well. Its pretty warm too.
So all in all I am extremely happy that I’ve finally used the fabric and happy that I ended up making the right choice. Although I reckon it would have made an equally lovely Trapeze top.
And I would like to say that when I posted this on Twitter shortly after finishing it, Jules Fallon of “sew me something” said and I quote “@essjcreative Yes, I thought that when I zoomed in. But it was worth it, this has to be one of my most favourite Imogens of all time!” How flipping happy am I! :0)