February 5th, 2016
What a F*****g nightmare! I do not exaggerate , I really don’t. Making this was, how shall I put it? Traumatic! I am not one to over dramatise but this really was one of the most mind boggling things I’ve ever made.
It all started off innocently enough. All was going to plan. Cut out the fabric, put the front and back together. Constructed the facing, attached it to the neck. Was thinking, I might have this finished today. And then BAM! I hit a major brick wall. The armholes OMG the armholes, more to the point the armholes facing. WTF!
I started off OK, I pulled the facing outside and turned it over so right sides were facing each other. Started to pin in place pulling the inside out as I went, got to about half way up the armhole when it all started getting messy. And it was at this point that I decided that the good people of Merchant & Mills had lost their minds and missed out an entire section of instructions. It didn’t seem to matter what I did I could not get my garment to look like their illustration.
I can tell you now people, the air was pretty blue around me at this point, I was frustrated beyond belief. The Husband hearing my moans of despair came up to see what was wrong and when I explained, he had a look and tired to help. He couldn’t figure it out either. We were both convinced something was missing.
So I had to put it aside for a couple of days and wait till I could get to Rye and go see M&M in person. Which I did on the Monday. They were very helpful and assured me that they hadn’t missed anything out and that it was very common for people to get confused at this point. So that made me feel a bit better. Anyway the lovely lady pinned one half of the armhole for me and I watched intently as she did so. She said it really feels wrong and twisted whilst you’re doing it but it all works out in the end.
I couldn’t do anything till the next day. So finally I sat down to have another go. I stitched the side that was already pinned. And that takes some working out too. How best to place this deformed piece of cloth under the sewing machine? Once I figured out the best way for me to do it I started sewing. And let me tell you it still was not simple. I finished that half (oh and by the way I tacked it before sewing proper, just in case) and took a bash at pinning the other half. Trying to remember how she did it. Mine looked almost like hers. I tacked that side and then turned the facing to the inside. Hmmm, not quite right, nearly but not quite. It gets a bit messy at the shoulder seam. So I unpicked and had another go. Still not right. So I decide to have a go at the other armhole.
I will try and explain how its done.
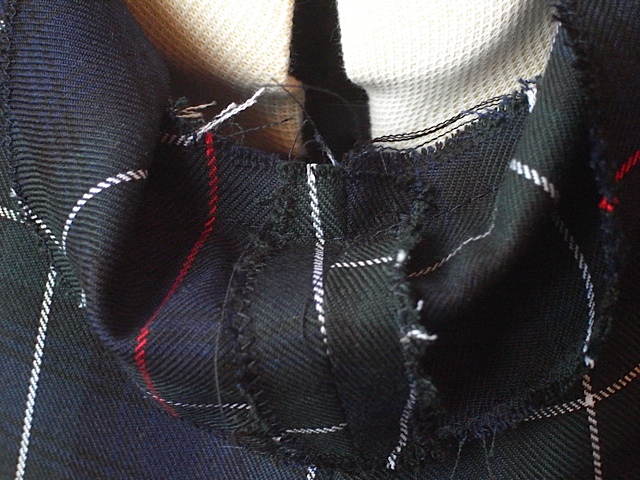
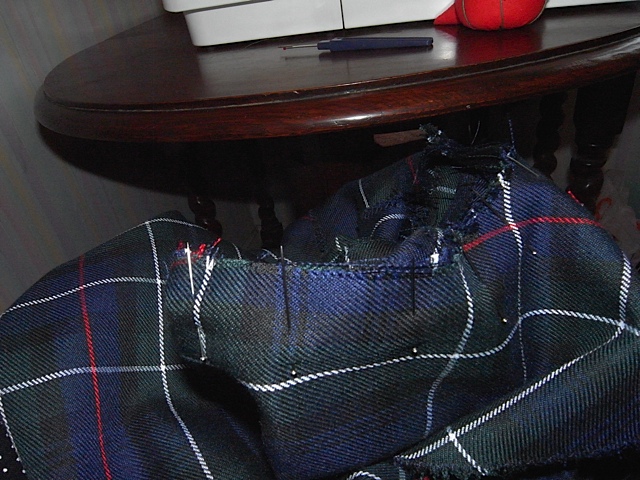
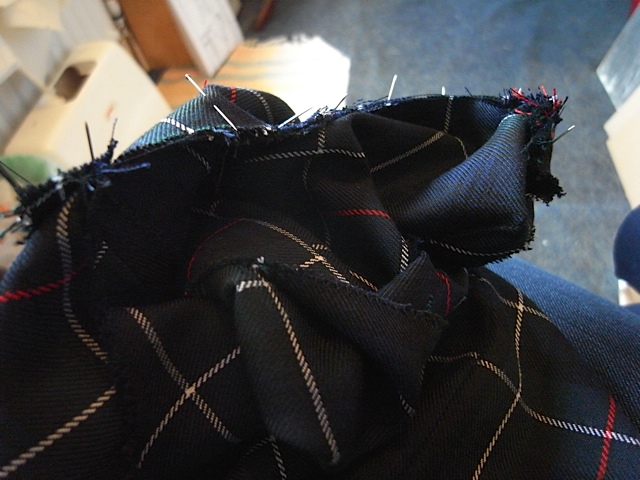
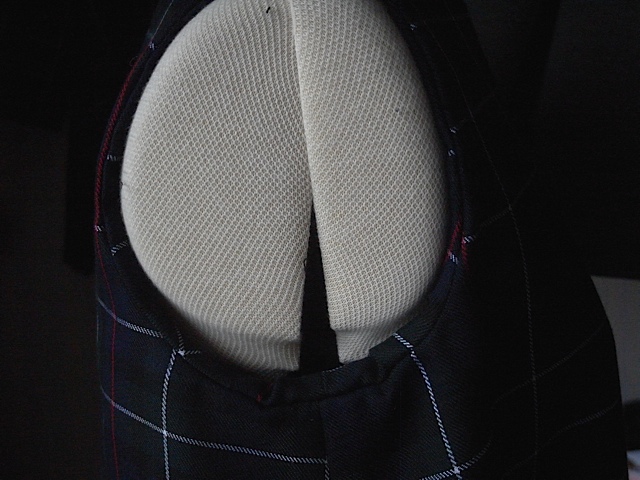
What you do is, start by puling the bottom of the facing to the outside of the garment and matching the seams so right side is facing right side, and then pin, then keep pulling the facing to the outside keeping the edges together and pin as you go. You do one half at a time. Now as you get to about half way up the arm hole things start to get very messy but persevere, keeping hold of the edge of the armhole facing and the armhole you just keep pinning and the garment gets more and more twisted, as you approach the shoulder seam you almost turn it inside out, but just at the shoulder keep pinning until you meet the seam. Now attempt to stitch, once you’ve done one half you do the next half in the same way. working up from the side seam to the shoulder seam. Apparently once done you turn it back through to the inside and voila a perfect armhole facing. At least thats how it should happen. Good luck!
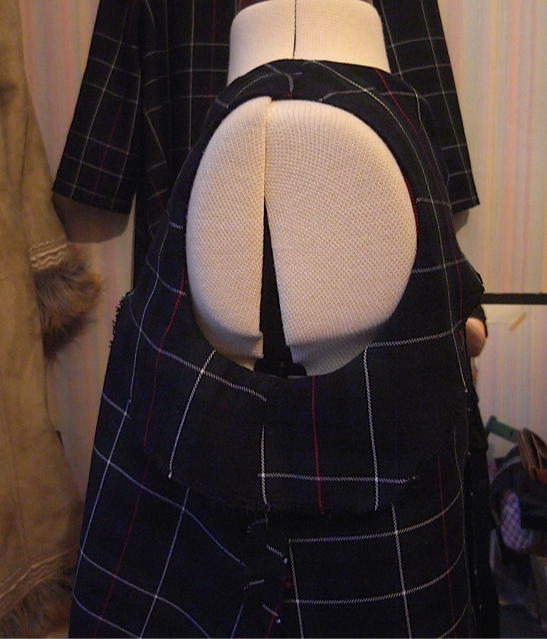
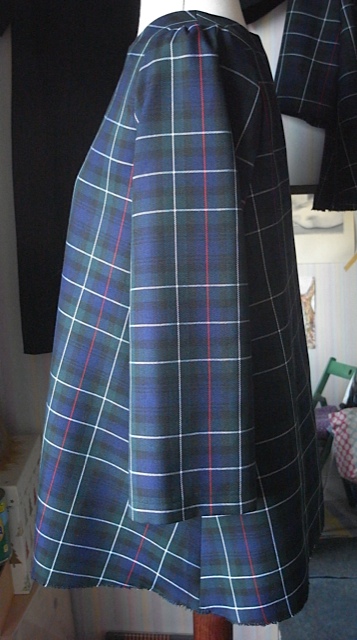
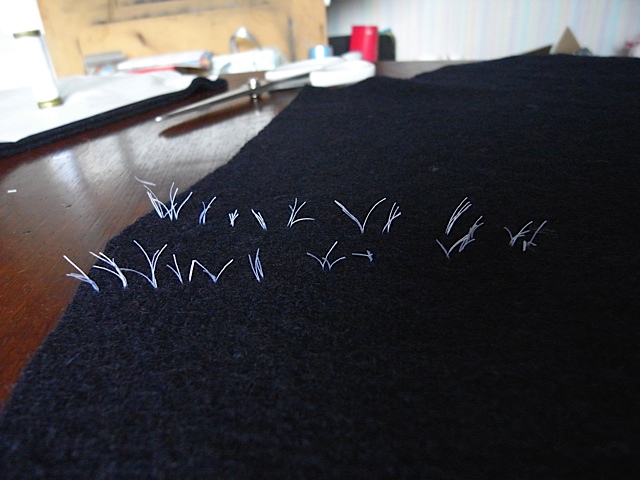
There will now follow some pictures in the hope that you get the gist of how horrible it is.
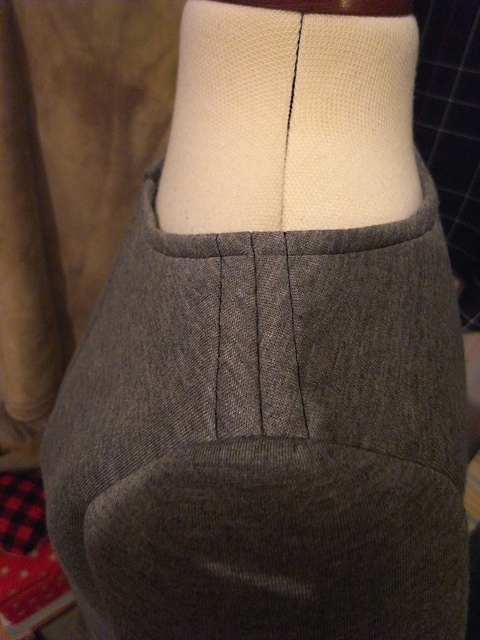
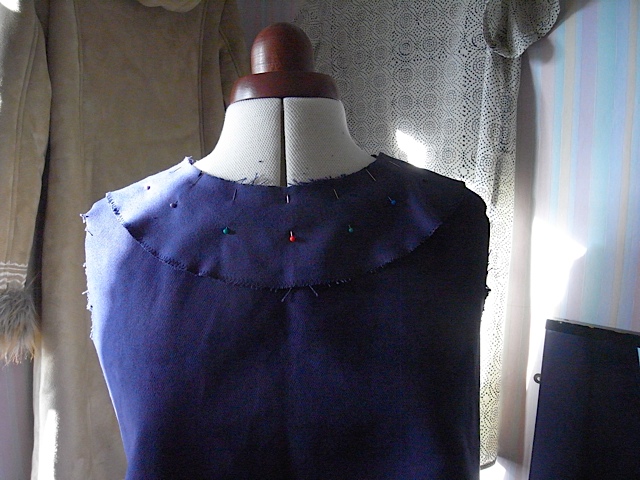
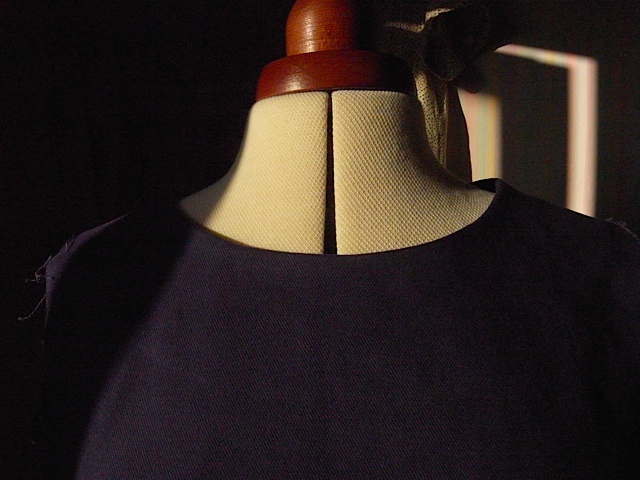
You can’t really tell whats going on here, and I can’t really explain it.
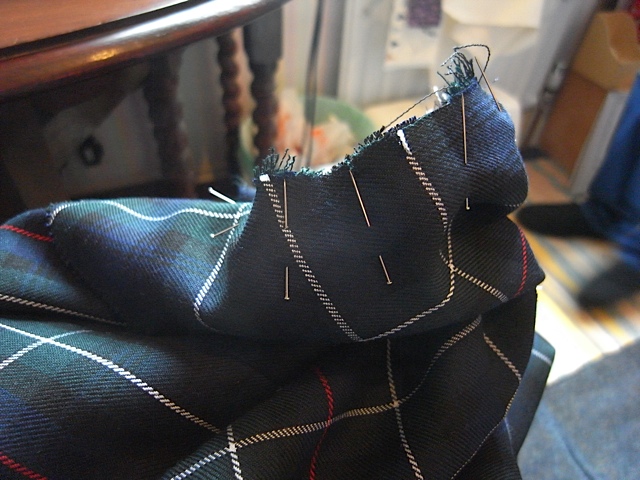
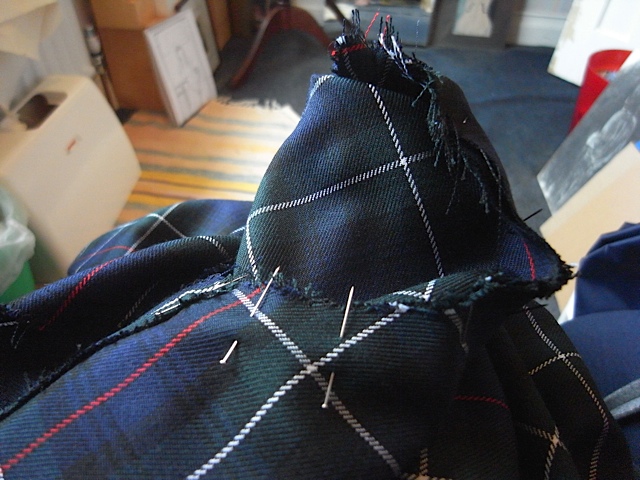
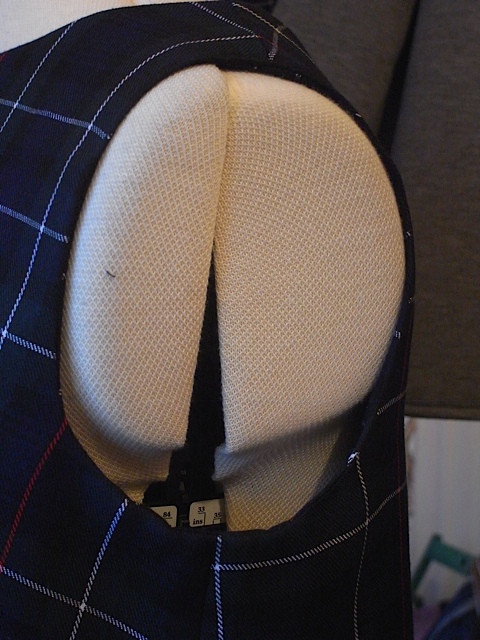
The bit sticking up is the shoulder seam.
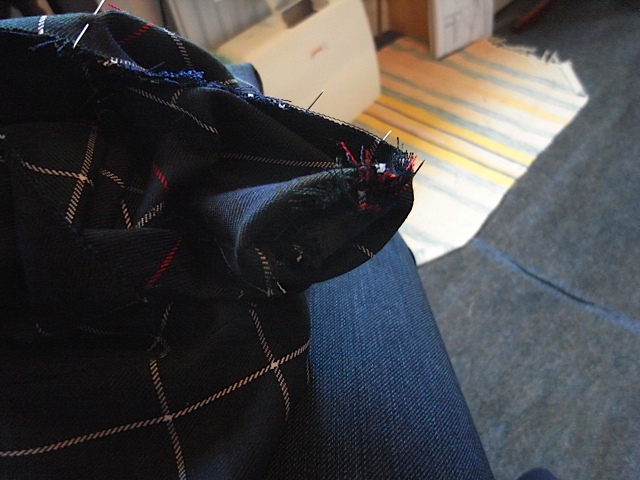
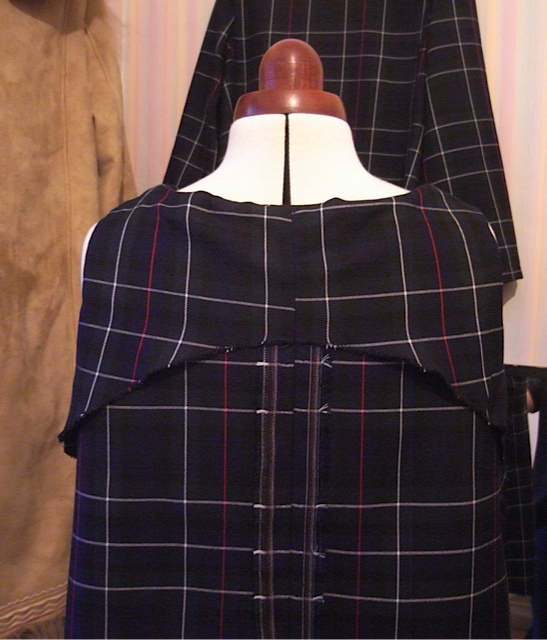
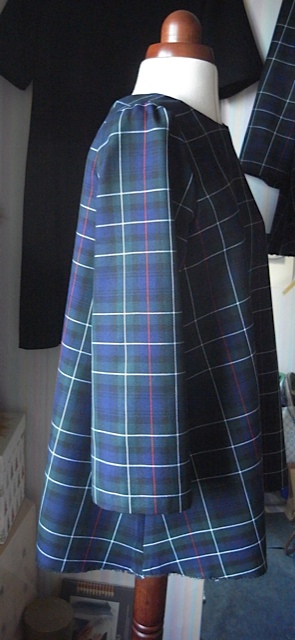
Thats a bit more shoulder seam. Clear as mud eh?
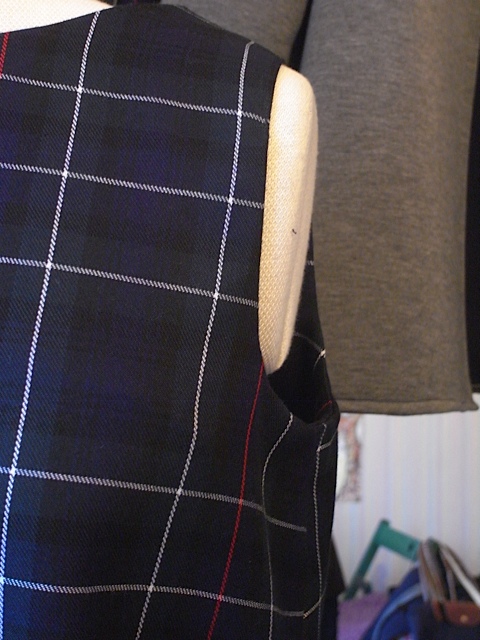
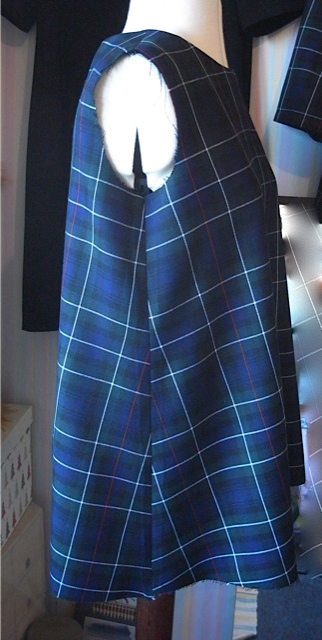
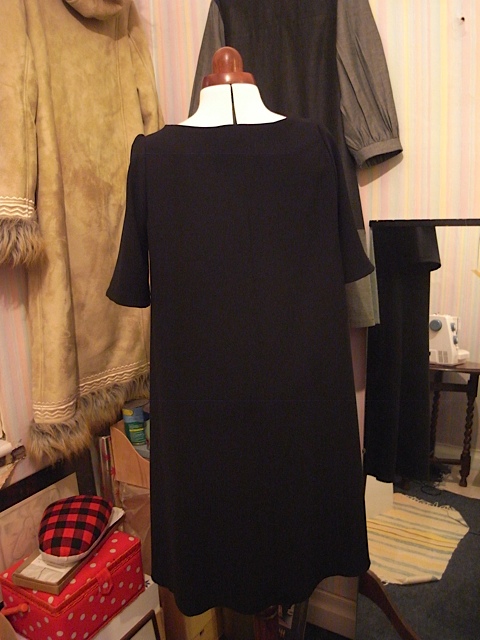
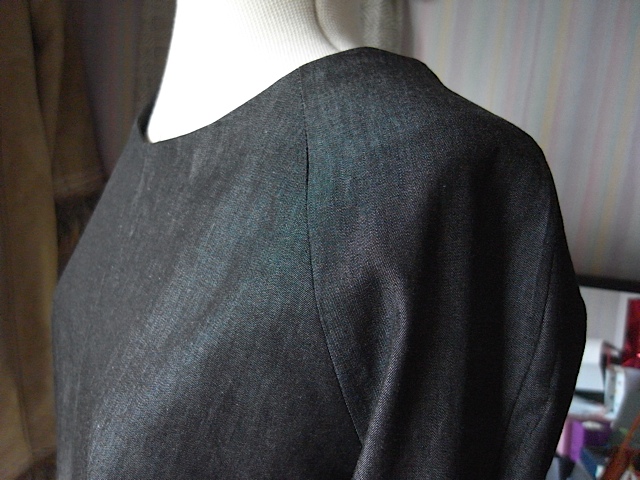
Once again The shoulder seam beat me. I just couldn’t get it to lay flat, looked horrible. In the end I unpicked about 3inches of the top of the shoulder and top stitched it down, very close to the edge.
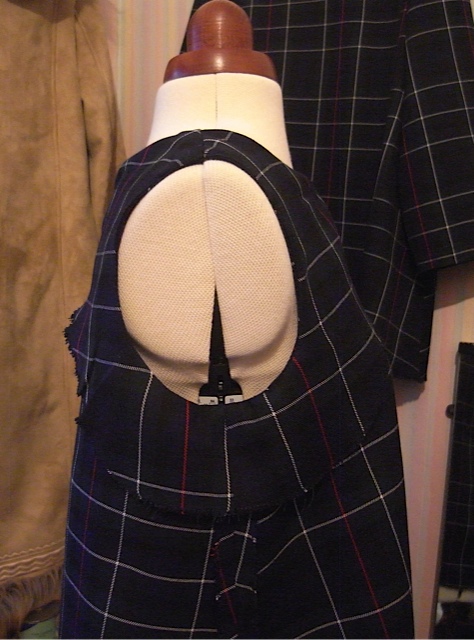
I think it works quite well and stopped me from completely giving up. I shan’t wear it when I go shopping in M&M as they might disapprove of my method.
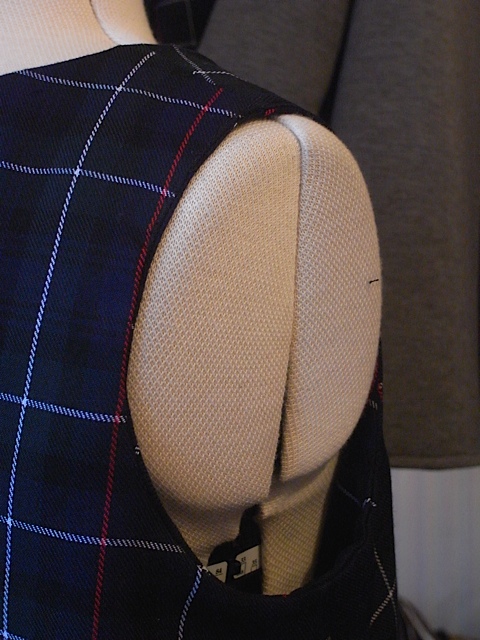
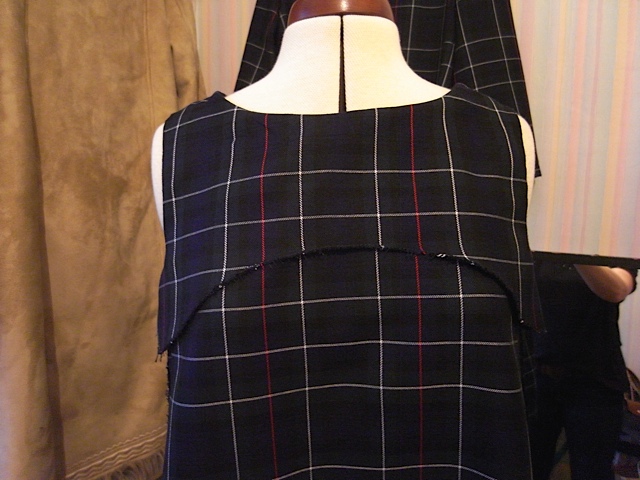
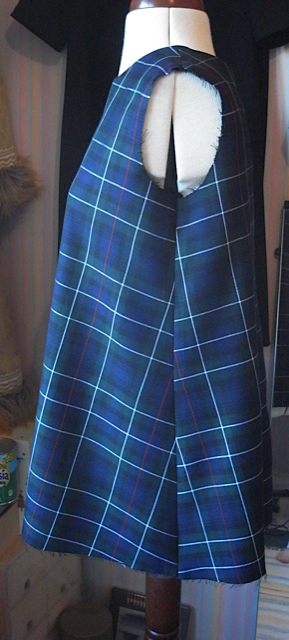
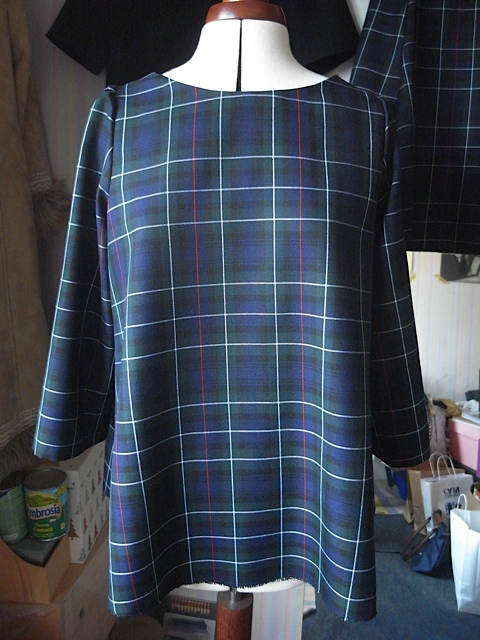
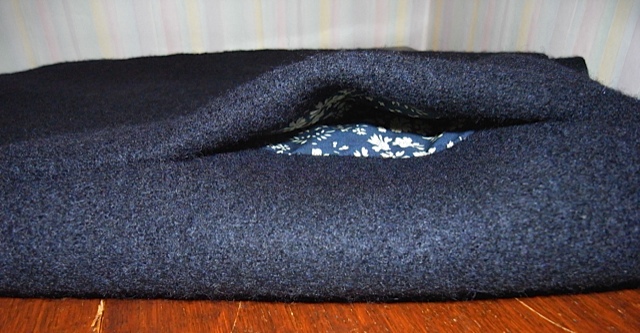
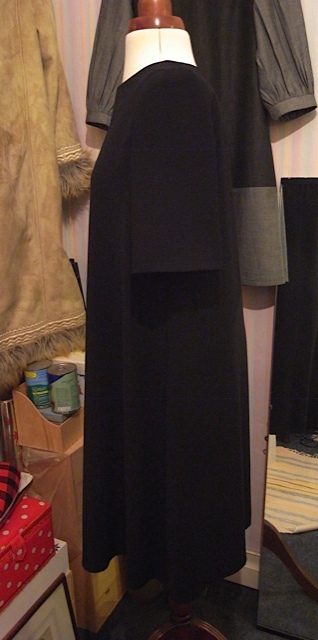
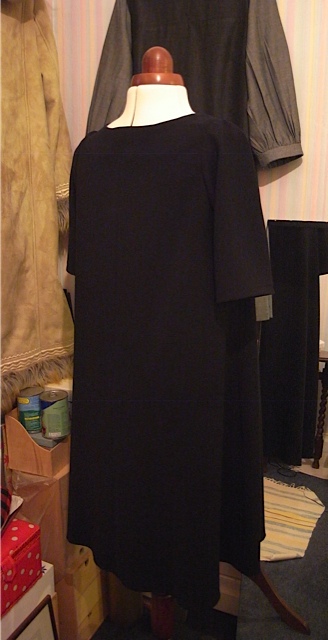
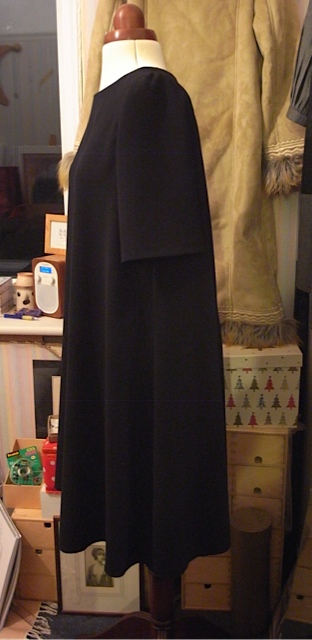
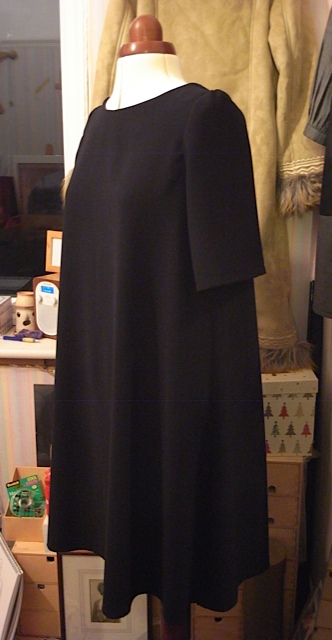
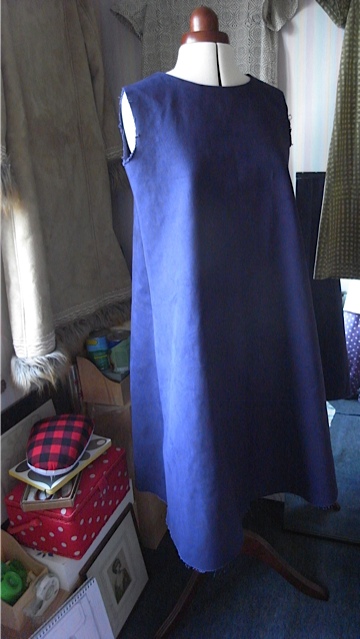
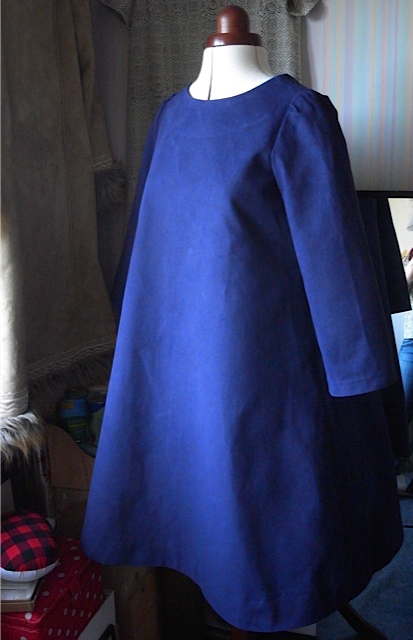
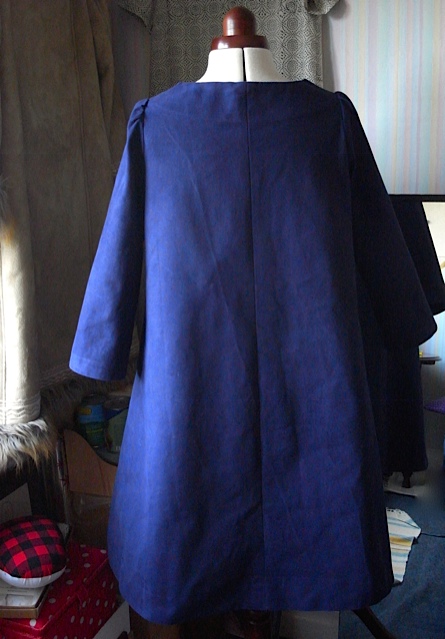
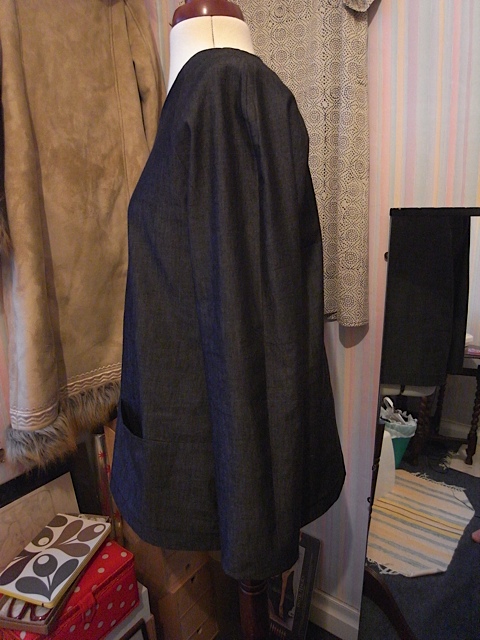
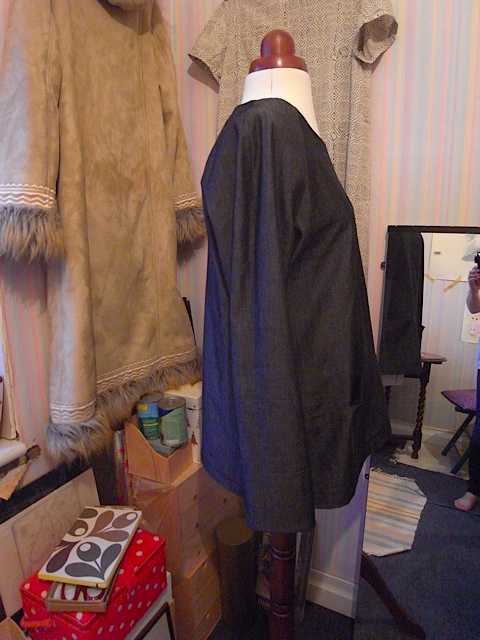
I’ve put the above picture in just to show what a difference a really good press makes to a finished garment. I am truly amazed that the armhole ended up looking so good. And it was all down to the magic of the iron. Above picture is pre-ironing, and below is after ironing.
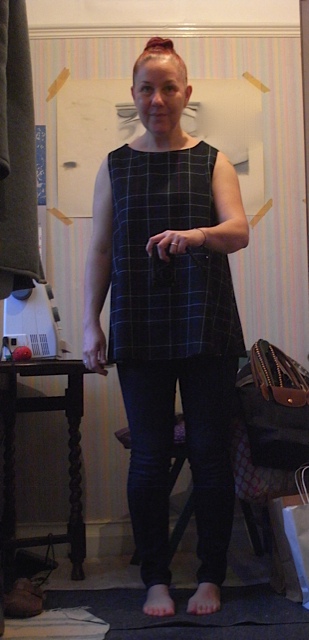
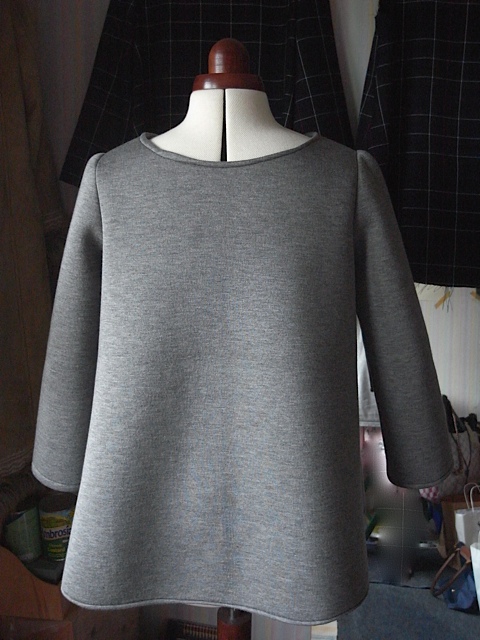
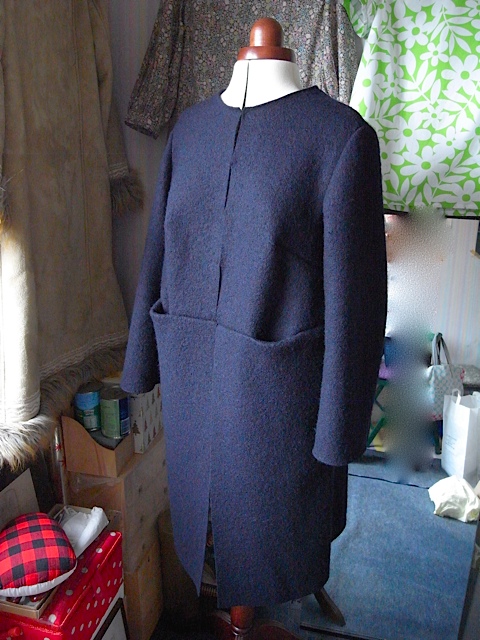
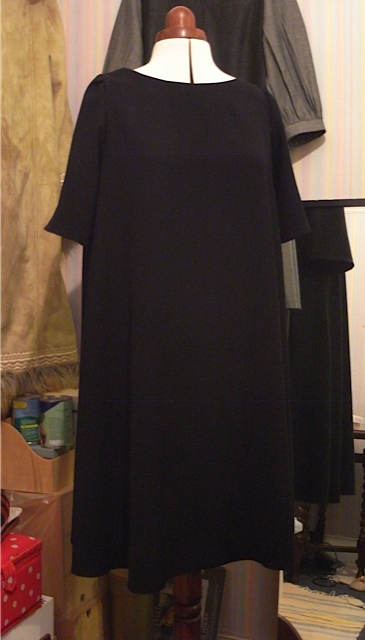
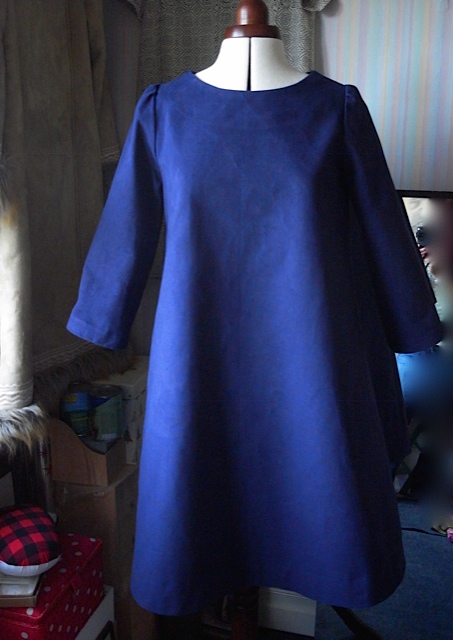
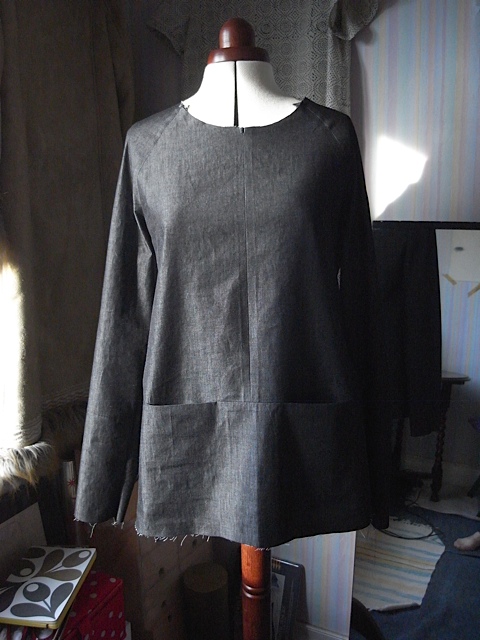
Ta dah!
Looks all lovely and innocent now, but it truly was a monster!
This is the inside of the garment. Look how well I’ve pattern matched it, right where nobody will ever see it…
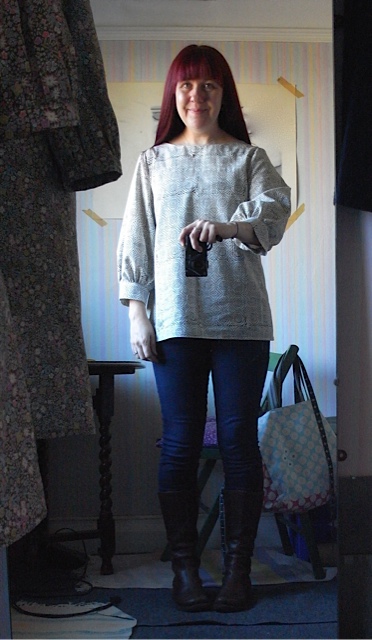
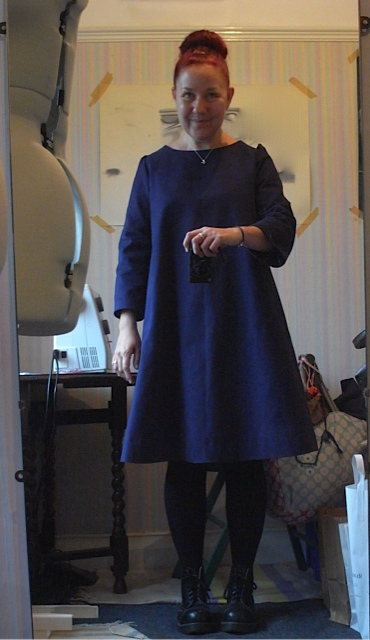
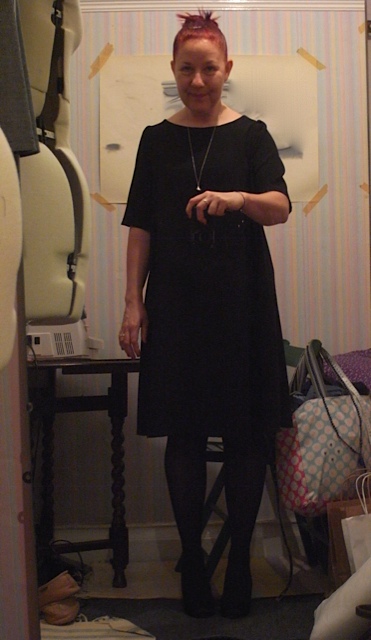
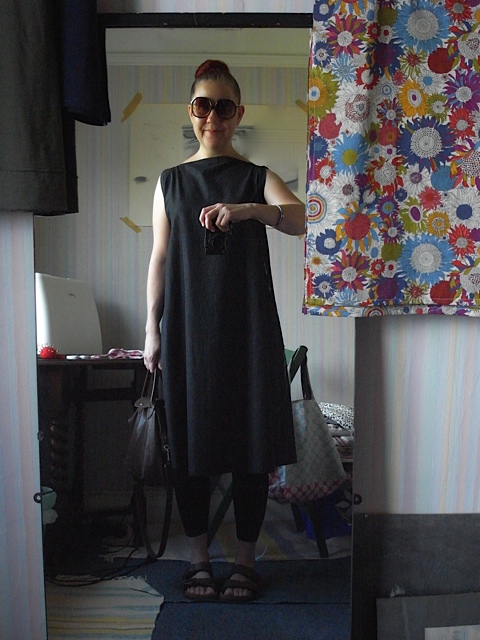
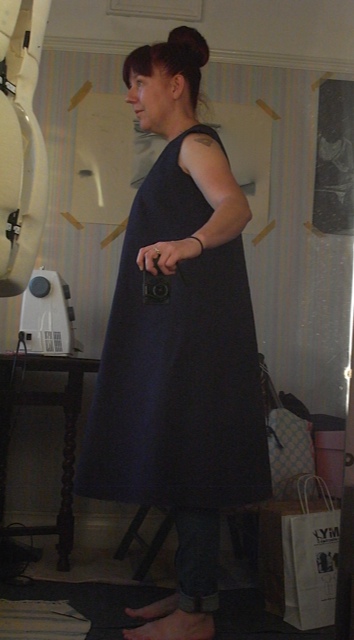
One of the main reasons I made the sleeveless version was to have something that would go under my scuba cardi/jacket thing. The sleeves are quite snug on it so sleeveless is best for it really. And it does fit under it beautifully.
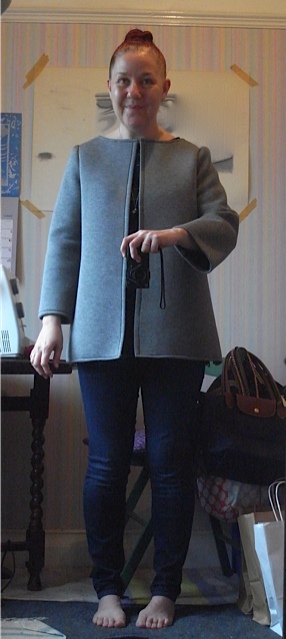
You can’t see it, but its there. Fitting very comfortably.
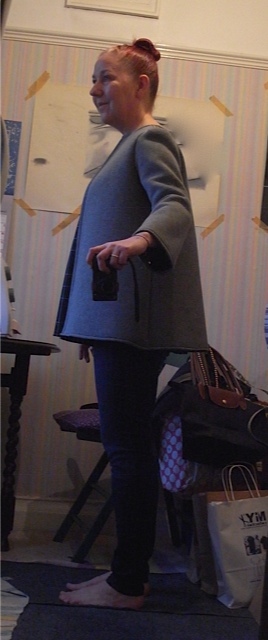
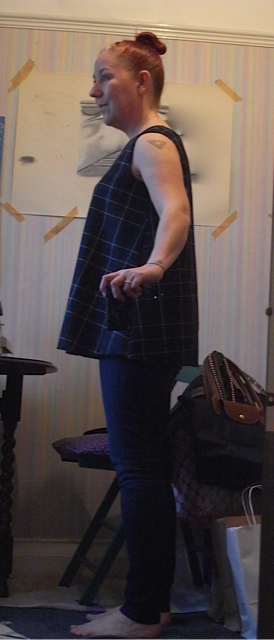
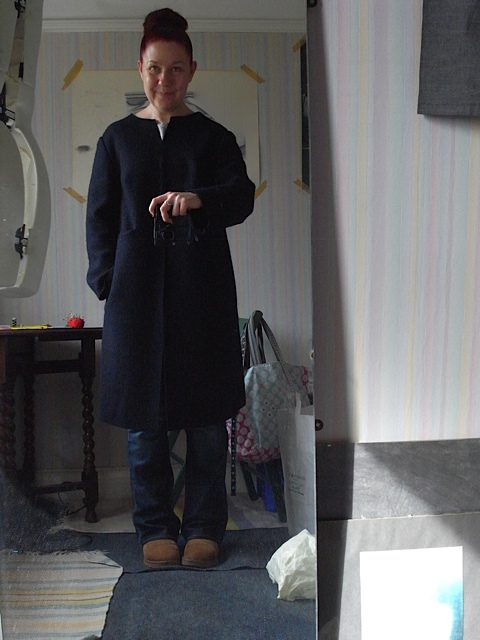
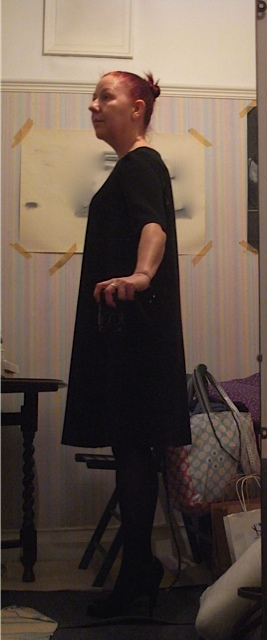
Have to say I’m not overly keen on the sleeveless look on me. My arms are not very toned anymore and look a bit stubby I feel, but needs must and I’m going to wear it. It was a challenge I have to say and I nearly gave up. So glad I didn’t. And even though I didn’t end up doing it exactly as I was supposed to, it still works and looks good. I partly blame the fabric, it frayed terribly and was quite difficult to manipulate. So there!
I have to add and this is quite important, might be obvious but I didn’t work it out I was told. Do not attempt to do the armhole facings with the garment on a dressmakers dummy. Can’t be done, end of!
Will I make another, yes, but a dress next time. And I’ll try and find more appropriate fabric.
January 29th, 2016
I bought two metres of scuba fabric a couple of months ago. And when it arrived I was like, WTF am I going to do with this? I really hadn’t got a clue. It appeared to be a lot thicker and more structured than I was hoping for. So it went on my stash pile to be pondered over while I worked on other things. I liked the idea that it wouldn’t fray and so I wouldn’t need to finish the seams, which helps to make any project that bit quicker. So I was a little disappointed after washing it to see that the grey side was starting to fray a bit and coming away from the foamy bit in the middle. I had thought I might have a go at making another Strand coat but after seeing the fraying I really didn’t feel like going through all the effort to finish the seams, so I scrapped that idea.
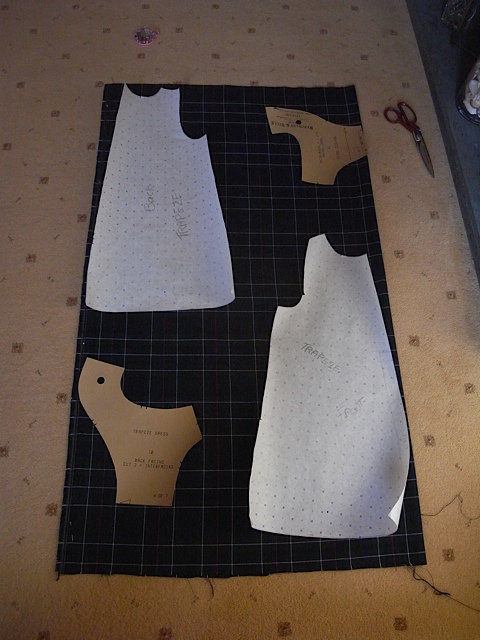
I eventually settled on making it into a Trapeze top, I thought it would make a fairly good one and might be nice and warm for the winter. So I cut out the fabric.
I didn’t cut out the neck facing in the end as decided it wasn’t needed. I put the back together and then attached the front to the back, tried it on to see how it was looking so far and hated it. The front was sticking out down the middle and looked really weird. There was a possibility that it would lay better once I’d put the sleeves in but I wasn’t overly convinced. So I left it for that day and thought about it a lot. What was I going to do?
I got up next morning, tried it on again thinking maybe I’d been wrong and it didn’t look that bad, but no, I was right it looked horrible. I took it off hung it up and decided I’d put it down to experience and bad judgement and just scrap it.
Then something inside me said if you don’t care about it you might as well experiment with it. I tried it on back to front and it sat a lot better on me like that. Was sticking out at the back now but didn’t look as bad like that. So I decided to attempt to turn it into a jacket/cardi.
I unpicked the centre back seam, stitched the seam allowance down to make the edge look nice. Put the sleeves in, tried it on again, yep think I can get away with it. I turned the neck in on itself to neaten the edges, that worked quite well and then did the same with the hem and the sleeve hems.
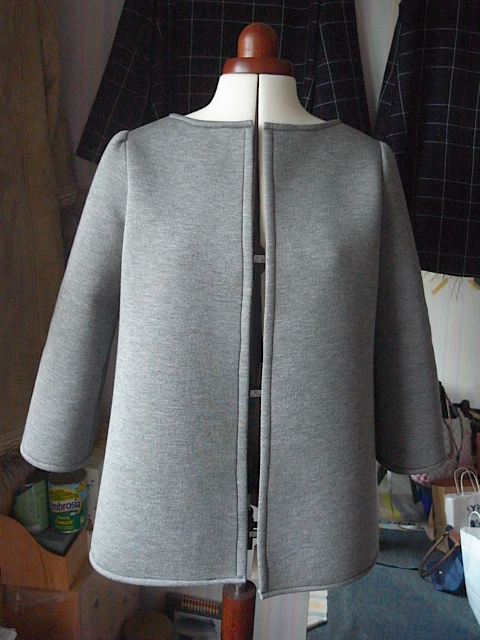
And BINGO, there was a jacket/cardi thing!
There will now follow lots of pictures, as I’m really really happy with this.
Hem looks uneven here but its not. Have thought about adding pockets, but for now I’ll leave it alone. Thats another thing I love about making my own stuff, I can evolve it as I see fit, whenever I like.
The back, that was the front.
I stitched the shoulder seams down so they would lay flat. Quite like how it looks.
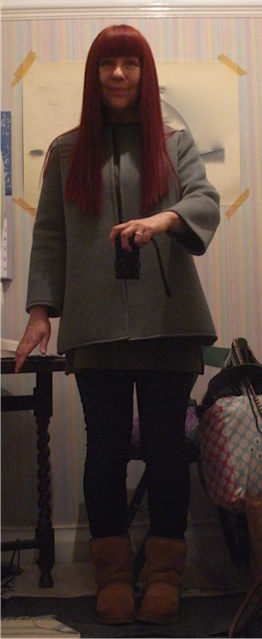
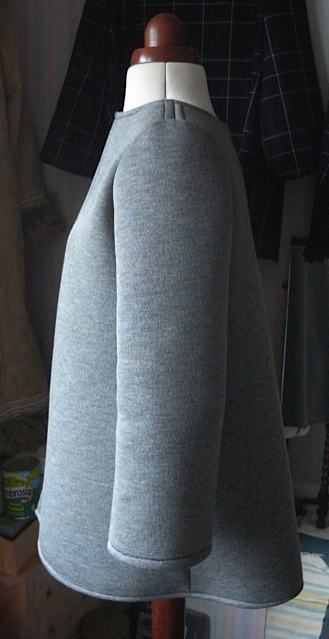
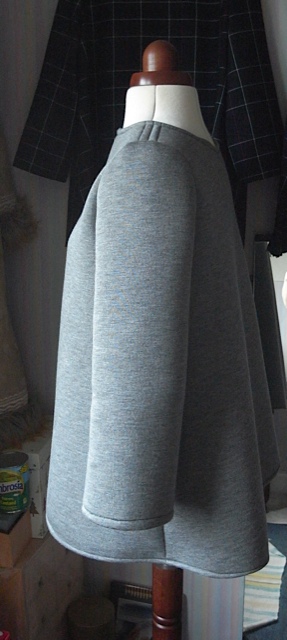
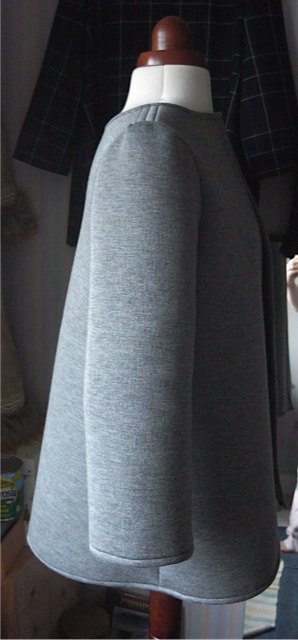
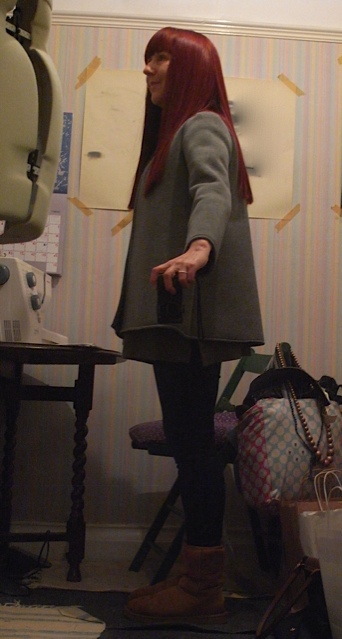
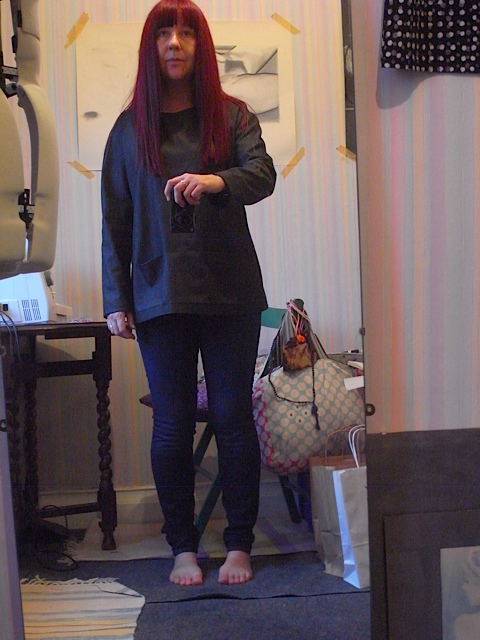
Not the best pictures, but here’s me wearing it.
Its so comfortable to wear, I love the sponginess of the fabric, makes it feel light but its also warm.
My Husband said it was elegant in its simplicity. And the edge to edge styling of it does give it a somewhat smart and elegant feel. I think it can be smart or casual myself depending on what else I wear it with.
And I’m so glad I didn’t scrap it and just throw away the £36 I spent on the fabric. So all in all feeling a little smug with myself right now.
January 22nd, 2016
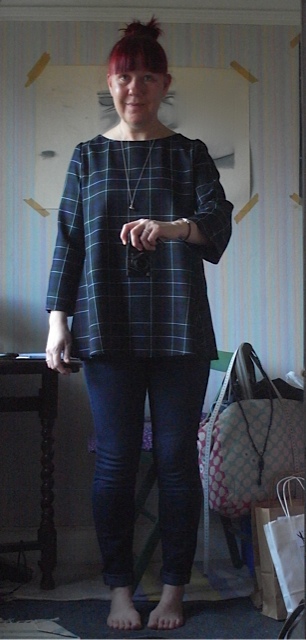
I didn’t properly blog about the first tartan Trapeze top, so I’ll make up for it by blogging about the second.
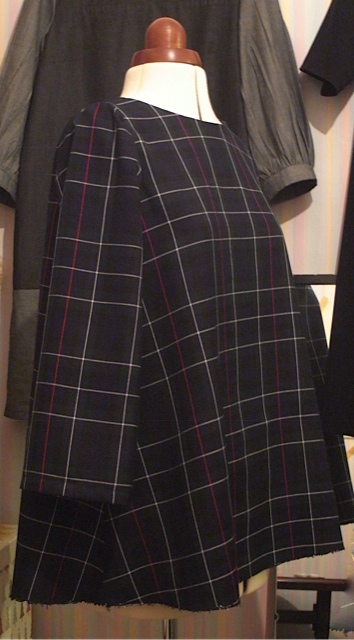
First thing I’ll say is, pattern matching tartan is a BITCH! Really really is. I thought I’d been so careful to get my edges to meet up so that the centre back seam would at least match. But when I looked at it after sewing the centre back seam I was greeted by this…
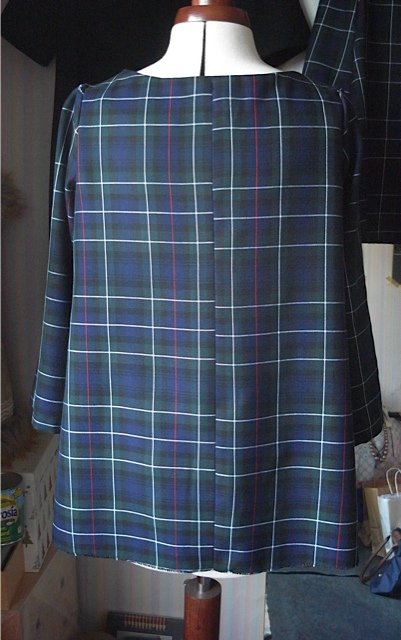
Just ever so slightly off. Now I am not always a perfectionist when it comes to my sewing, but I did contemplate unpicking and doing it again ( I know some people out there would not be able to tolerate this at all ). However I looked at the fabric and the stitches and well I just had a feeling that the fabric wouldn’t stand up to the unpicking. It does have a tendency to fray. So I left it as it was. All I can say is thank goodness I can’t see it when I’m wearing it. I will say that the first one was a bit better at the back as it matched at the bottom, but went off kilter half way up, which was weird.
The sides didn’t fair much better either.
So close with this side! However they do look much better once the sleeves are attached.
I have at least got the red stripe running down the centre of the sleeve, on both sides too.
When its on the stripes look pretty good running across the sleeves and the bodice, so I’m quite happy with that.
I zigzagged the bottom rather than do a hem, as its not so easy on this shape. And luckily it seems to work really well.
So all in all, I’m very happy with this top. Its my first make of the New Year, so off to a good start.
January 8th, 2016
I’d like to share with you the lovely goodies that I got for Christmas.
First up is this gorgeous M&M mug, which I’ve wanted for so long now. Not that I think I’m an actual Seamstress, but its nice to dream.
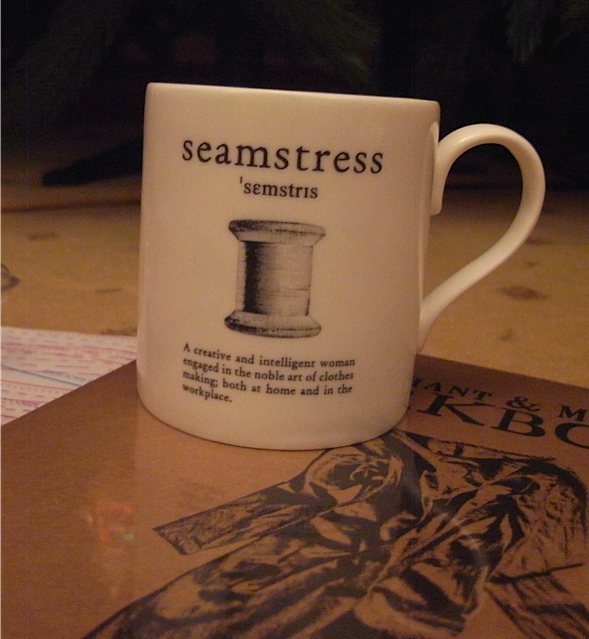
As you can see its sitting on top of the M&M Workbook. And as others have said it is a beautiful book full of beautiful clothes. Now whilst I might not be capable of making all of them yet, I definitely have my eye on some of the projects. Watch this space.
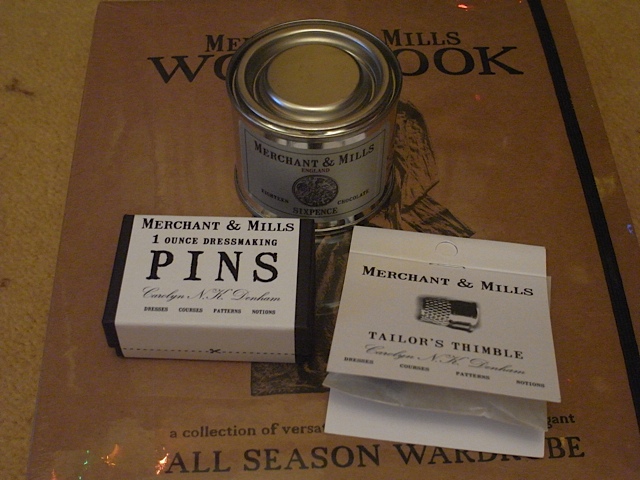
A friend bought me some items from there too. I just love the packaging.
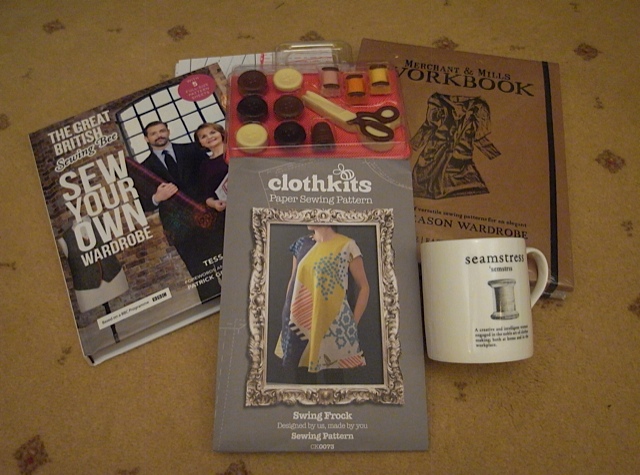
I was very surprised to receive the second Great British Sewing Bee book. This is my fave series so far. Some great looking projects inside too. And very excited to have the Clothkits pattern. Can’t wait to give that a go, however I suspect it won’t be as easy as it looks.
Lots of new and exciting things for me to try, I wonder how many I will complete. I must try and do new things this year and not to make too many multiples of one pattern. Yeah right!
January 1st, 2016
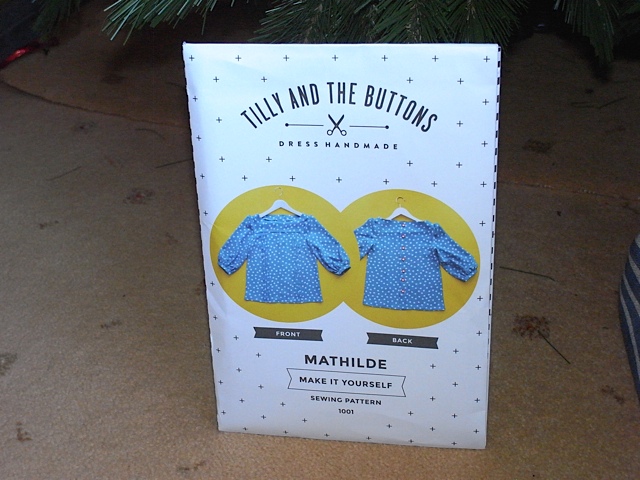
My very favourite thing about 2015 was that I learnt to do sleeves. Yep thats right sleeves. A dear friend bought me the Mathilde pattern by Tilly and the buttons.
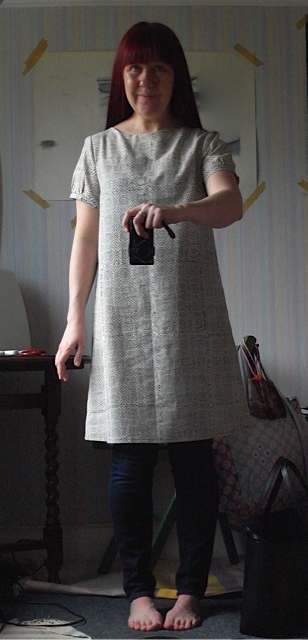
And I have since made 22 variations of it, having adapted it to suit me and even turned it into a dress.
Here’s a few examples in case you’ve forgotten.
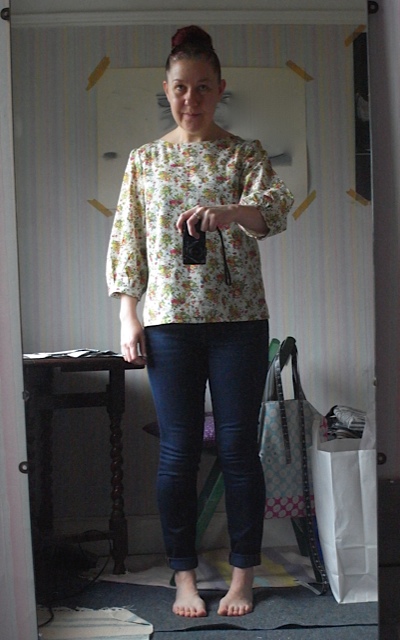
This was the first one.
Made it a little longer.
Turned it into a dress.

made it with short sleeves.
And a short sleeved dress.
I’ve most certainly had good milage from that pattern.
After making the first two long sleeved tops, I can’t quite believe what I did next. I made a bloody coat! Where the hell did I get the idea that I could make a coat? Oh yeah, I can do sleeves now… Luckily for me I spoke to the lovely Michelle in Merchant and Mills about the Strand coat and she gave me the idea to make it in boiled wool. You don’t need to do facings, hems or finish the seams as it doesn’t fray. This made it a whole lot easier. Don’t be fooled though it still had its challenges. I learnt how to do tailors tacks and pockets, I love the pockets on this coat and am particularly proud of them.
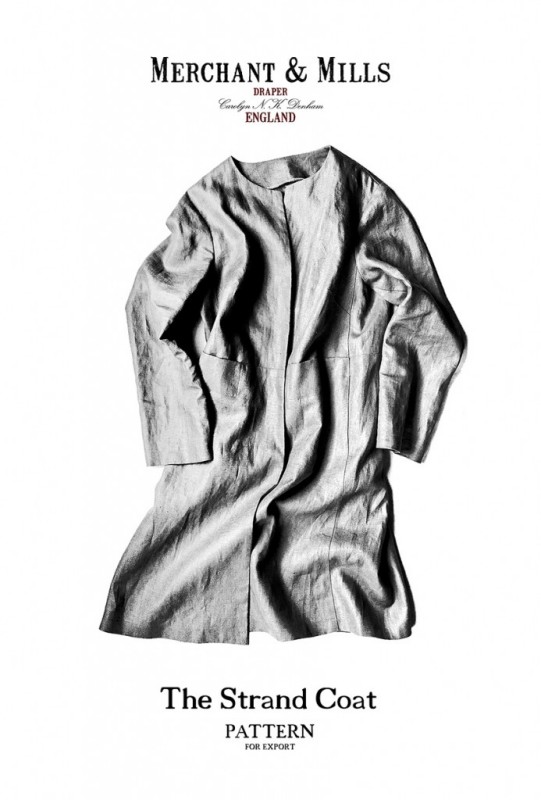
The lovely Strand coat pattern.
Tailor tacks
Pocket.
A beautiful wearable coat, made by ME!
I think for me the coat has been a major highlight and achievement. I sort of peaked early on in the year.
The next thing I made of which I’m very proud was an apron, I love this apron so much. Makes me happy every time I wear it. Which is a lot.
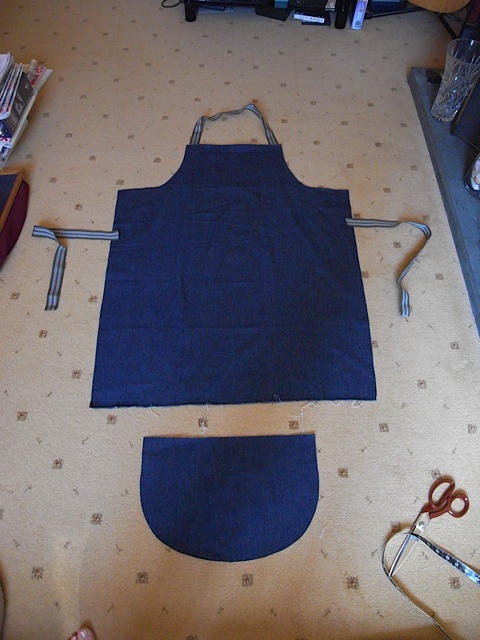

Particularly happy with the curves on it.

There we are…
I shortened jeans for the first time, which also made me very happy.

From this…
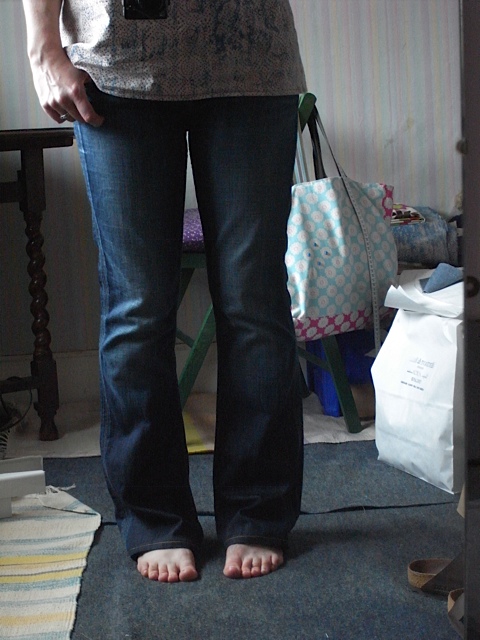
To this.
I discovered I don’t like working with jersey when its more complicated than a simple rectangle top, but do love the finished product.
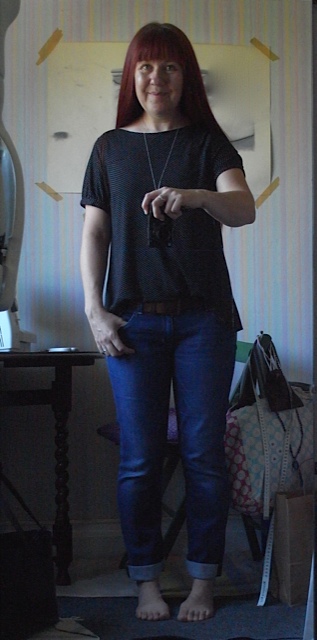
A top made with a jersey viscose concoction. Nearly killed my love of sewing!
I met some very lovely sewing peeps at La La Rookh.
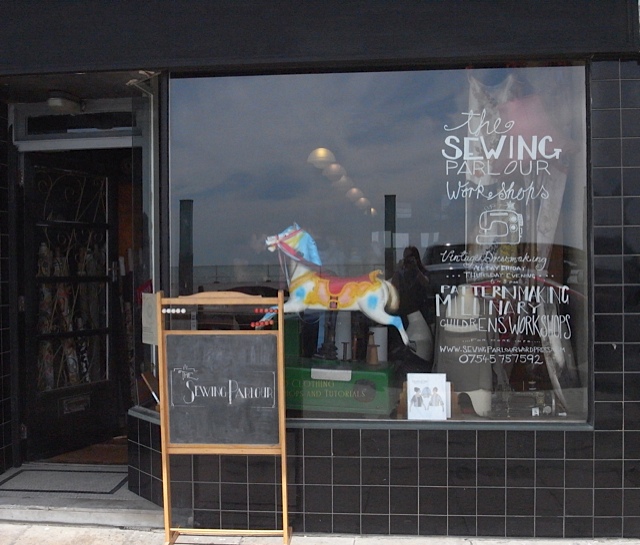
Of course it looks a little different now after the name change.
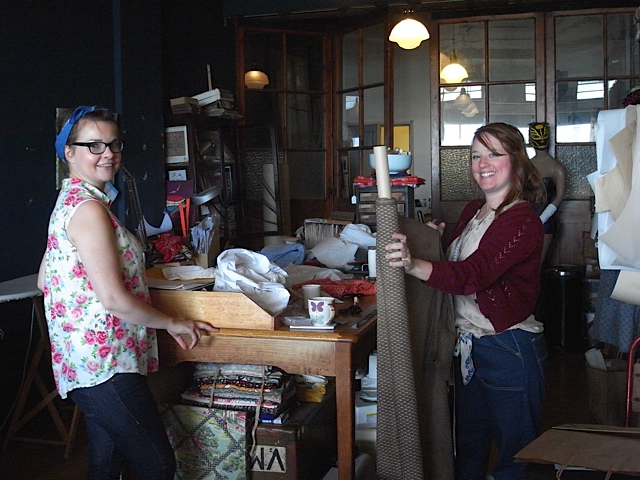
Anna on the right and Lexie on the left.
I also met up with the lovely Ruth from poppyinstitches.
I went on holiday to Barcelona for ten days and wore something I made every day.

Holiday wardrobe, full of my handmade goodies.
I bought some new patterns, of which I’ve only tried the Merchant and Mills Top 64 so far. And hated it. Think I made it well just hate the top.
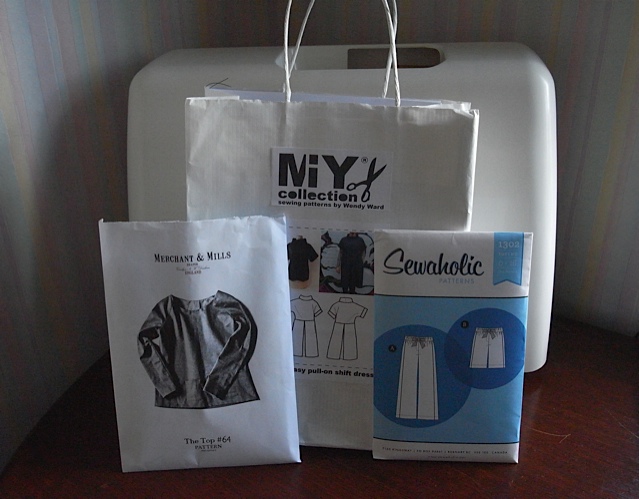
New patterns.
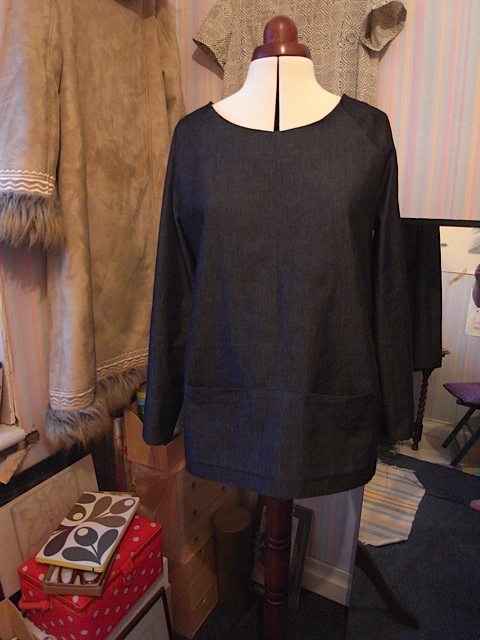
Ugly thing!
I then decided I was finally ready to have another go at the M&M Trapeze dress pattern. And promptly made three…
In cotton canvas, bit different but I love it.

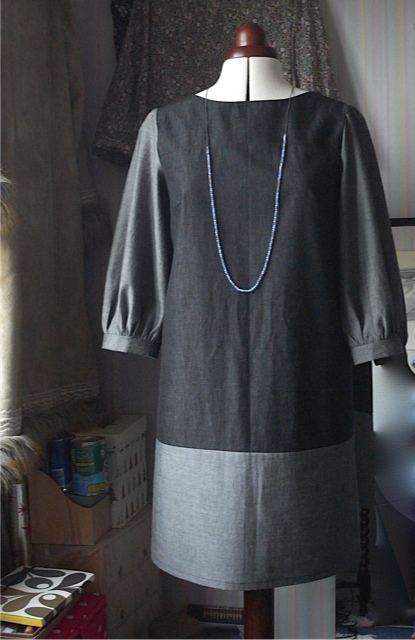
Then in denim. Again love this, have worn it quite a lot already.
In party dress form. Sorry for the bad lighting.
And then came the Trapeze top…
Loving it, yes I am. And there will be more…
And that was actually my last make of 2015.
But I don’t want to forget that I did appliqué for the first time too.
And thats about it. I’ve been quite lucky in that most of my sewing projects have been a success this year. I just hope it will continue into the New Year. I got lots of lovely sewing goodies for Christmas so have many new projects to try. Fingers crossed all goes according to plan!
My blogging might slow down a bit in the new year as I tackle new things that might take me a little longer to complete. I wish I had the nerve to stop and take pics as I sew, so I could blog about the different processes of a make, but I’m either in the zone and forget to stop or I don’t want to jinx it by blogging about it too soon. But we’ll see.
And to anybody that reads my little blog, thanks for reading &
A HAPPY NEW YEAR and love and best wishes for 2016 XXX
December 24th, 2015
Well Christmas is upon us, but I just want to share what I’ve made in the last few weeks. Haven’t been terribly prolific as the usual Christmassy stuff gets in the way, but since I started sewing two and a half years ago I don’t think i’ve made anything in December before. So this has been quite productive for me.
This will just be a quick post to show what I’ve made and hopefully later I’ll get round to blogging the makes properly.
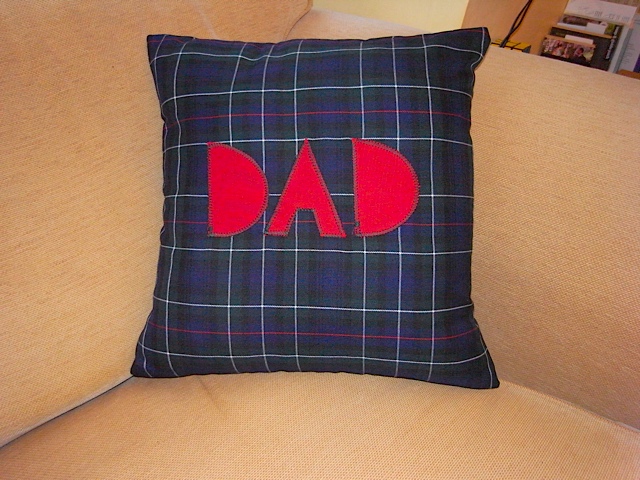
First up, a cushion for my Dad’s Birthday.
First time I’ve done appliqué, quite pleased with it but now know I’d do a couple of things differently. Dad liked it.
Next up is a Trapeze top, in the same fabric as the cushion. I thought it was quite appropriate for Christmas and the winter season.
So thats it for now.
I bid you all a very Merry Christmas and a Happy Healthy New Year :0)
December 16th, 2015
But its exactly what I wanted and I love it. I used the Trapeze pattern (again), shortened the sleeves a little, but otherwise its the same as the others. And instead of doing a proper hem on the bottom I just zigzagged the edge. It was going to be a real pain in the arse to do a proper hem with the fabric I was using, which was a beautiful black crepe from fabric godmother.co.uk.
Could possibly get away with being shorter, but maybe next year I’ll shorten it.
The fabric turned out to be really nice to sew with, I was pleasantly surprised. My main problem with it is that the facing at the neckline shows through from the underneath. Not a major concern but bugs me a little. Otherwise a lovely stress free make.
PART II
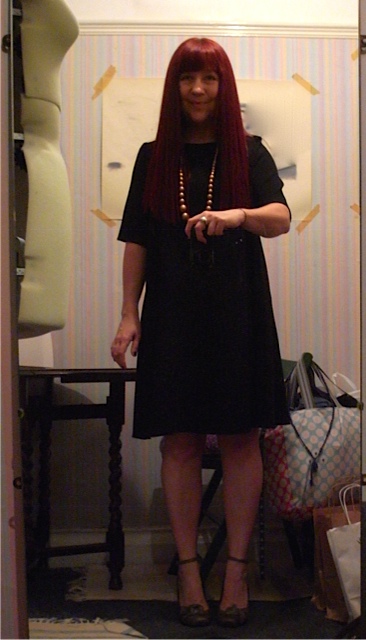
The length was really bothering me. I finished this dress 2 weeks ago and blogged about it pretty much soon after (but hadn’t yet posted it). I mulled over it for a week and finally decided to cut off 1.5 inches. And now its fabulous, in my eyes anyway. Its probably still a little boring in some peoples eyes but its a great backdrop for a statement necklace.
I would like some more of this fabric and would like to try the sleeveless version. Maybe next year…

Love the way its hanging here. The fabric has a lovely weight to it which makes the dress hang beautifully.
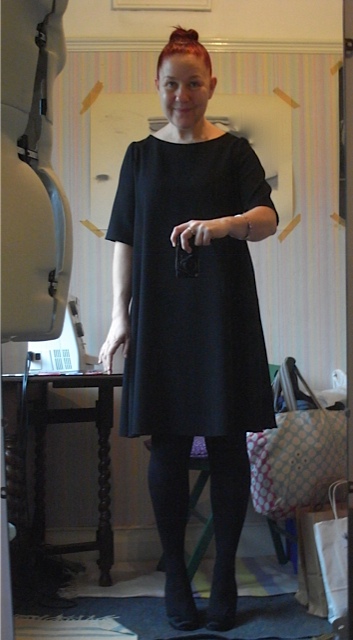
Without necklace…
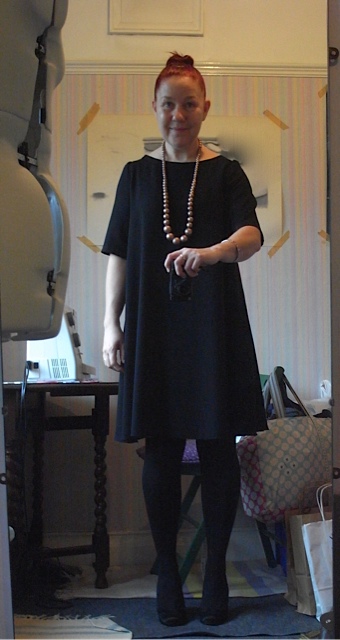
With long necklace…
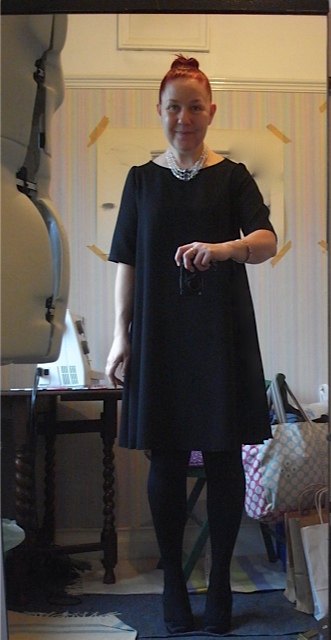
With vintage beads…
Haven’t yet decided which necklace to wear. Probably make that decision two minutes before going out the door!
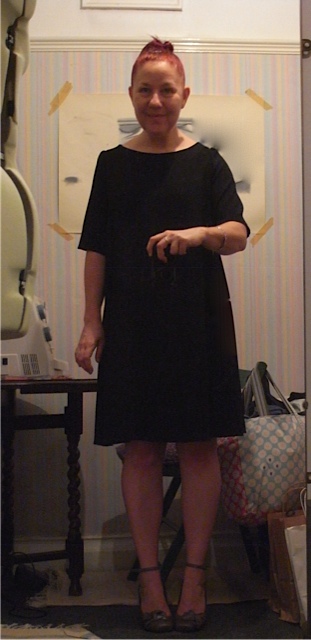
I think I like it better without tights.
I apologise once again for the quality of the pictures. Black is really hard to photograph well. Also I’m afraid most of the pics were taken in the evening and the ones that weren’t were taken on a really gloomy day. It really does look better in person.
November 19th, 2015
Love love love this one. 8oz washed denim from Merchant and Mills.
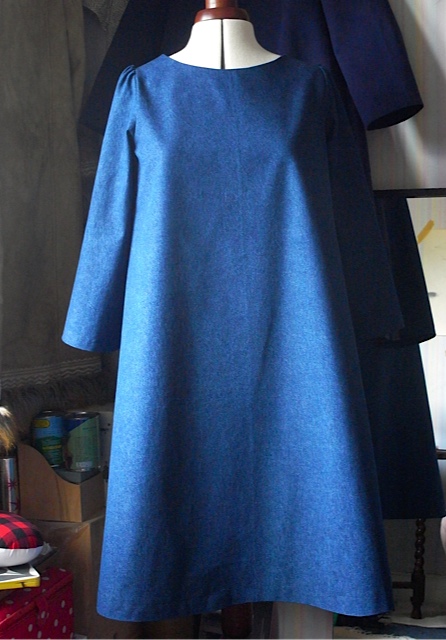
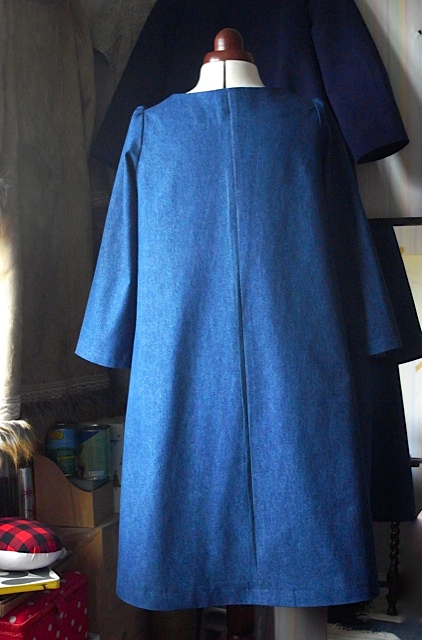

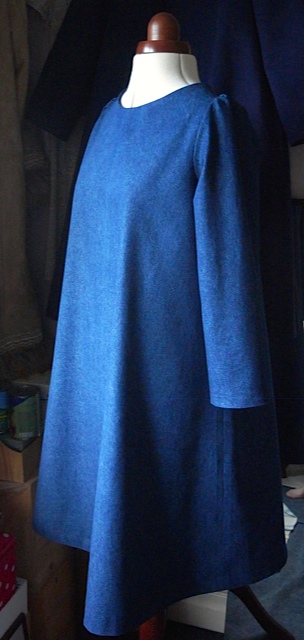
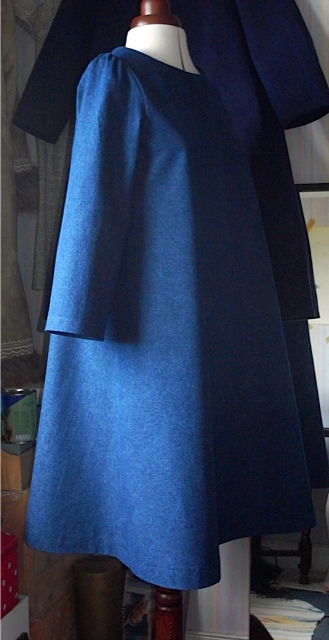
Not much to say, went together beautifully again, just have trouble getting the sleeves in smoothly but still looks good slightly puffy. hangs and drapes wonderfully in the denim, a little softer than the canvas.
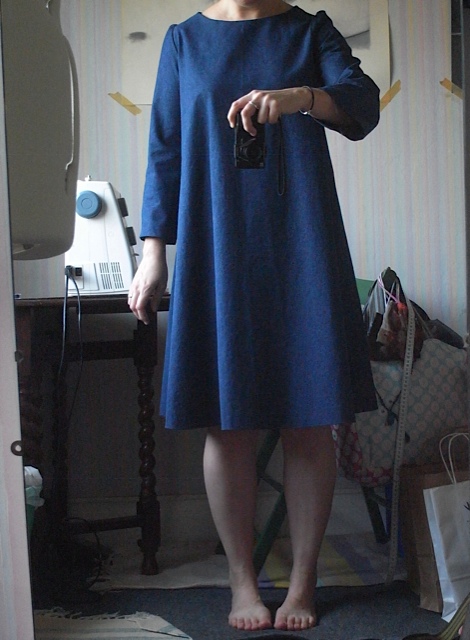
Just adding a mod pic for reference. Cropped head out as had major bed head hair! I usually start sewing before I make myself presentable.
November 12th, 2015
Or dress for that matter?
After the disappointment of the Top 64 I decided I was going to make the Merchant & Mills Trapeze dress, properly. I bought this pattern in the pre-cut cardboard, size 10, about 2 years ago, when I first started sewing as I thought it looked nice and easy. And after getting it home and reading the instructions I realised it was far from easy, got scared and put it away. And then I made a simpler version of it (although I don’t think I can remember how I did it).
Now, more than 2 years later i’m finally ready to give it a proper go. I’m using the cotton canvas I originally bought for the Top 64, I think it might be a little thick for it, but I just have to use it, I have a feeling it will work.
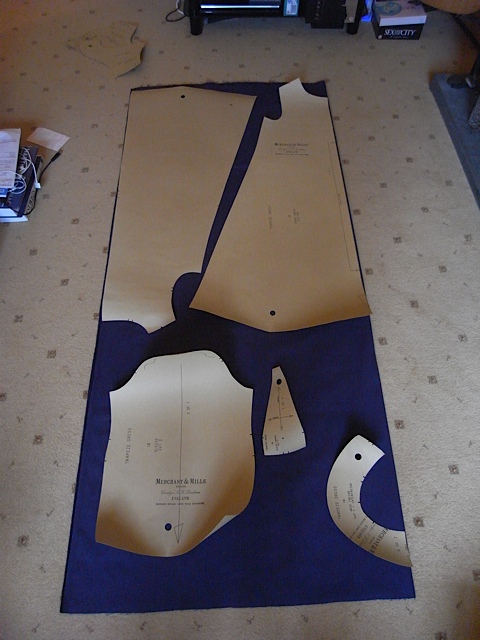
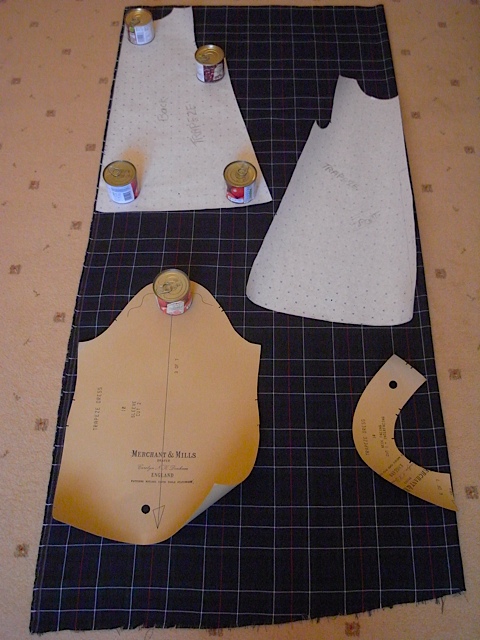
The pattern pieces laid out. I had to put the back on upside down to fit. Yes it does mean the nap on the back runs different to the front but its not too noticeable.
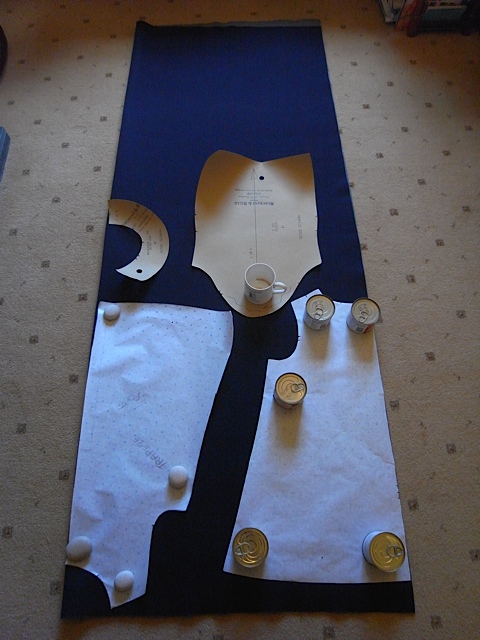
I loved how quickly this came together. I’m making the straight sleeve version, decided not to put the added bit in the sleeve which makes it flared, I think they’re a really lovely shape as it is. So there are only 4 pieces to cut out which is always a bonus. In the instructions they suggest laying out the pieces on the fabric and drawing round them but as I don’t have a large enough hard flat surface I’ve opted to just cut round them, using tins as weights.
Neck facing.
This came together so quickly, I reckon if I’d started at 9am I’d have had it finished by 5 or 6pm that day.

Looks a bit like a tent at the mo…
Even more so from the side.
The next day I put the sleeves in. They went in beautifully except they are supposed to be smooth and mine didn’t work out quite like that. The thread snapped when I tried to gather in the sleeve head so left me no choice but to make them puffy. But I quite like them like that.

Sleeves in.
Next came hemming of sleeves and skirt hem! Sleeves were painless, but the skirt hem was a little trickier, because of the curve and the amount of fabric you have to fold up. I looked up several different methods for doing it neatly, but ended up not using any of them. So whatever you do if you see me wearing this dress don’t look at the underside of the skirt hem, please.
I was a bit worried before I hemmed it that it was looking a bit too voluminous, but once hemmed it looked so much better and hangs beautifully. I love the structured shape the fabric gives it.
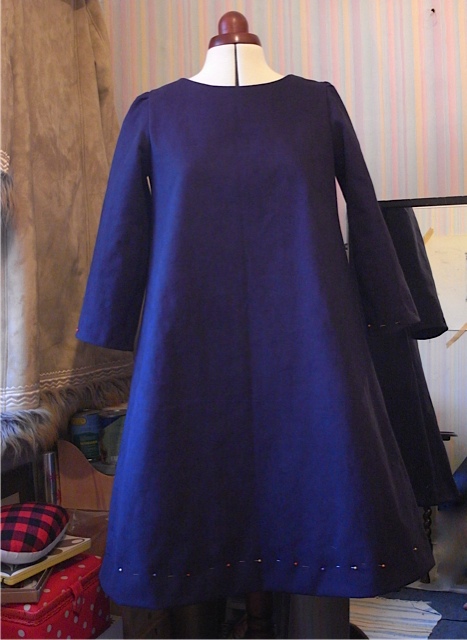
Pinned in place.
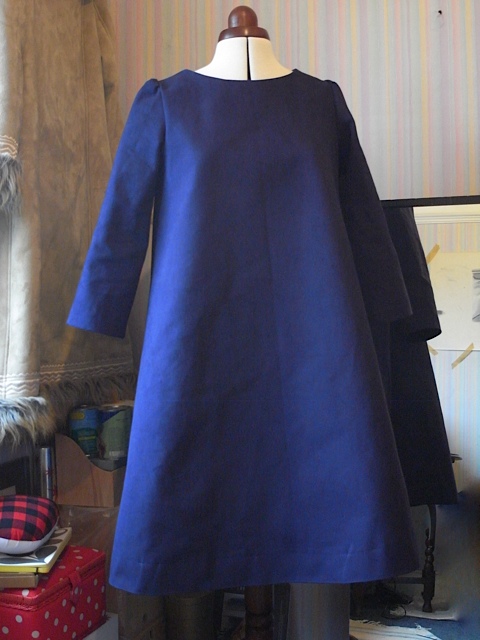
Finished.
Just look at that lovely neckline. One of the neatest facings I’ve ever done.
The fabric looks quite creased here, I have worn and washed it already.
I really really love the shape of this dress.
Happy happy me :0)
I thoroughly enjoyed making the Trapeze dress, the fabric was a dream to work with (am now thinking the Strand coat in this fabric would be divine) and the pattern was also a joy to put together. I needed a good project after my last disaster and this was perfect. I. Will. Be. Making. More.
Would like to attempt the sleeveless version sometime but that does look a bit complicated believe it or not. And even though M&M say this dress is good for beginners, there is an awful lot of fabric to handle which can be a bit daunting if you are new to sewing. Or maybe thats just me.
November 4th, 2015
I suppose its not so much a sewing fail but a style fail. I hate it, I really do!
I wanted to have a go at something different. So I bought the Merchant & Mills Top 64, pattern. I also bought some top quality cotton canvas in blue for it. However I decided to make it up first in a dress weight denim also from M&M. And boy am I glad I did.
It wasn’t a complete fail I suppose, I enjoyed the making of it, and I learned some new things about construction. And this was completely different to my usual tops.
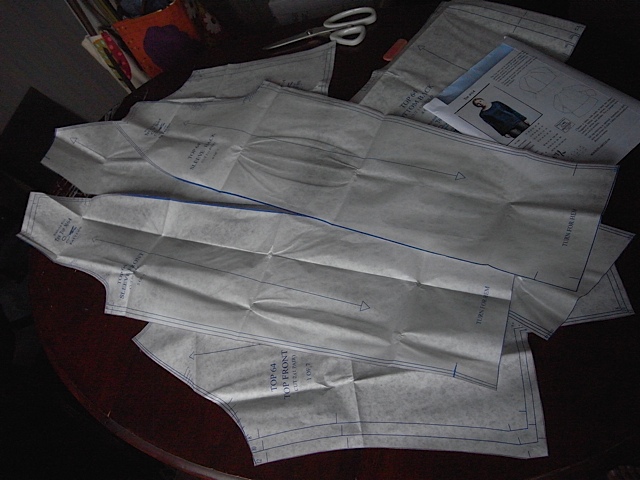
The pattern pieces all cut out and ready to go.
I cut out the size 12 after trying on the size 10 at M&M in rye and very nearly got stuck in it. The size 10 in their shop is made up in a waxed cotton canvas and has no give whatsoever! I knew I shouldn’t have put it on but I really wanted to know how the 10 would look. After nearly dislocating my shoulders to get out of it, I talked to Michelle who works for M&M and she advised me to make it up in a size 12, even though I’m usually a size 10 in their patterns. As she said that is what she does and she’s usually a size 10 too. So thats what I did.
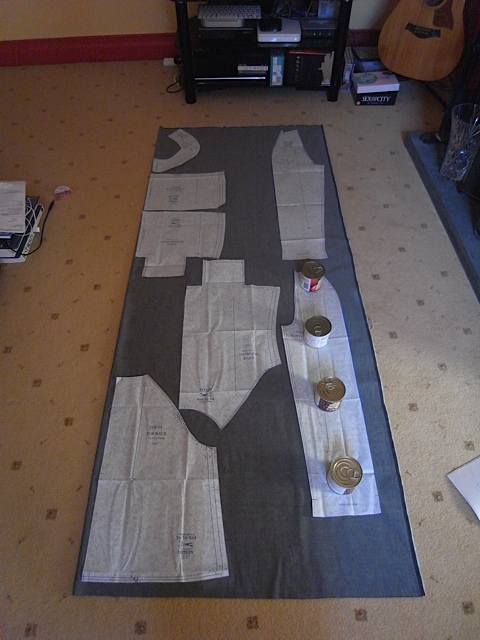
Pattern pieces laid out on fabric. And I now mostly use tins when I cut out.
Like I said I enjoyed the actual making process but I hate the finished product.
Inside of the front.
I decided against top stitching the seams, and I’m glad I did. Would have been a monumental waste of time and cotton.
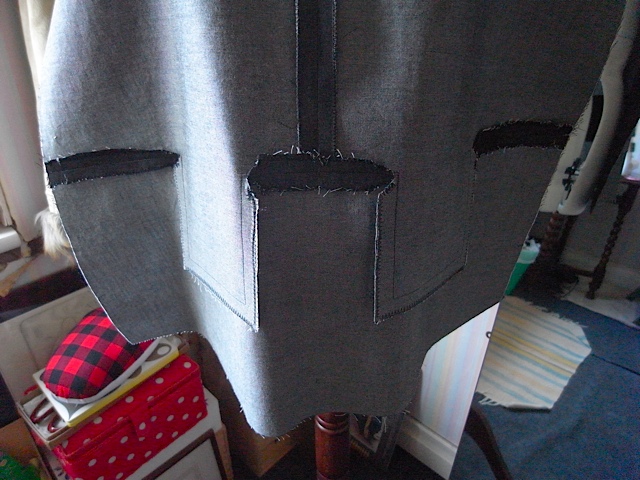
Close up. Quite impressed with the straightness of my sewing.
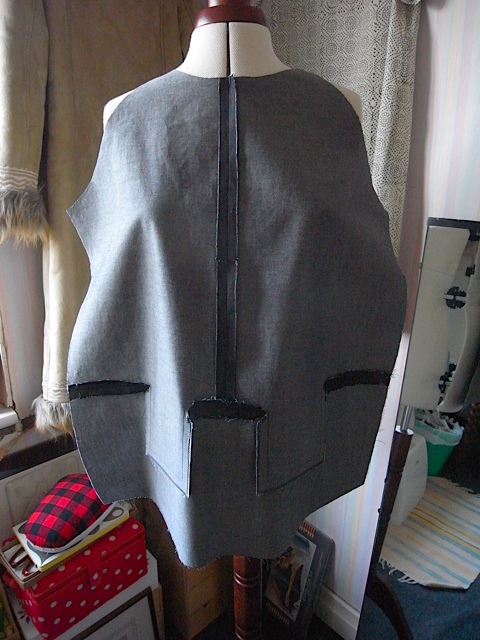
This is what the front looks like before I attached it to the back.
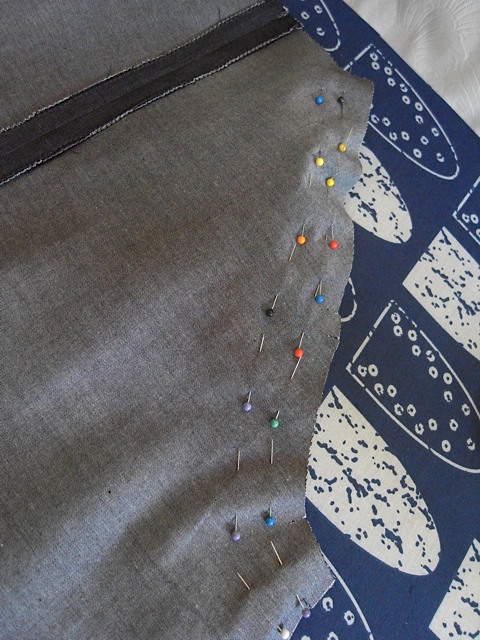
Pins for the raglan sleeves.
front and back joined together.

Not used to doing the neckline facing after putting garment together. But it works really well and looks super neat.
Sleeves/shoulders.
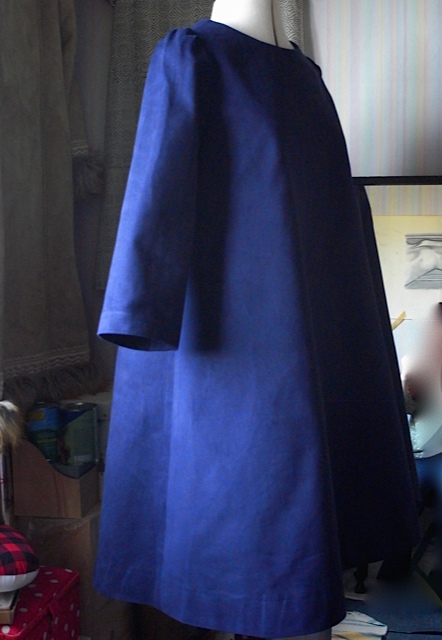
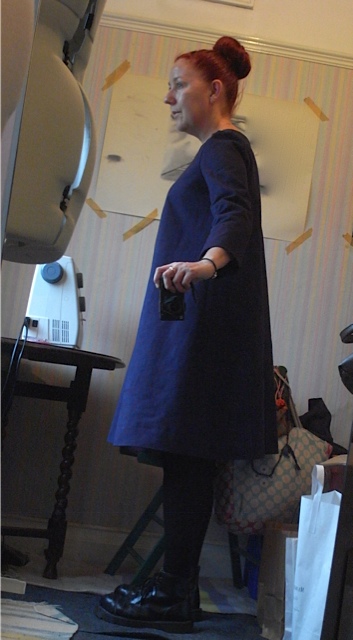
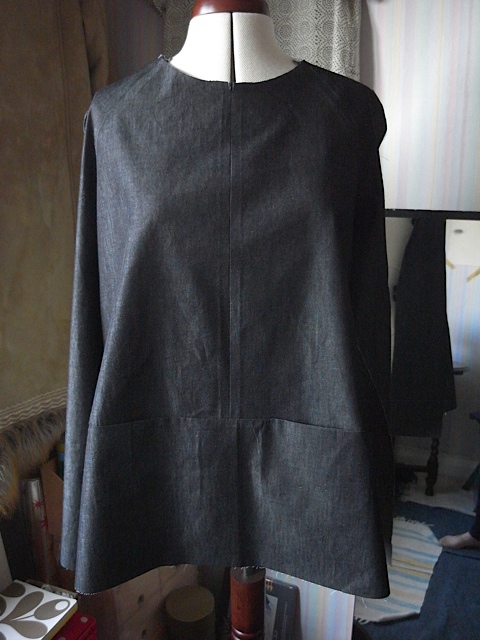
Hangs much better on the dummy than me. I’m pleased with the quality of my sewing on this but it just looks awful on me. Hangs funny, the centre front sticks out and just looks wrong. Don’t know why? Could be that the fabric isn’t sturdy enough, I just don’t know.
Can you tell I’m not happy? Please excuse the nude in the background, its not as rude as it looks. Its from my life drawing days.
I’ve put it down to experience, and like I said I’ve learnt new things. Who knows I might try it on again in a few months and decide I do like it. Never say never…